To date, this was the most complicated and challenging cutting board that I have completed. I was commissioned by a client, with only one request….A blend of different woods. That is pretty open ended, so i set out to challenge myself. I settled on three woods. Walnut (my favorite), Rock Maple, and Mahogany. Mathematically speaking, this board was a nightmare, and offers very little (if any) room for error. The pieces must be perfectly jointed, and sized so that the entire board fits together like a puzzle from start to finish. Misaligned joints meant failure of the project. One thing that makes this board unique is the fact that it is 100% endgrain, even the mahogany accents. That makes this board a tremendous addition to a chef’s kitchen. The board measures 20 1/2″ x 12″ x 1 1/2″ and is finished with several coats of butcher block conditioner. Many ask, why do I treat the underside of my boards in the way that I do. The quick answer is because I am a glutten for punishment. It is a lot of extra work; however, it has become my signature. With most boards, the bottom looks just like the top…that is fine, but I want the pieces that I creat to be unique. Unique for me and unique for my clients. Again, this was very fun and challenging project. As always, thank you for visiting. If you are interested in ordering one of these or any of the others, please contact me.
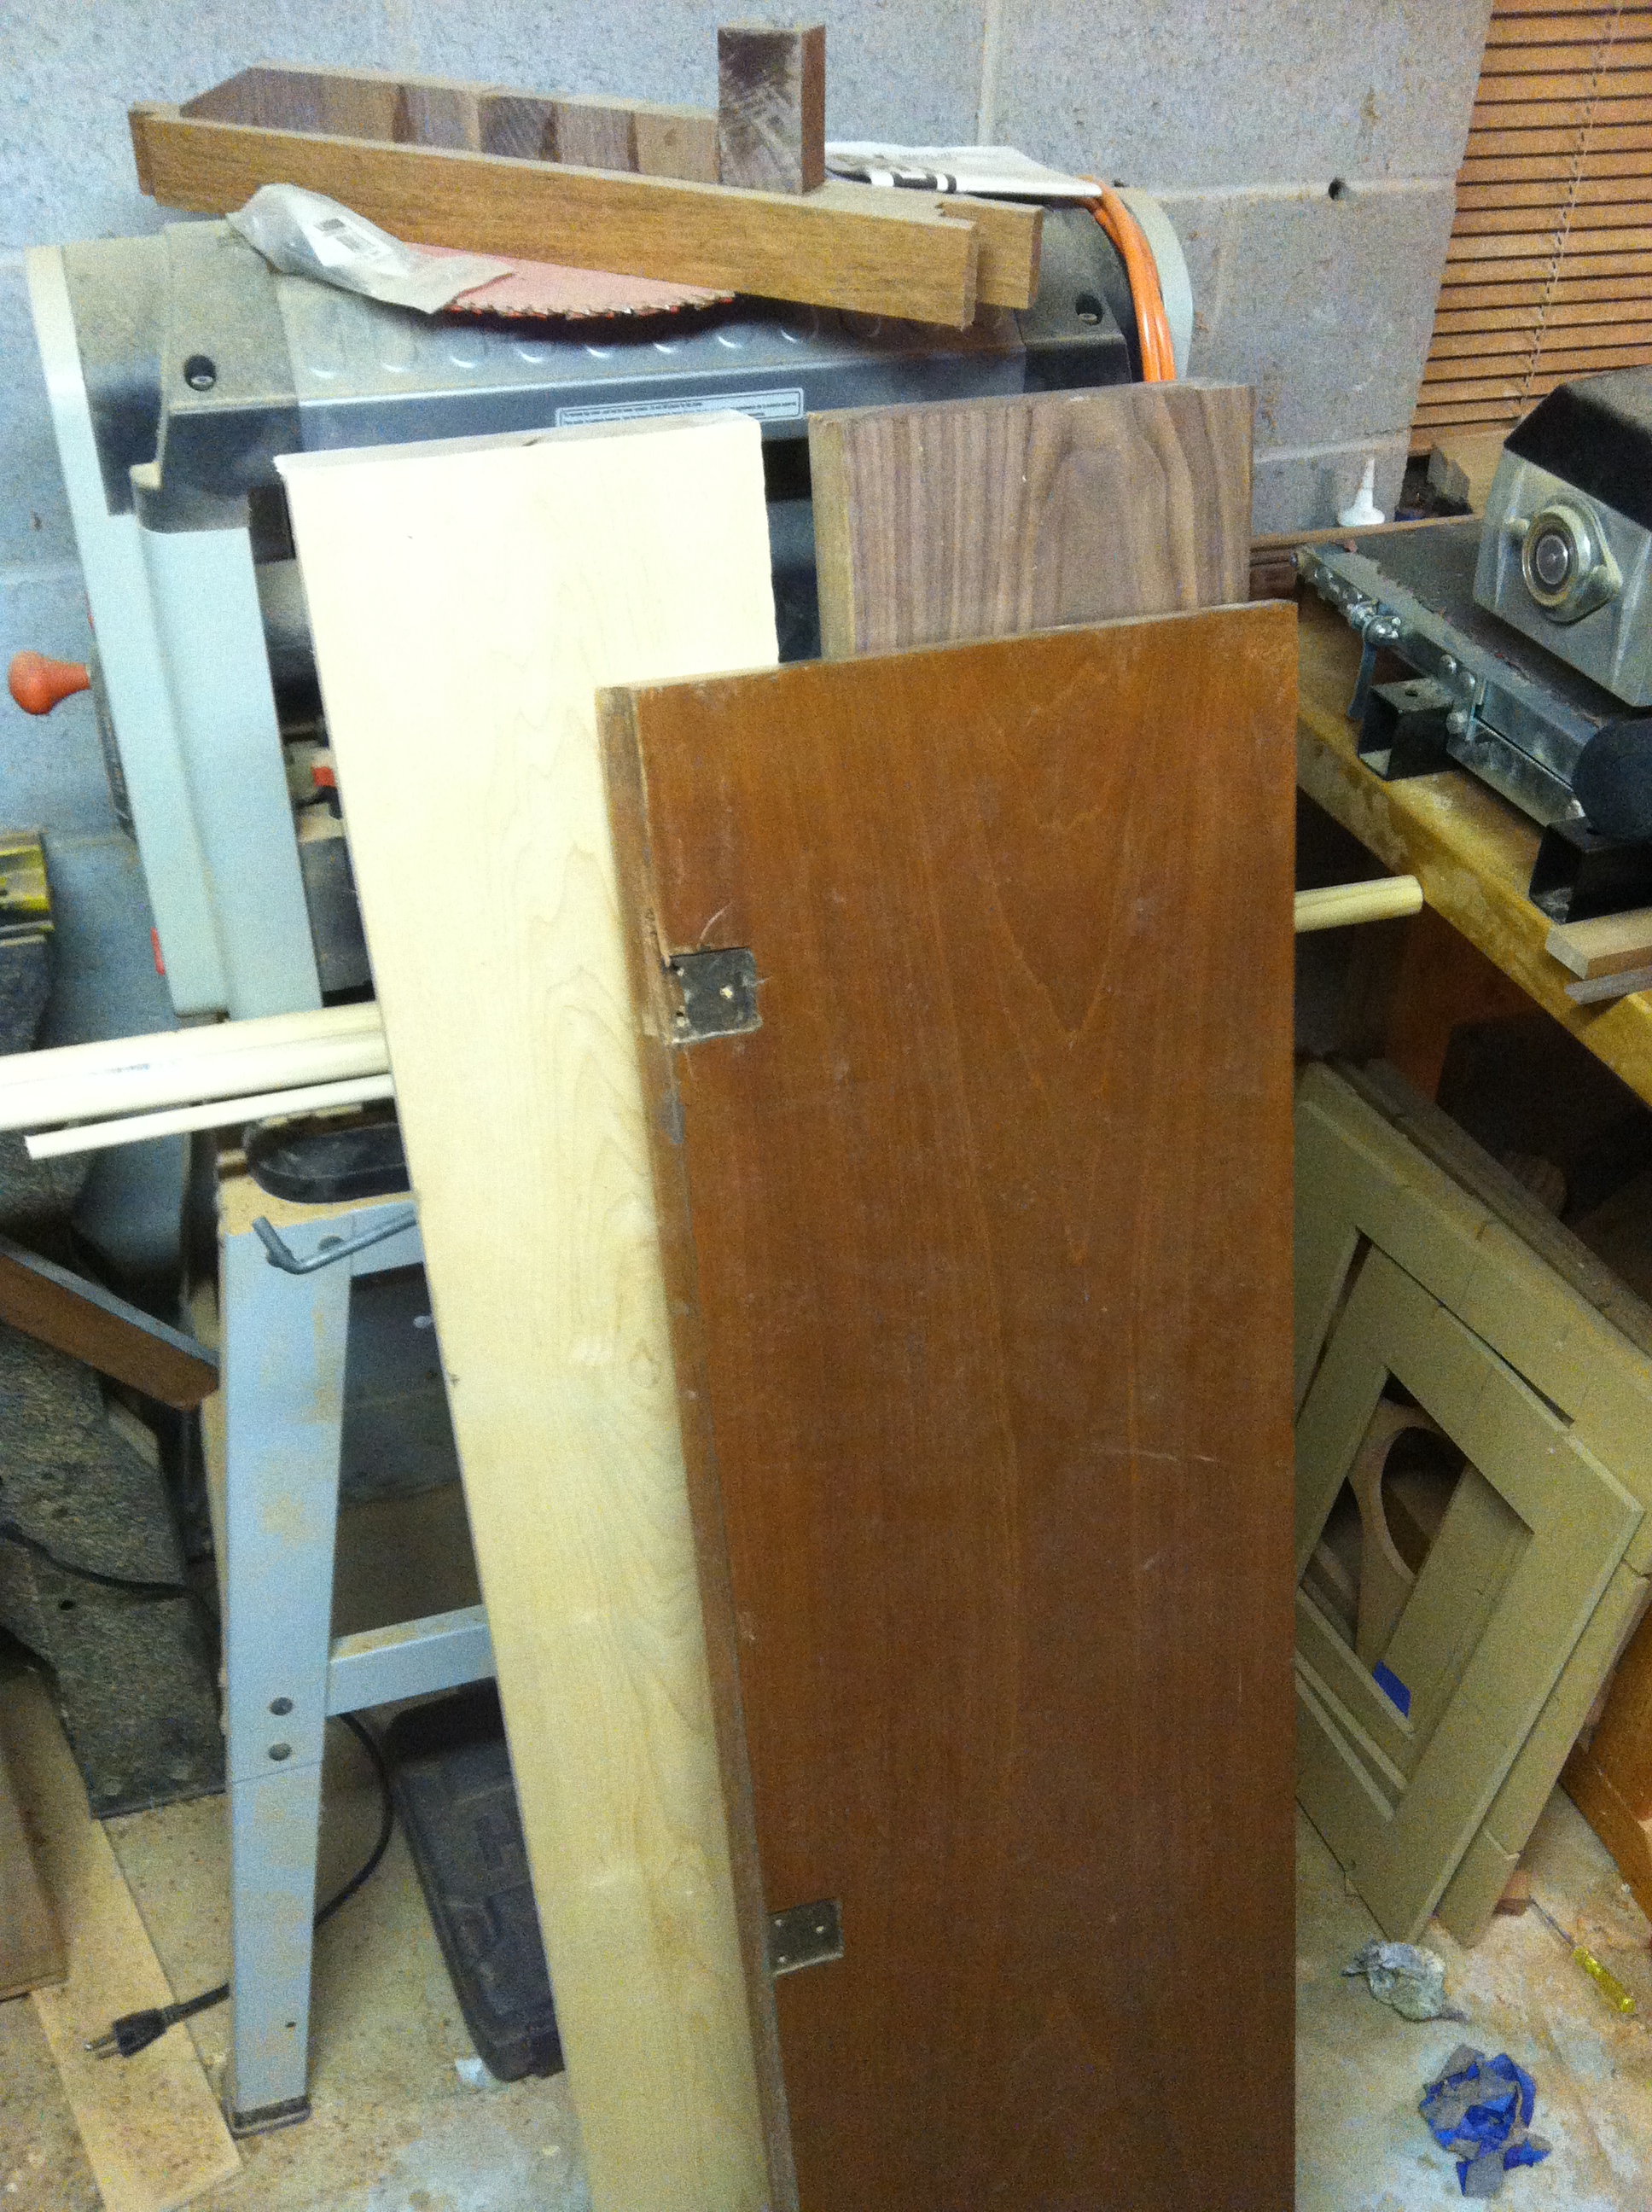
The starting point….Maple, Walnut and an old Mahogany door (found in the dumpster)

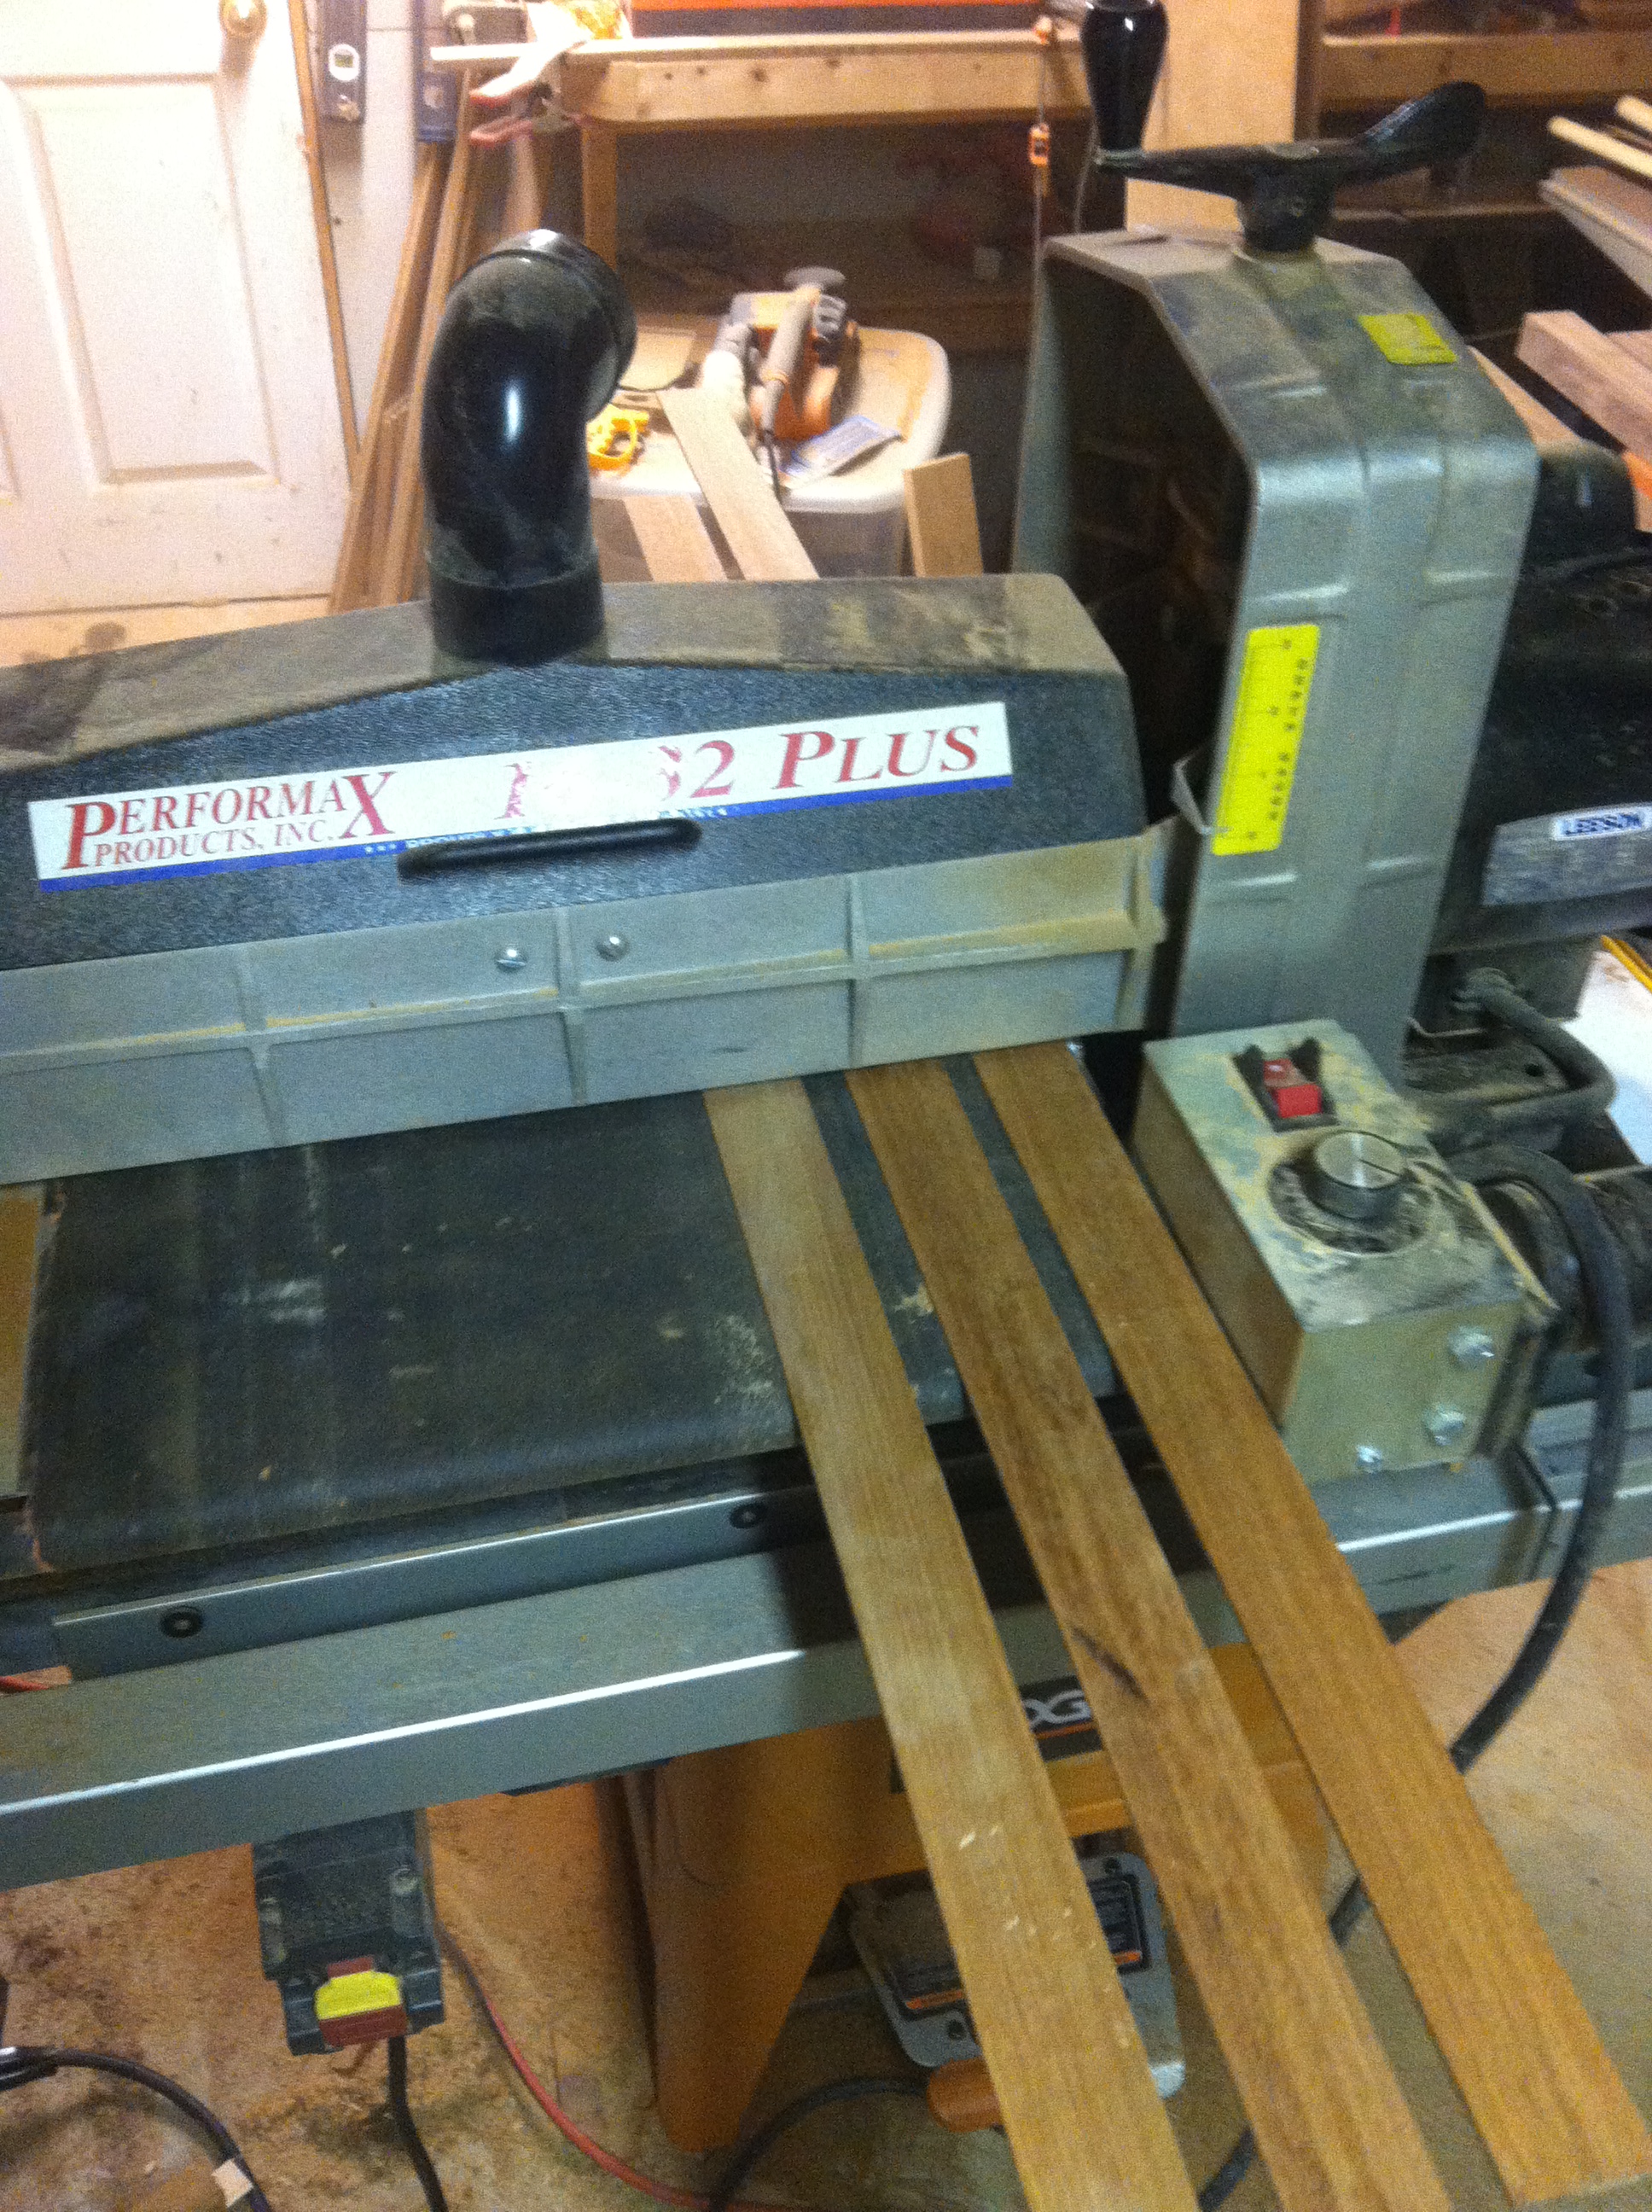
First step was to create the mahogany strips for the first glue up. Used my band saw and the drum sander

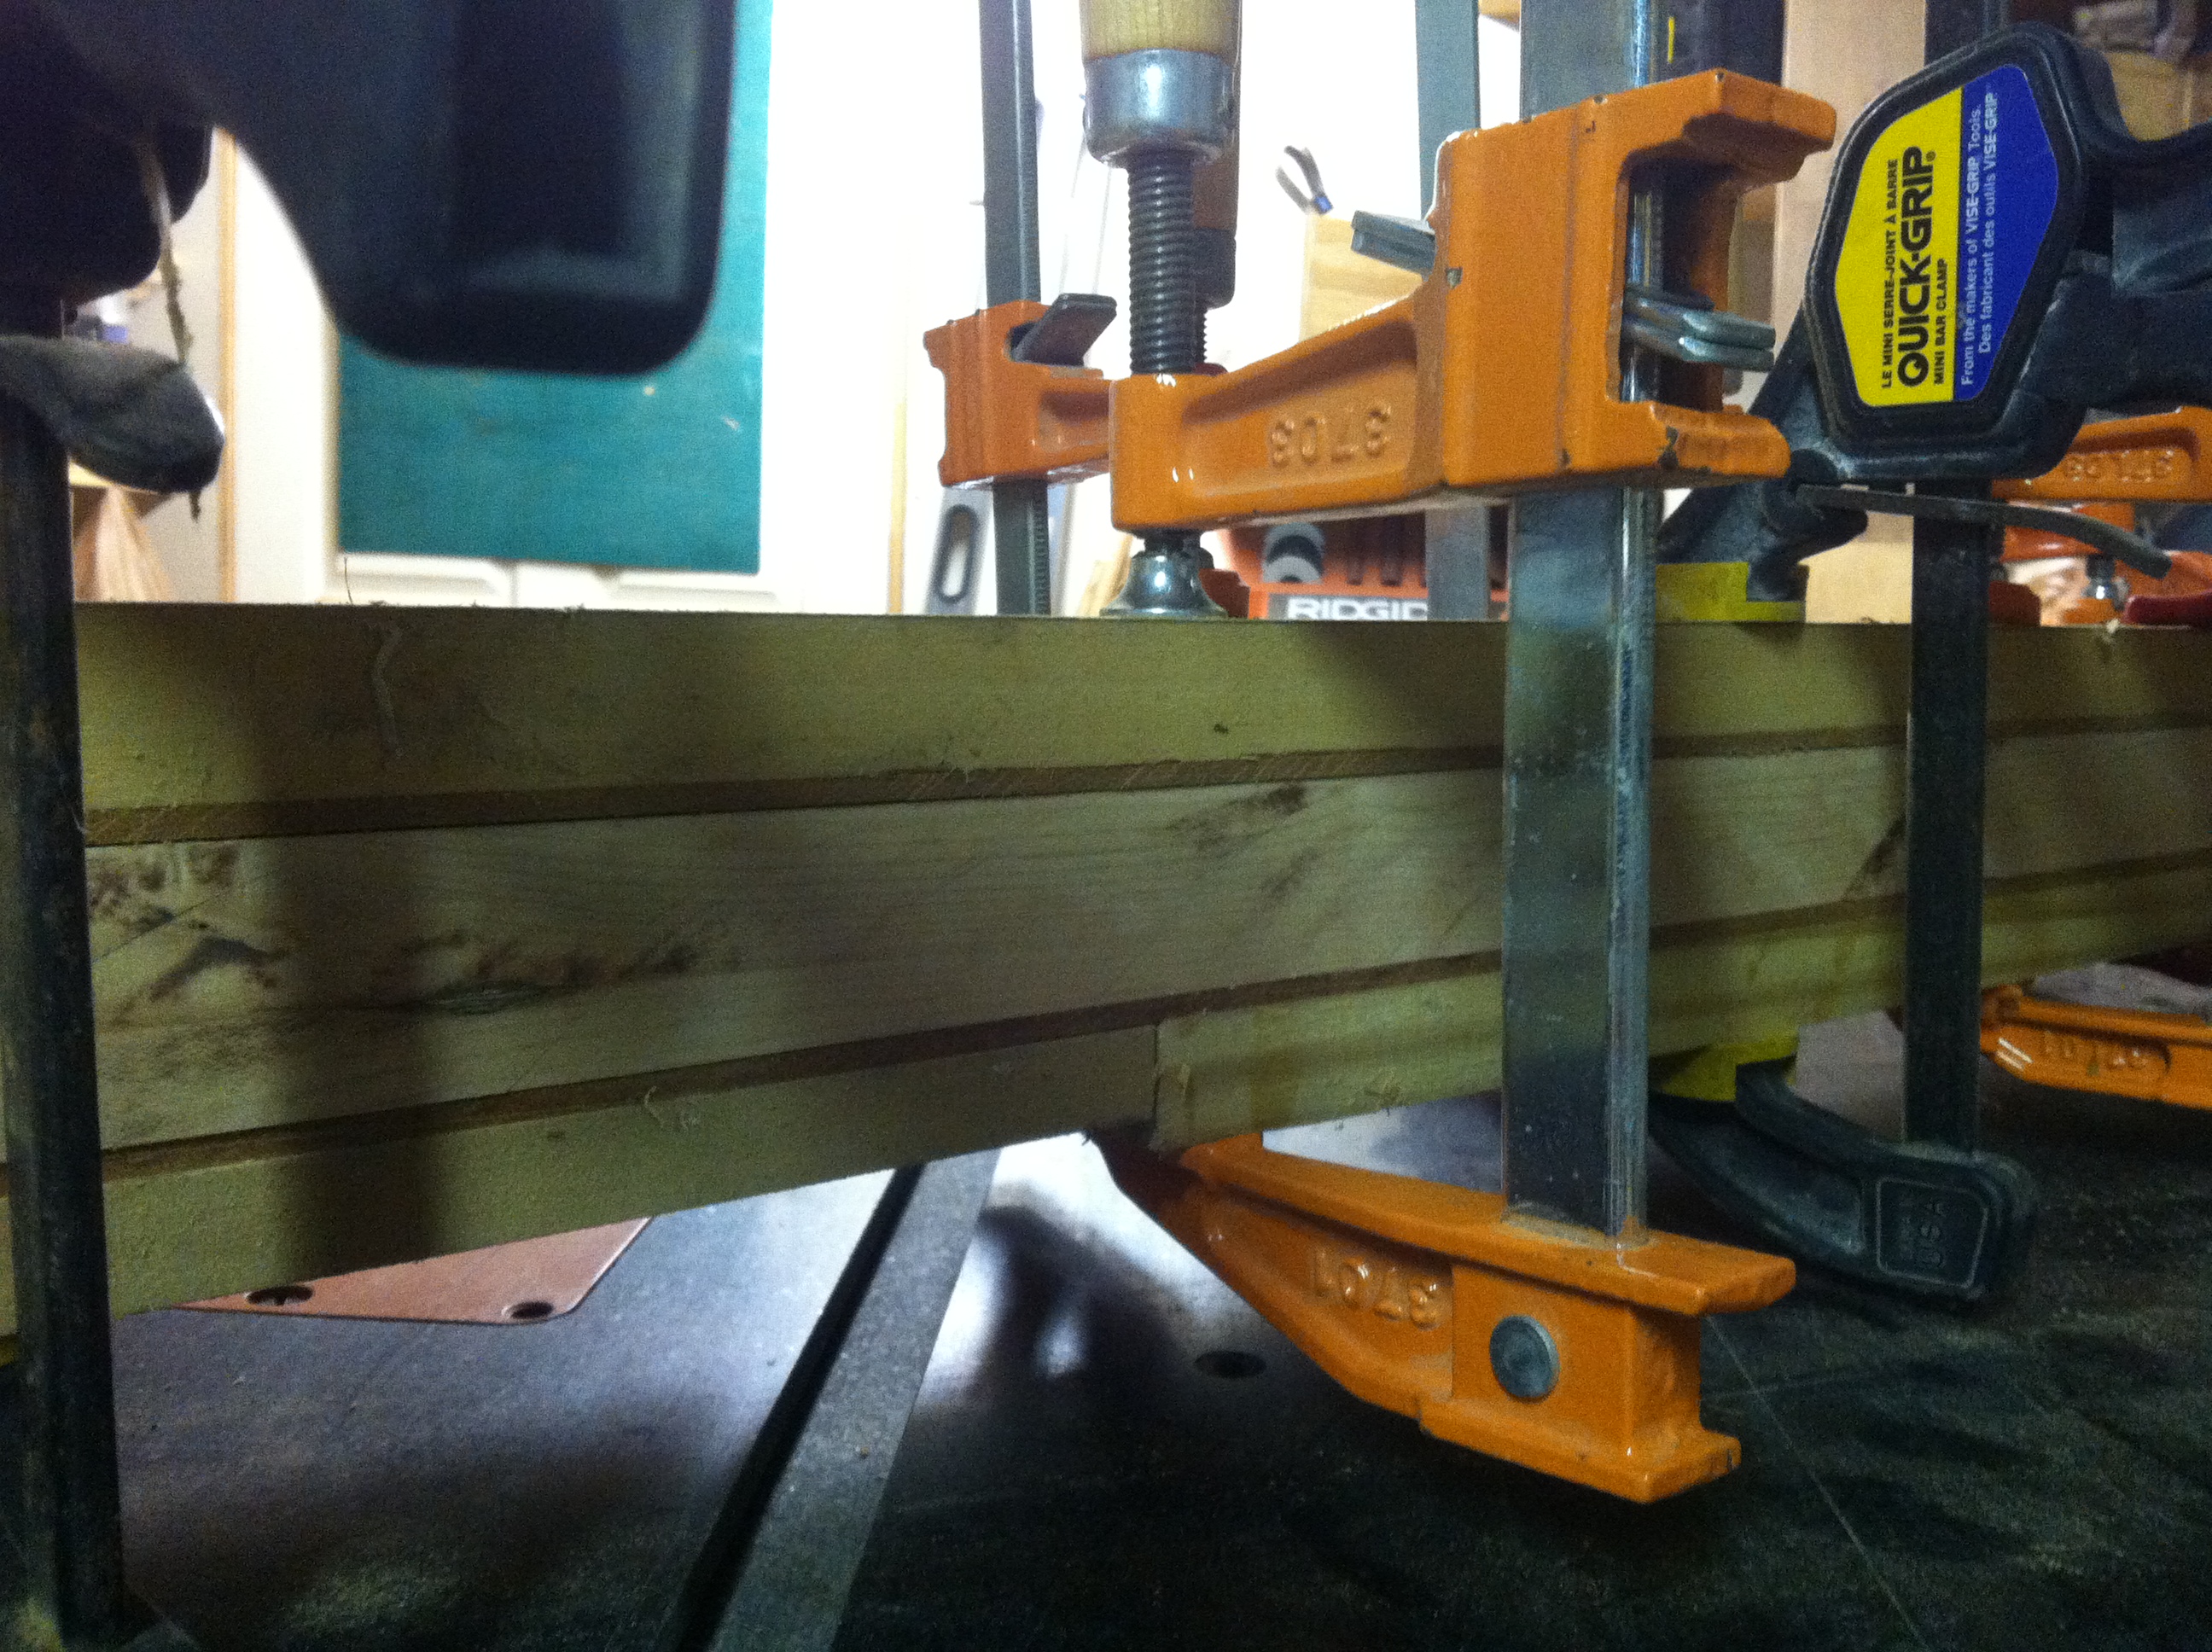
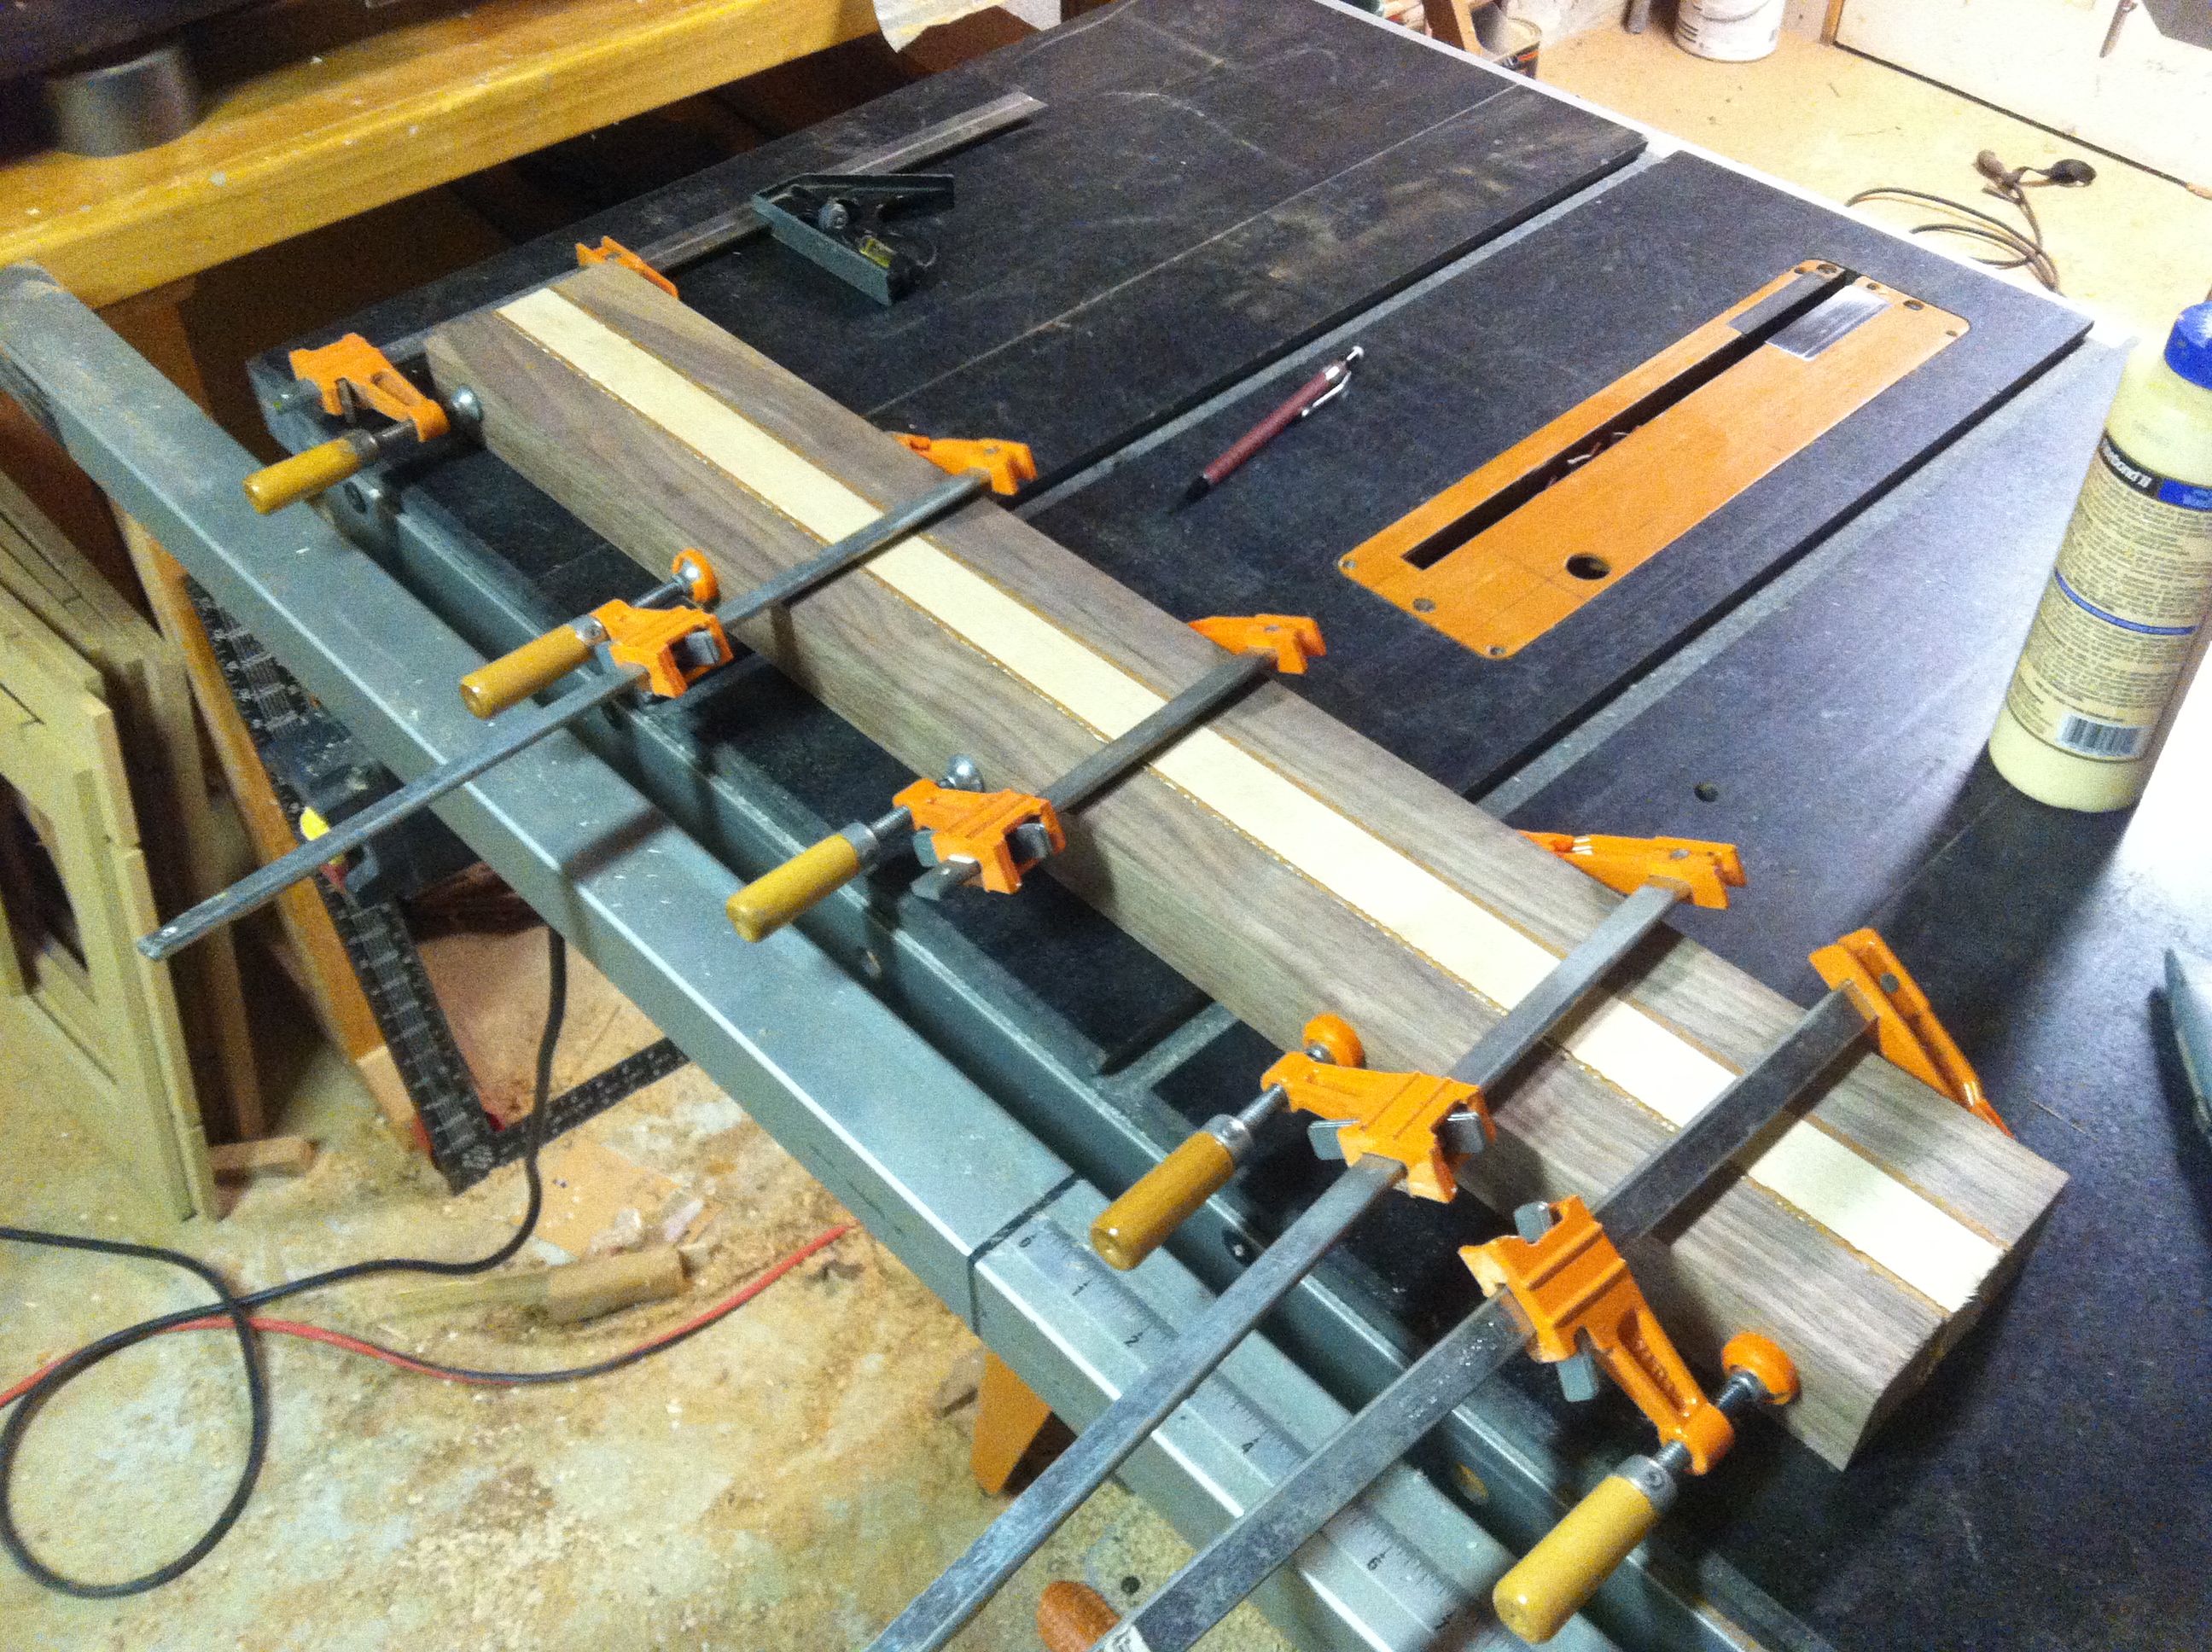
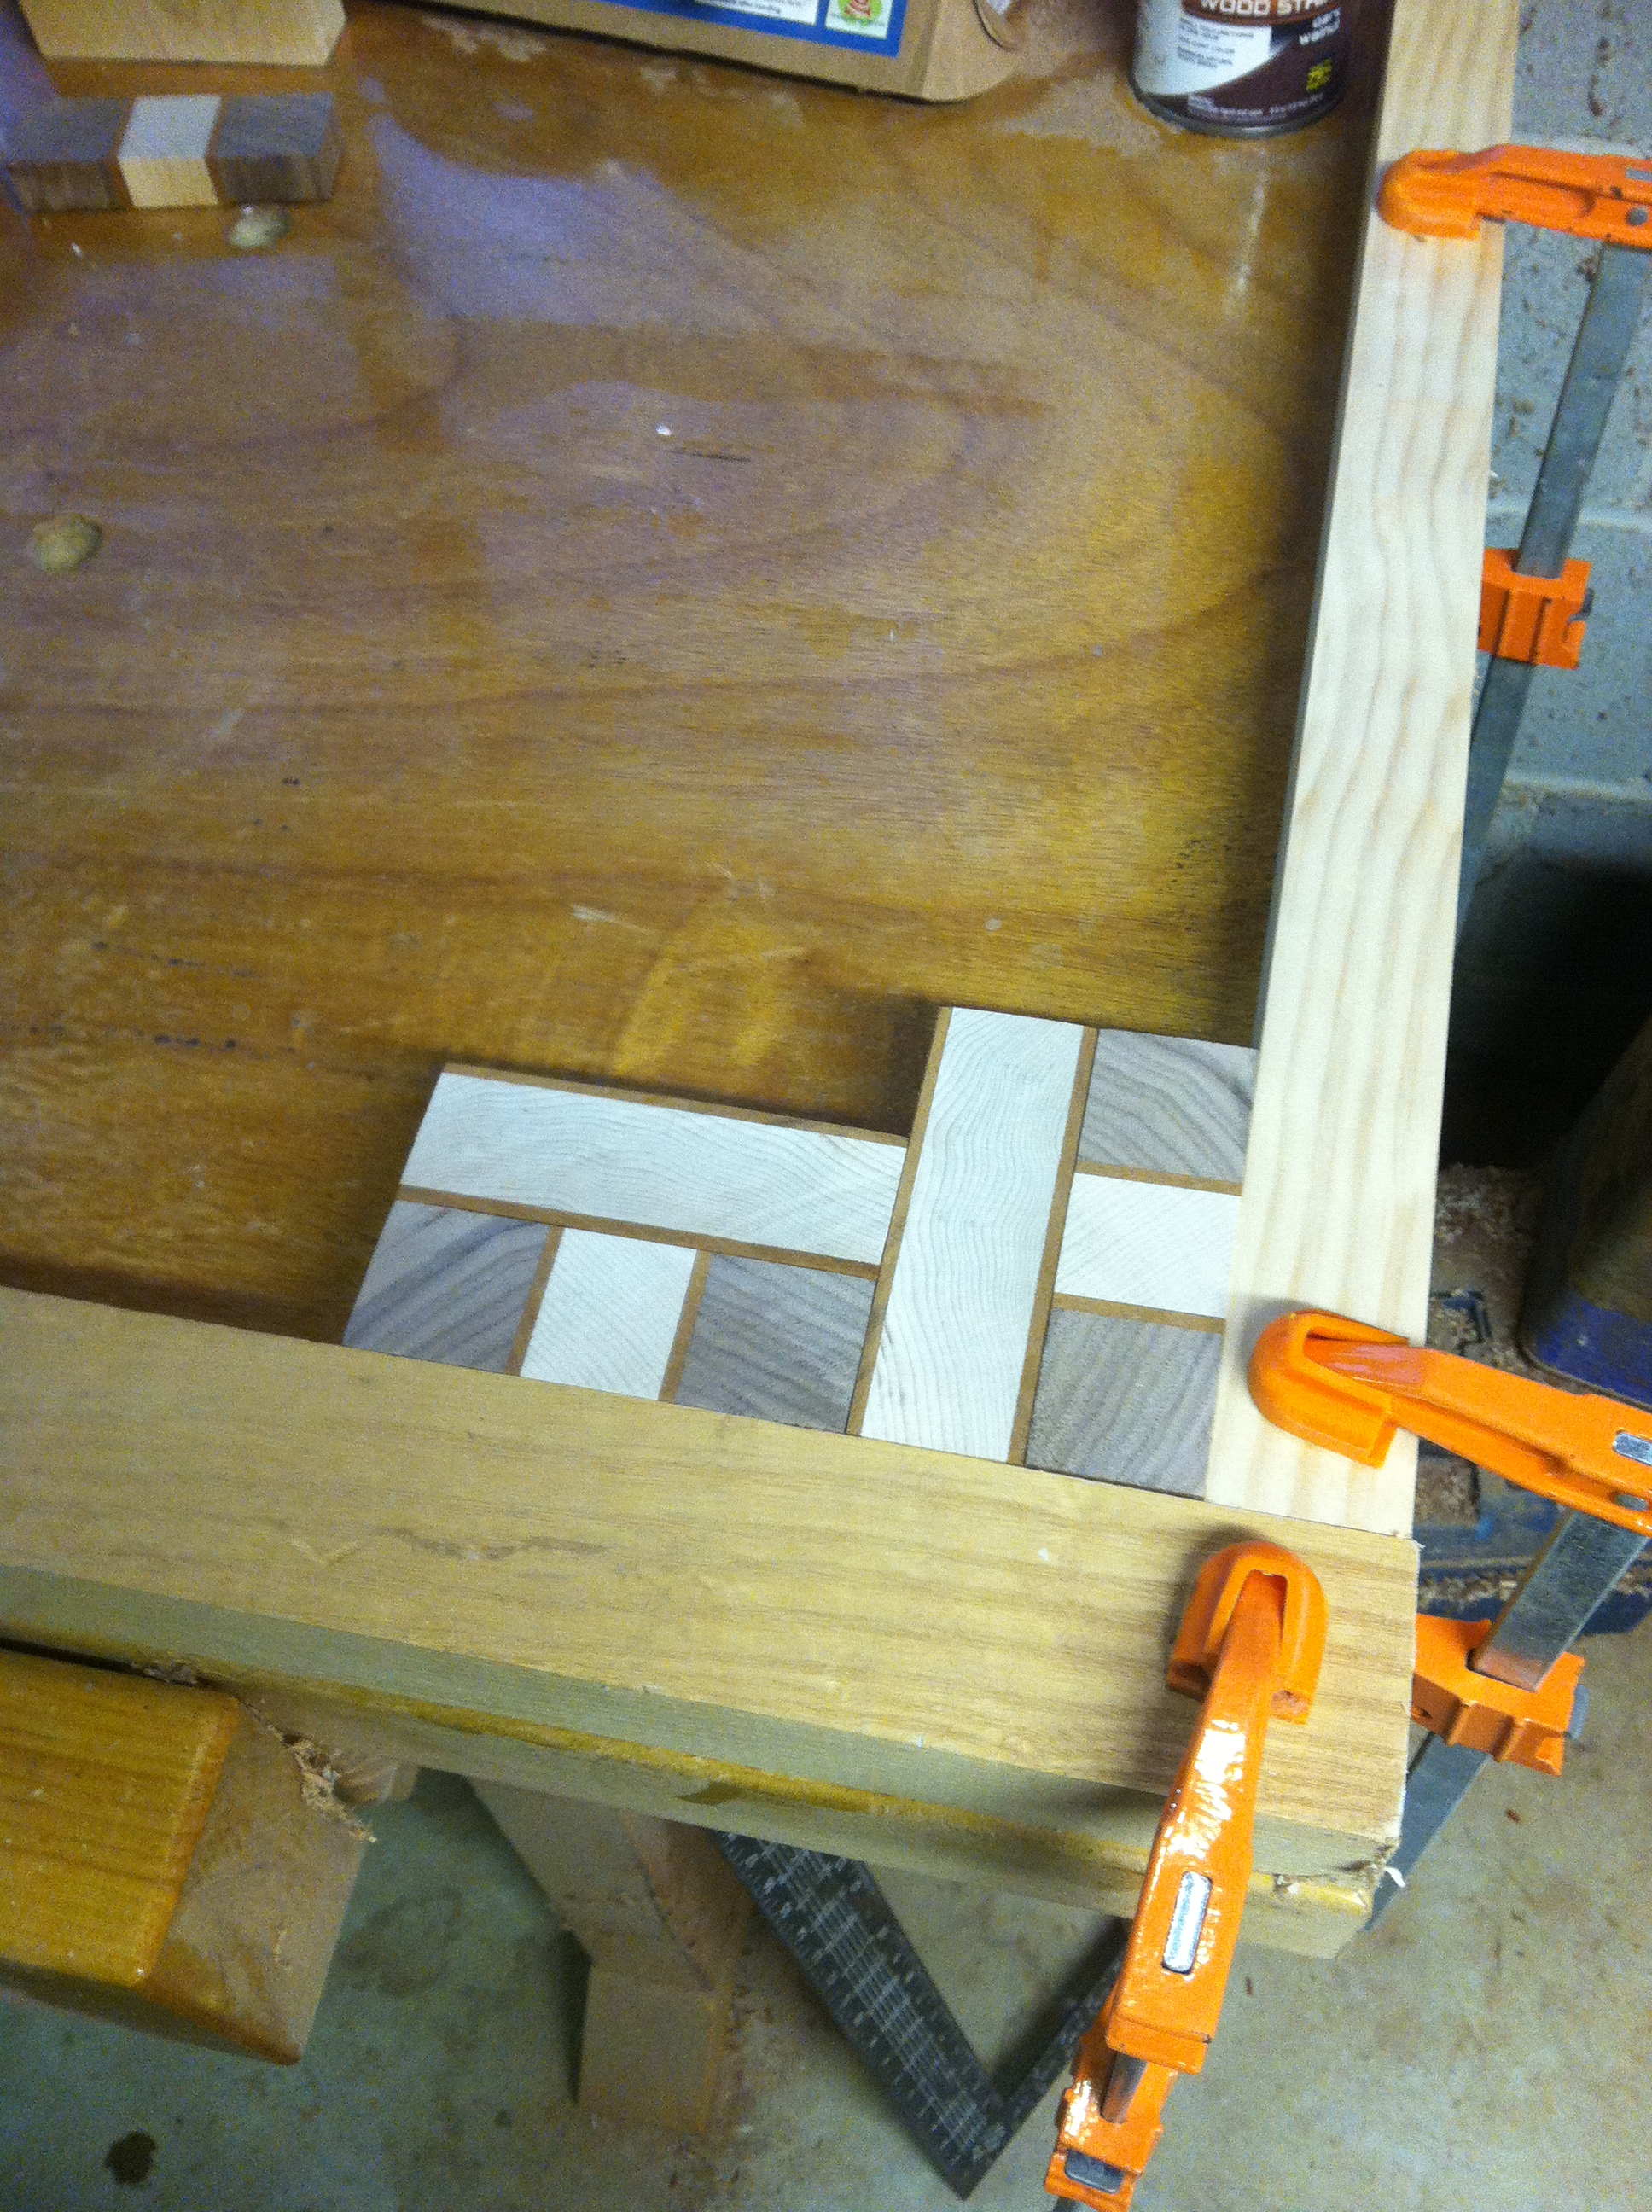
The first glue up. This is for the maple and mahogany component. (Required lots of clamps)

This is the second glue up. Walnut, Mahogany and Maple
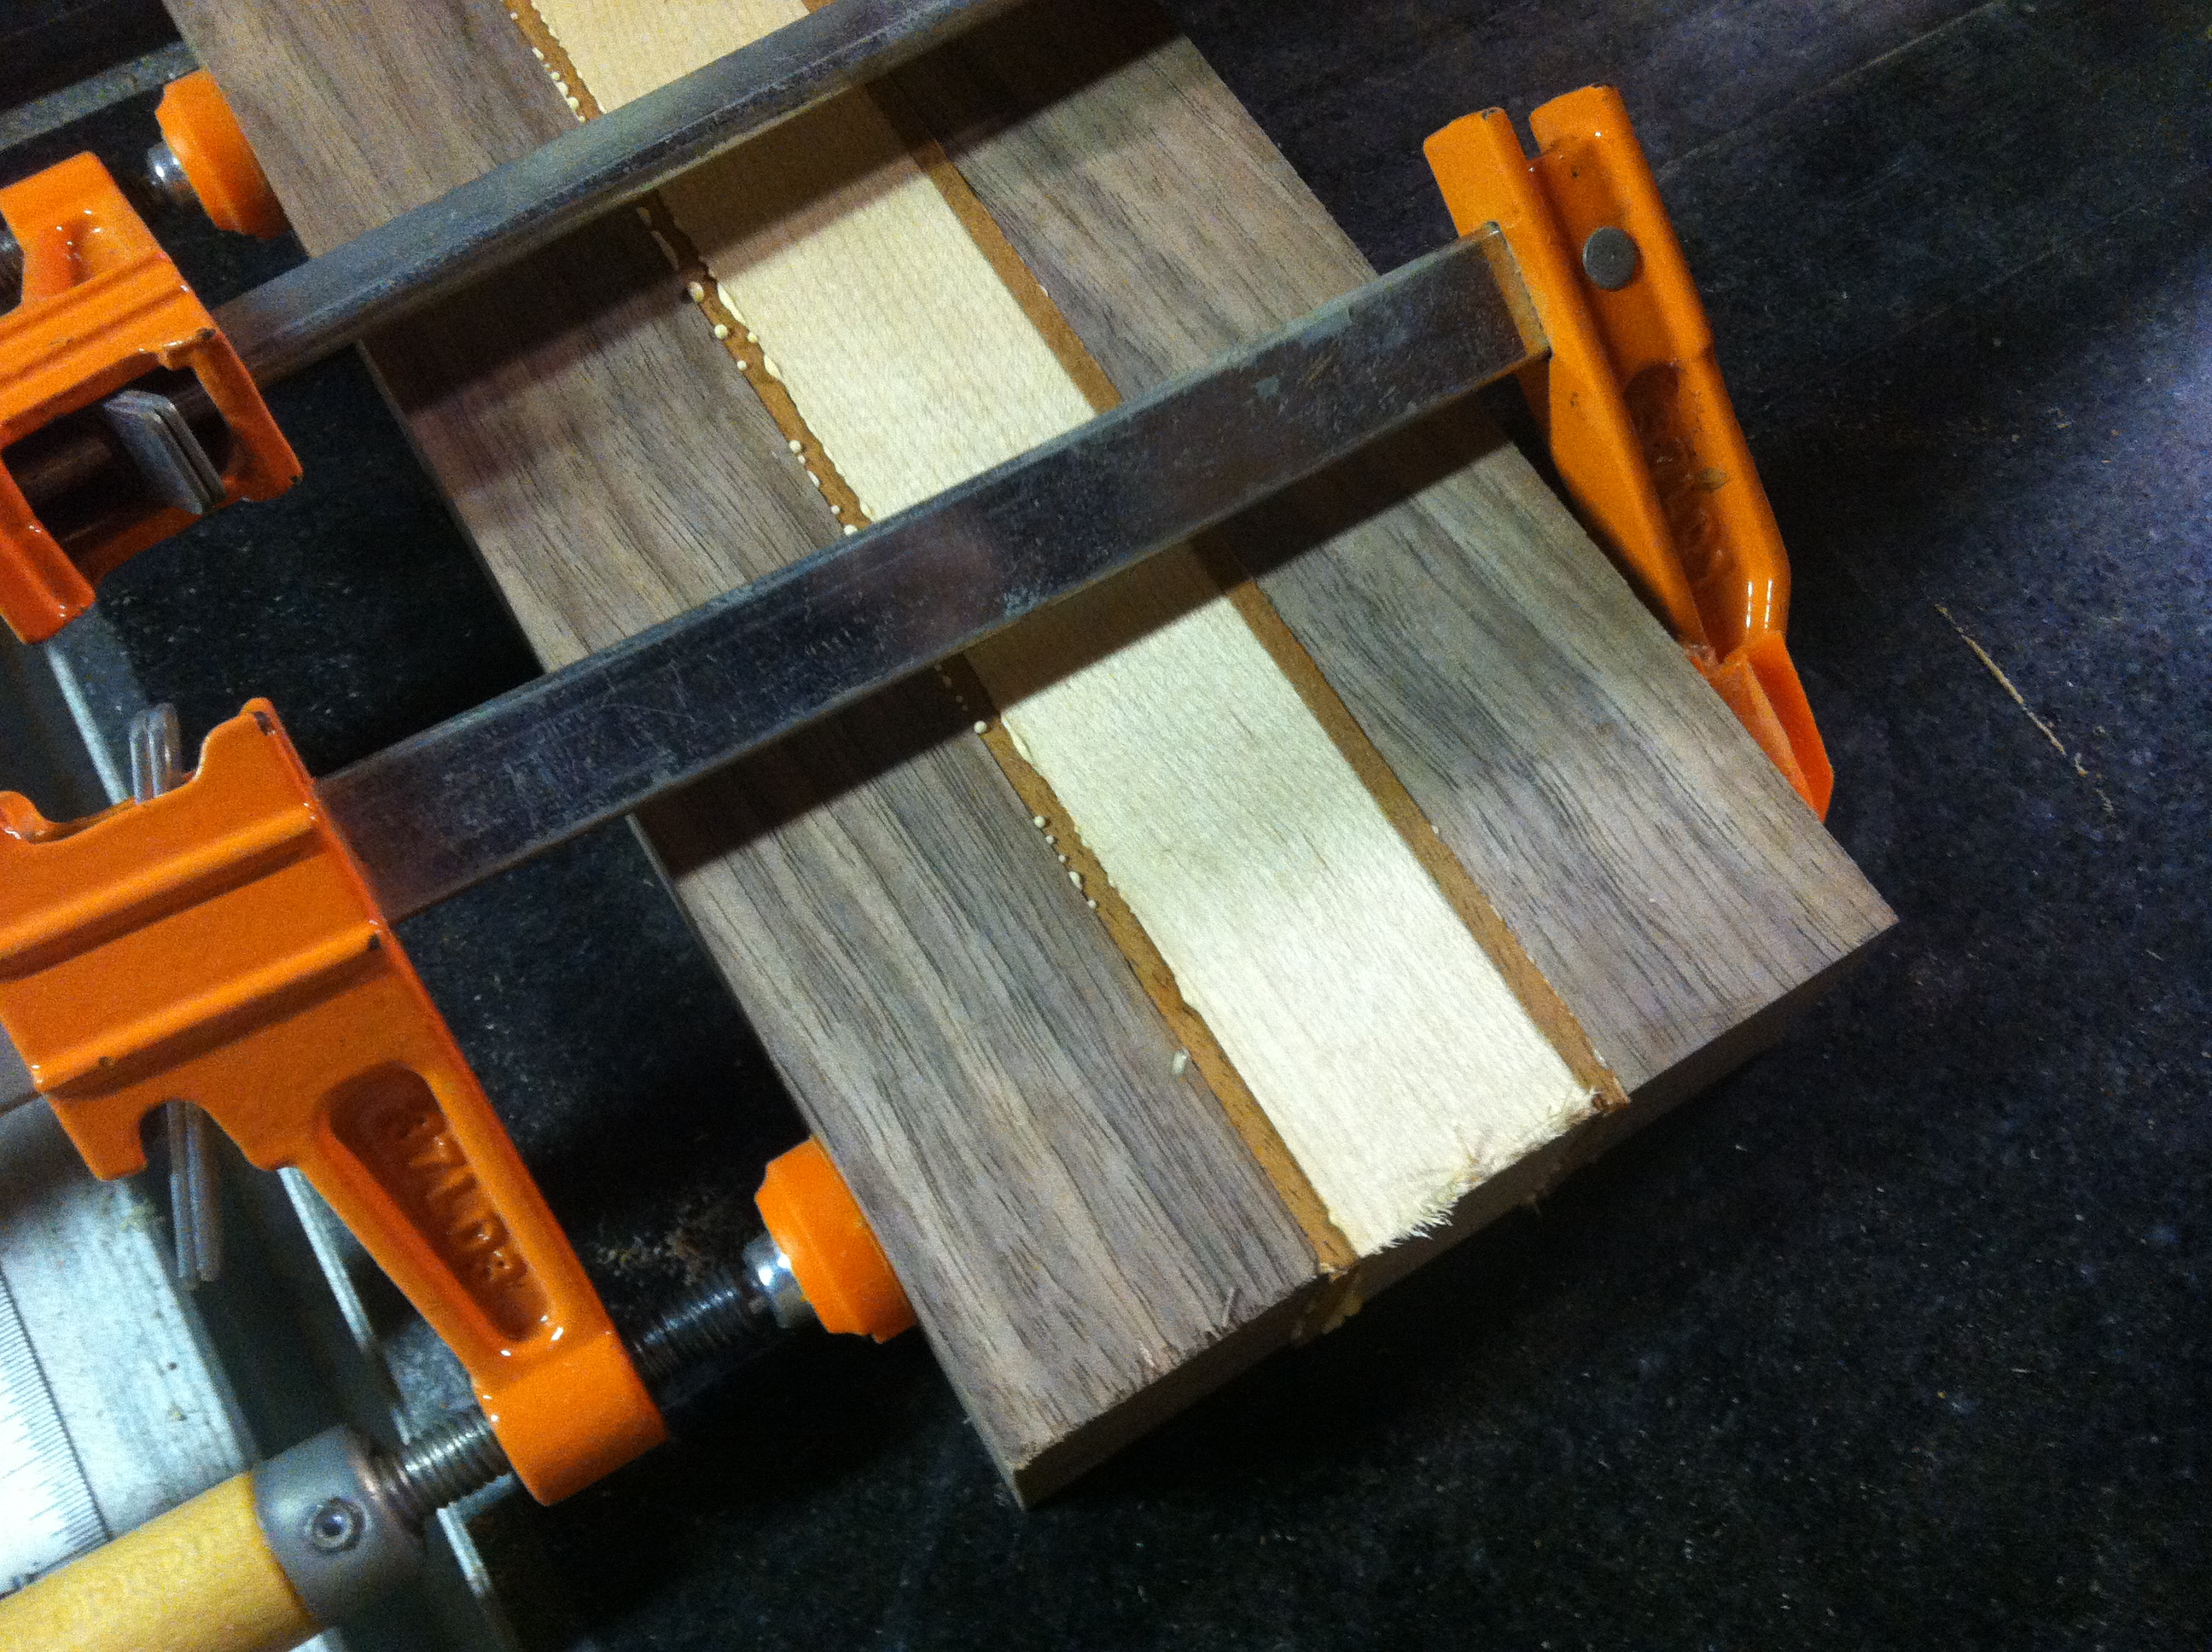
Close up of the second component
These are the three components to this board, after being cross cut. The units needed to be dimensionally perfect and perfectly square in order for the puzzle to fit together correctly. Mathematically, this was a challenge.
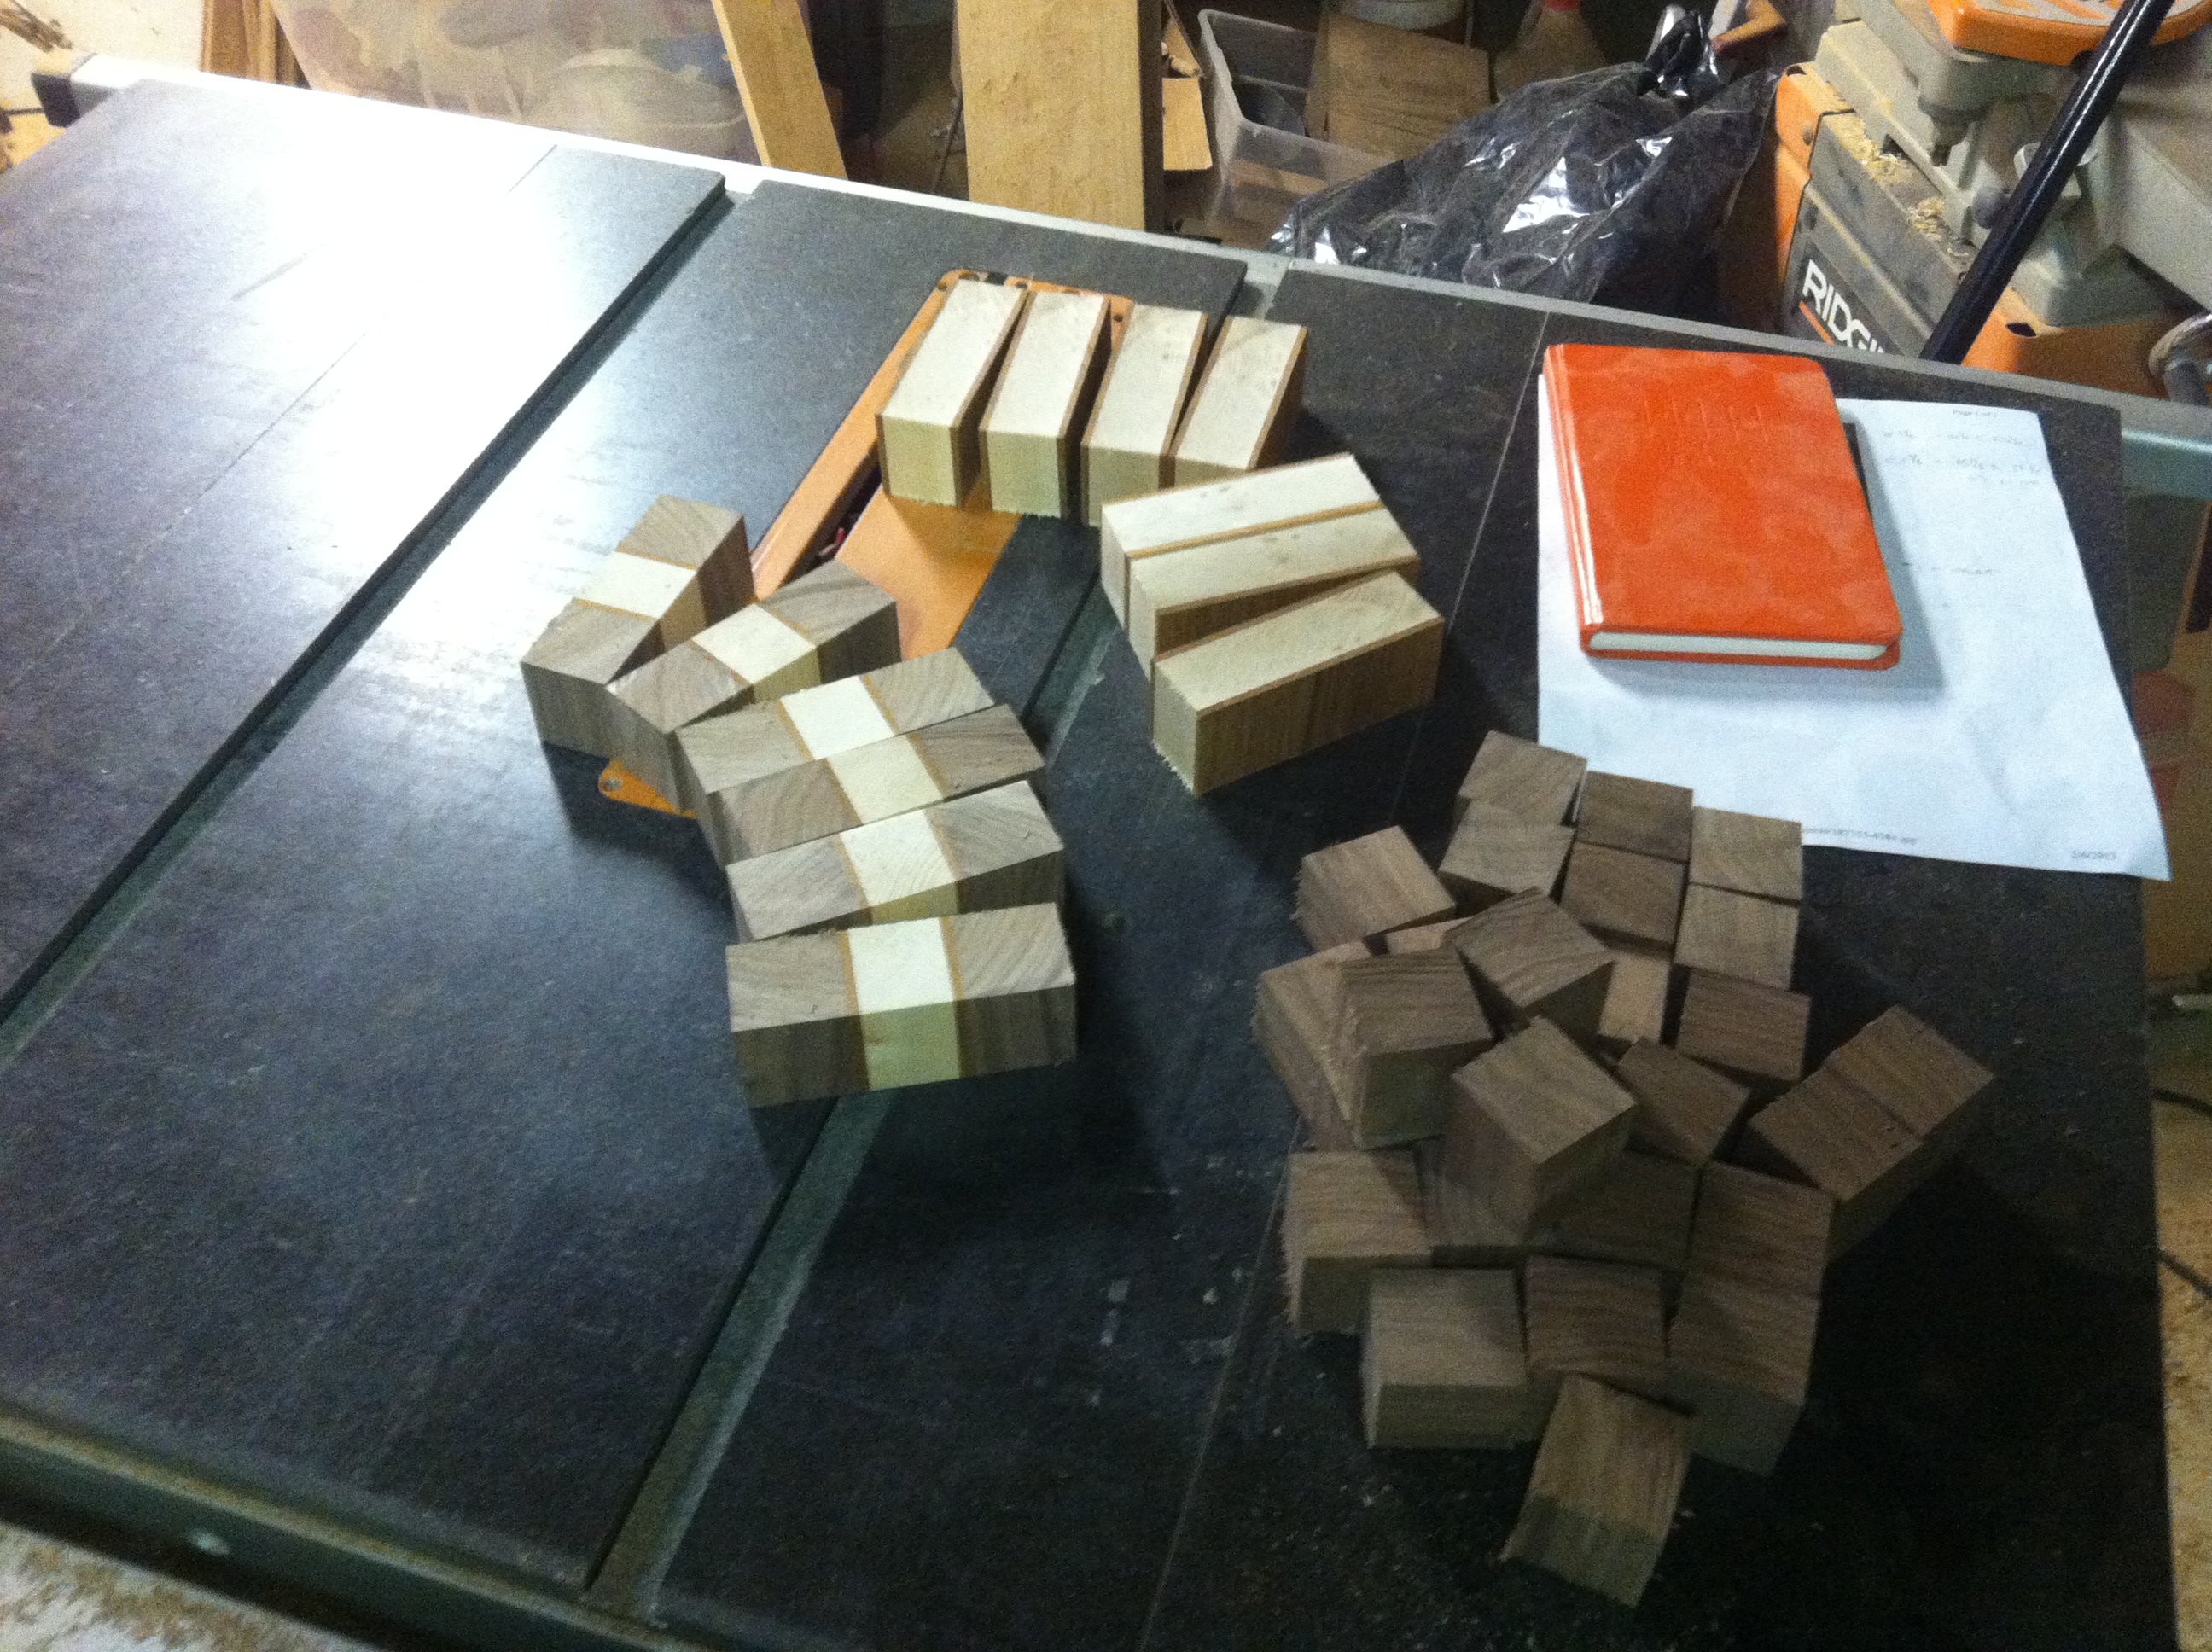
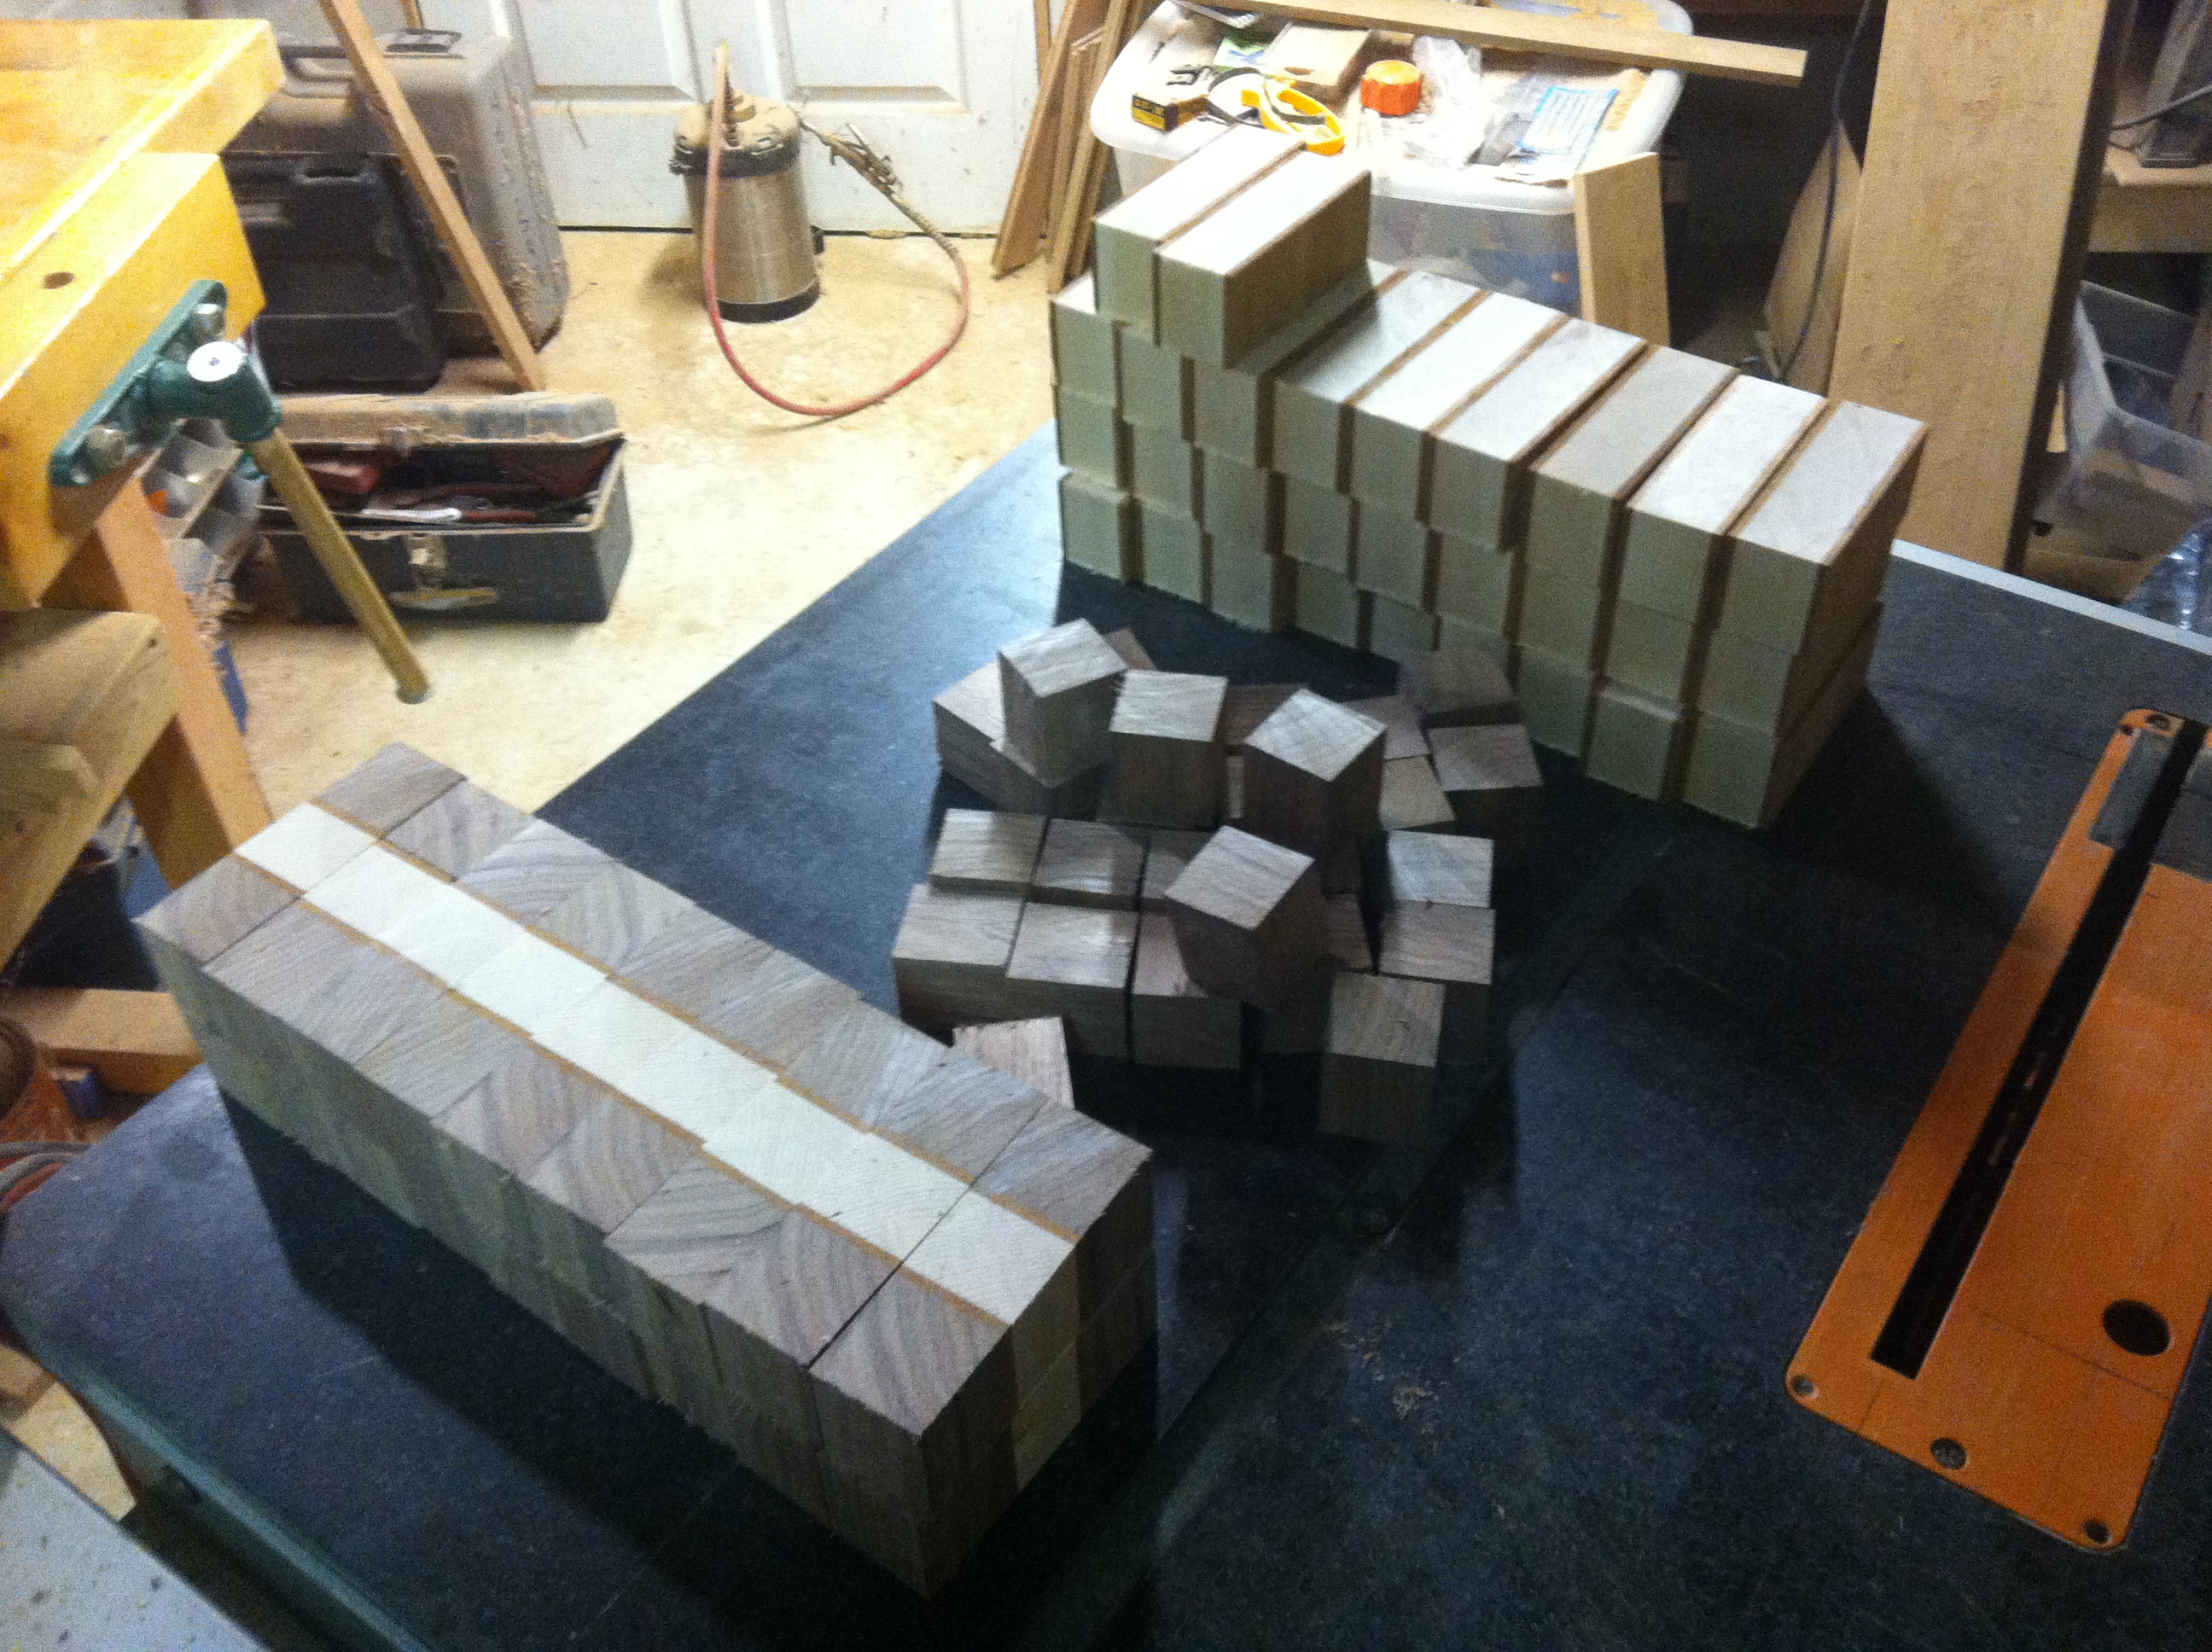
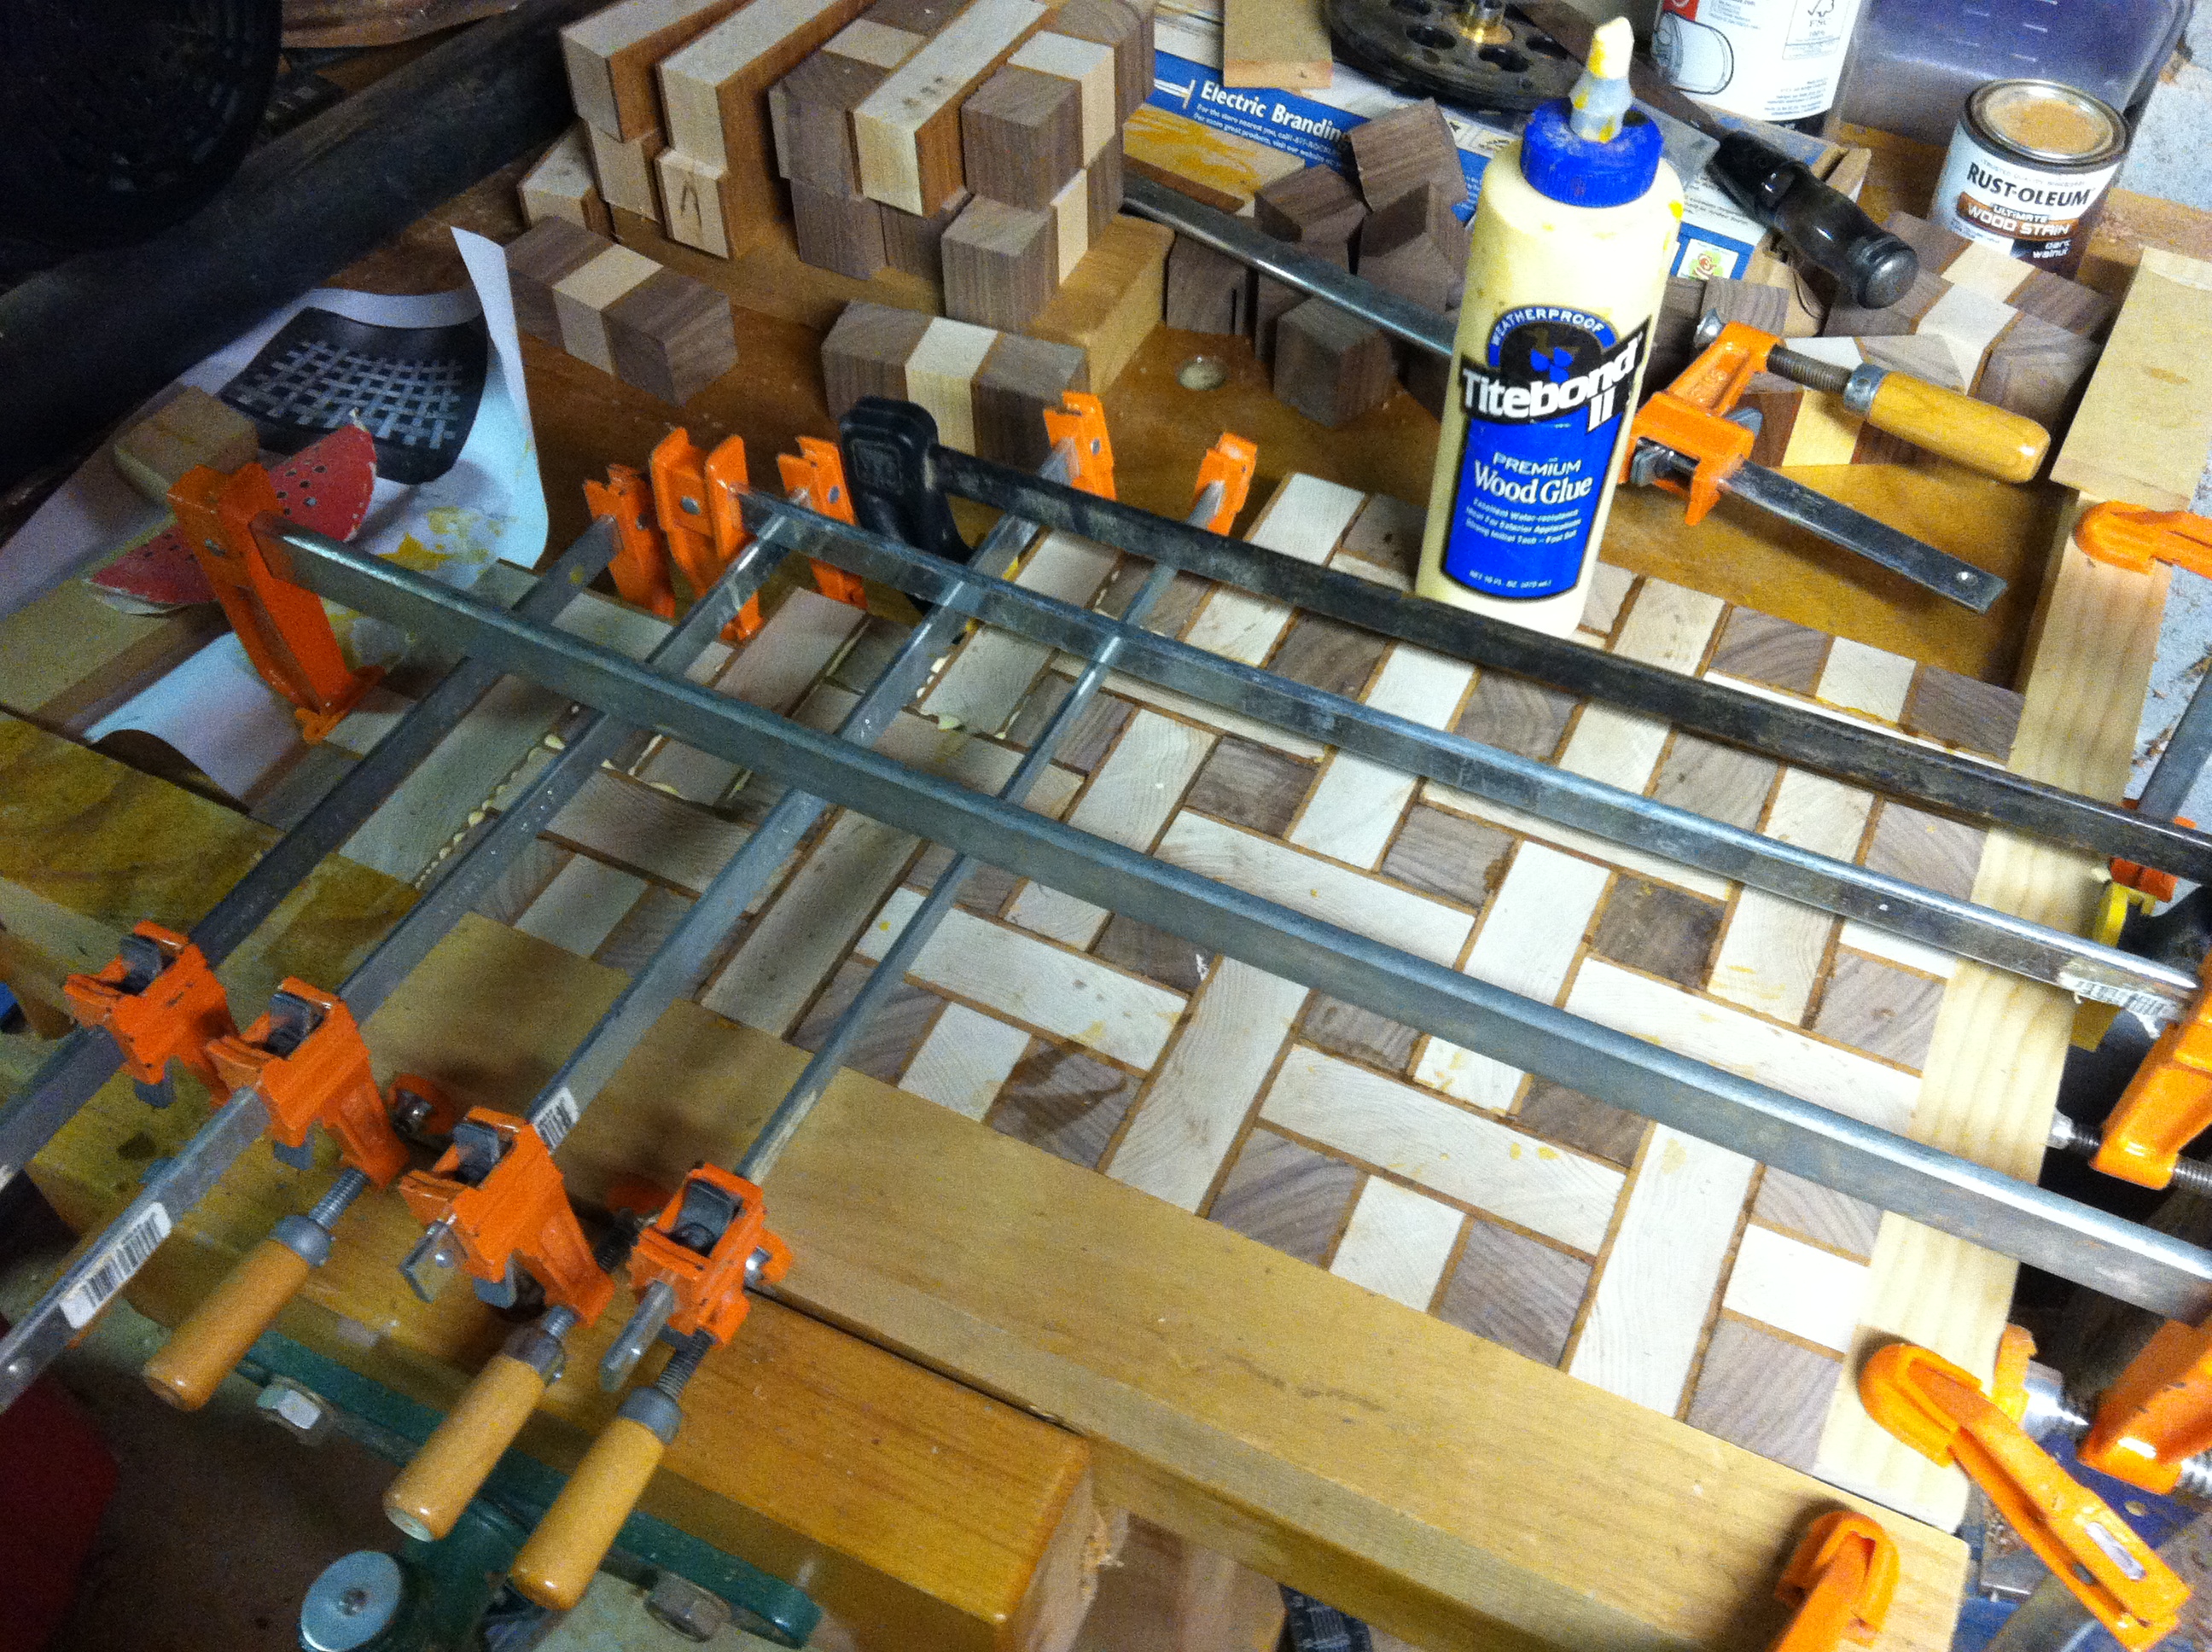
All of the components, sorted and stacked, ready for the final glue up.
Unlike most cutting boards, this final stage took several days to complete. Look closely and you can see the various components, forming the puzzle.
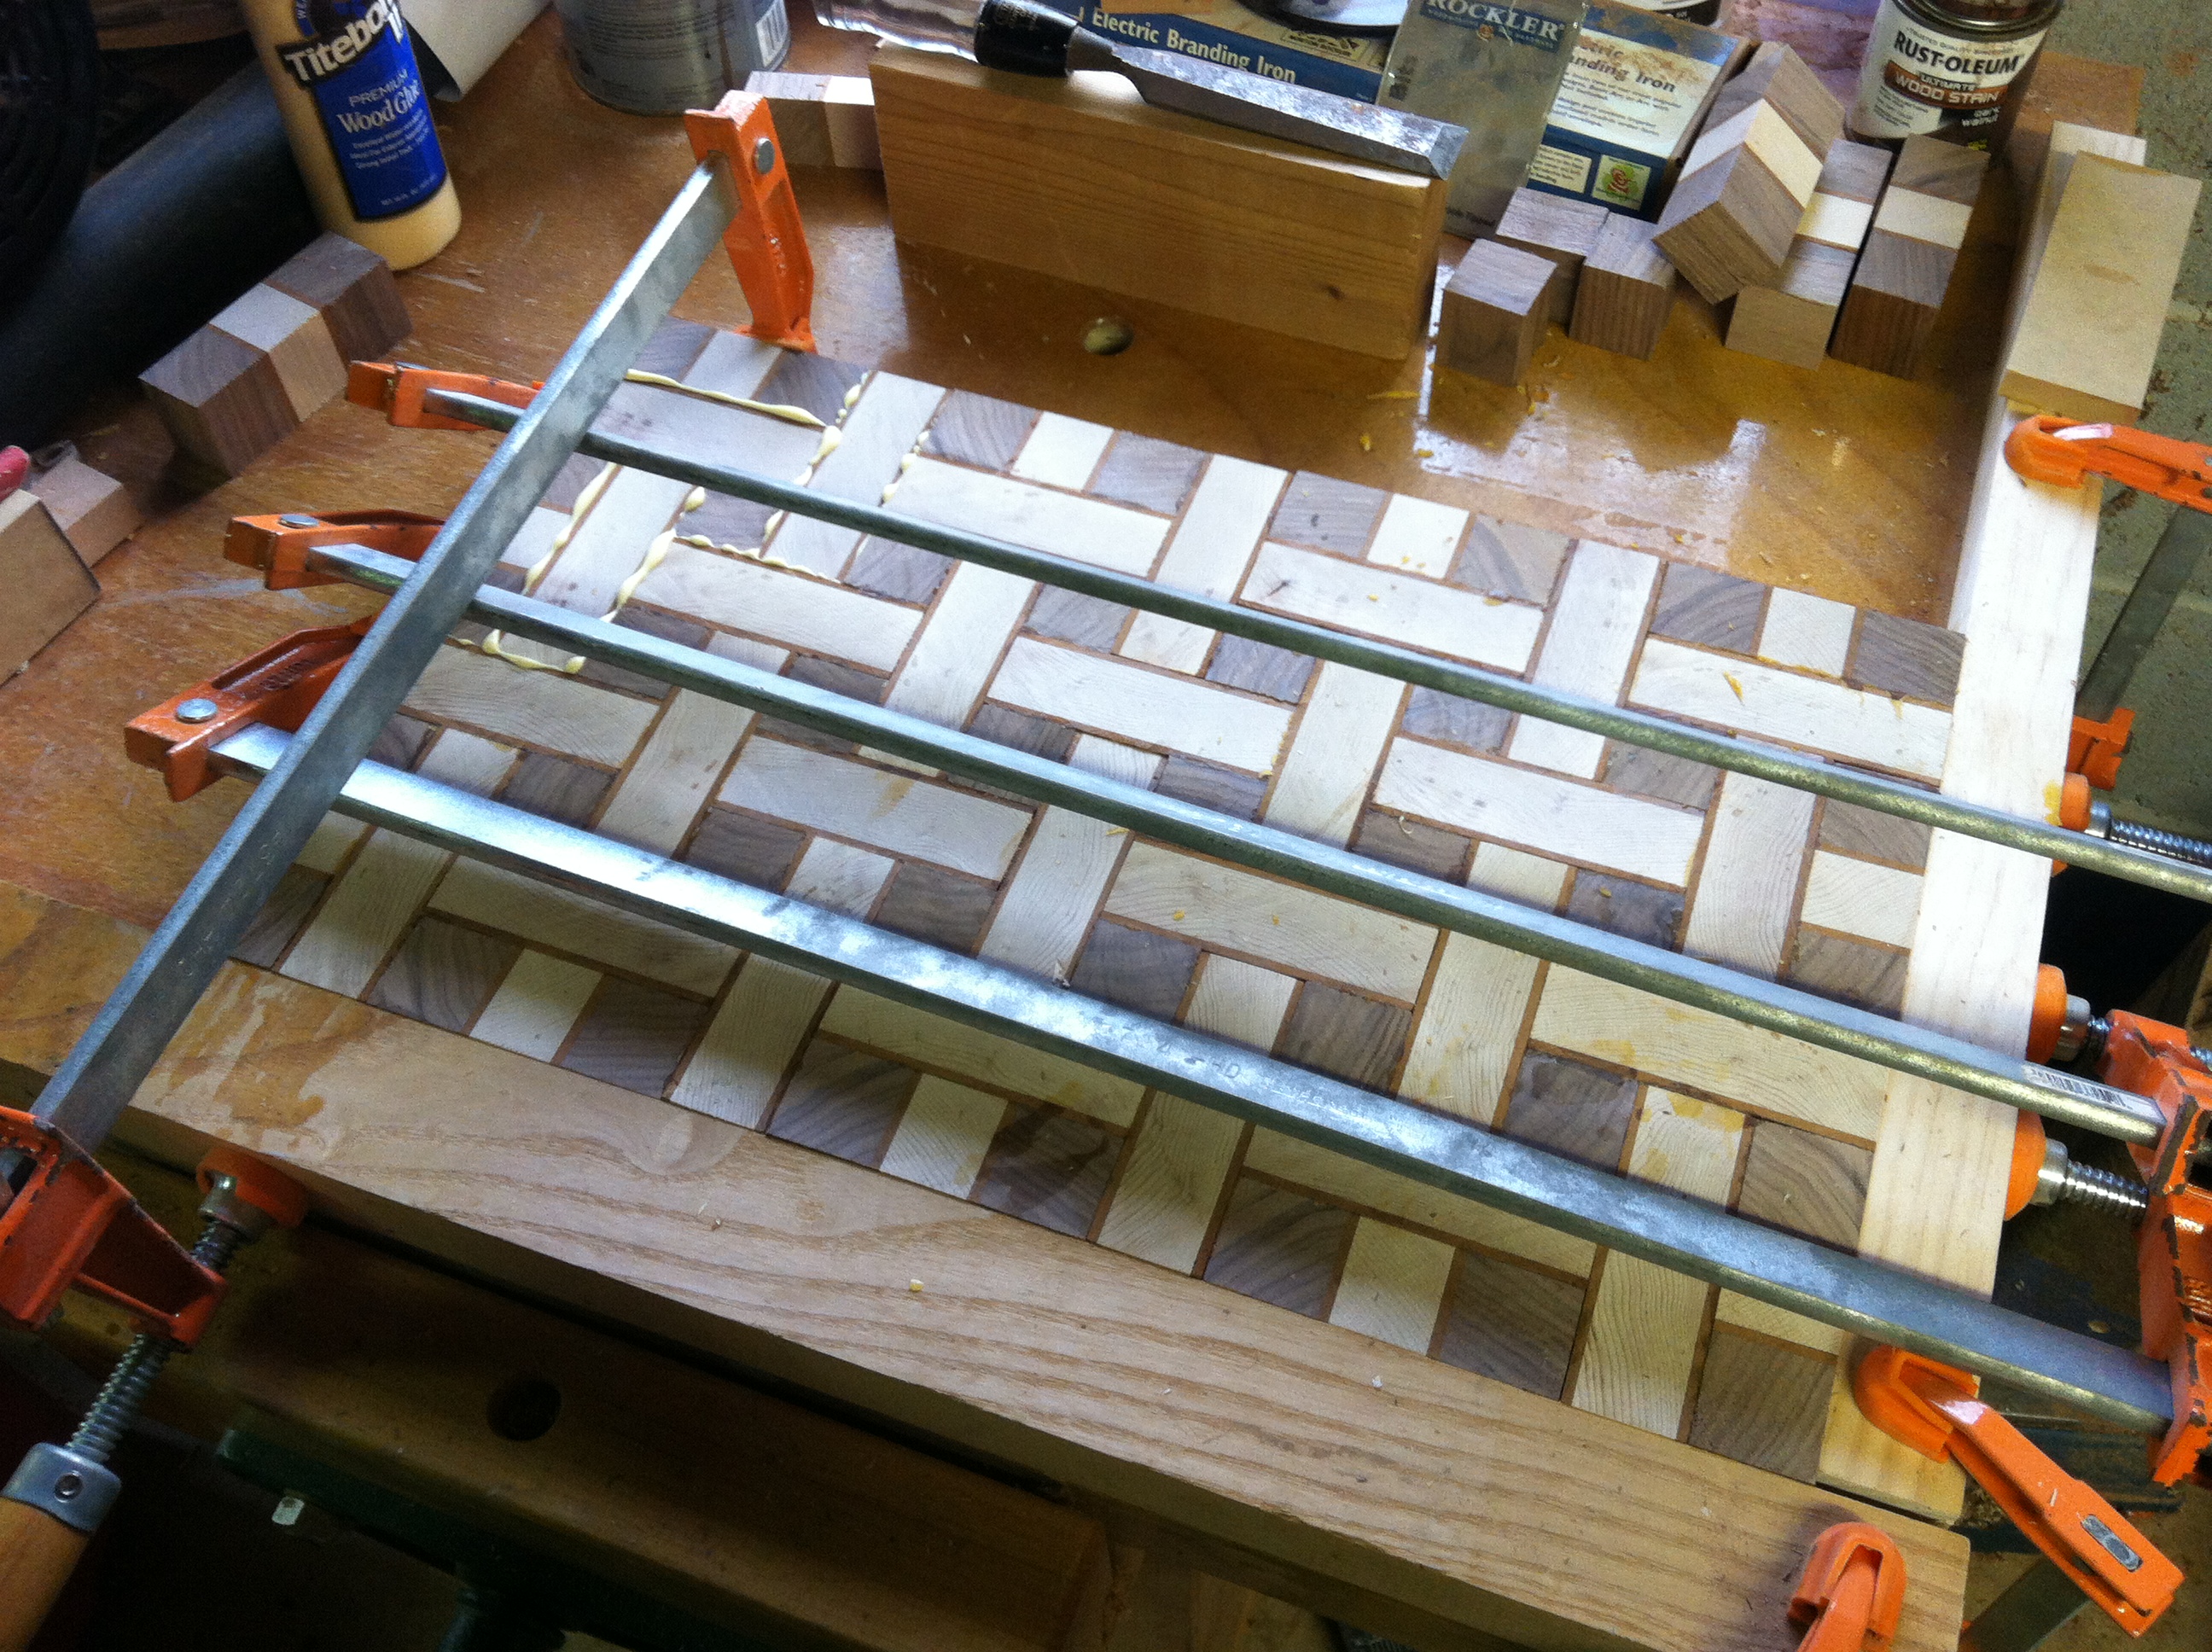
The glue up process was complicated, and involved a systematic approach…again, lots of clamps.
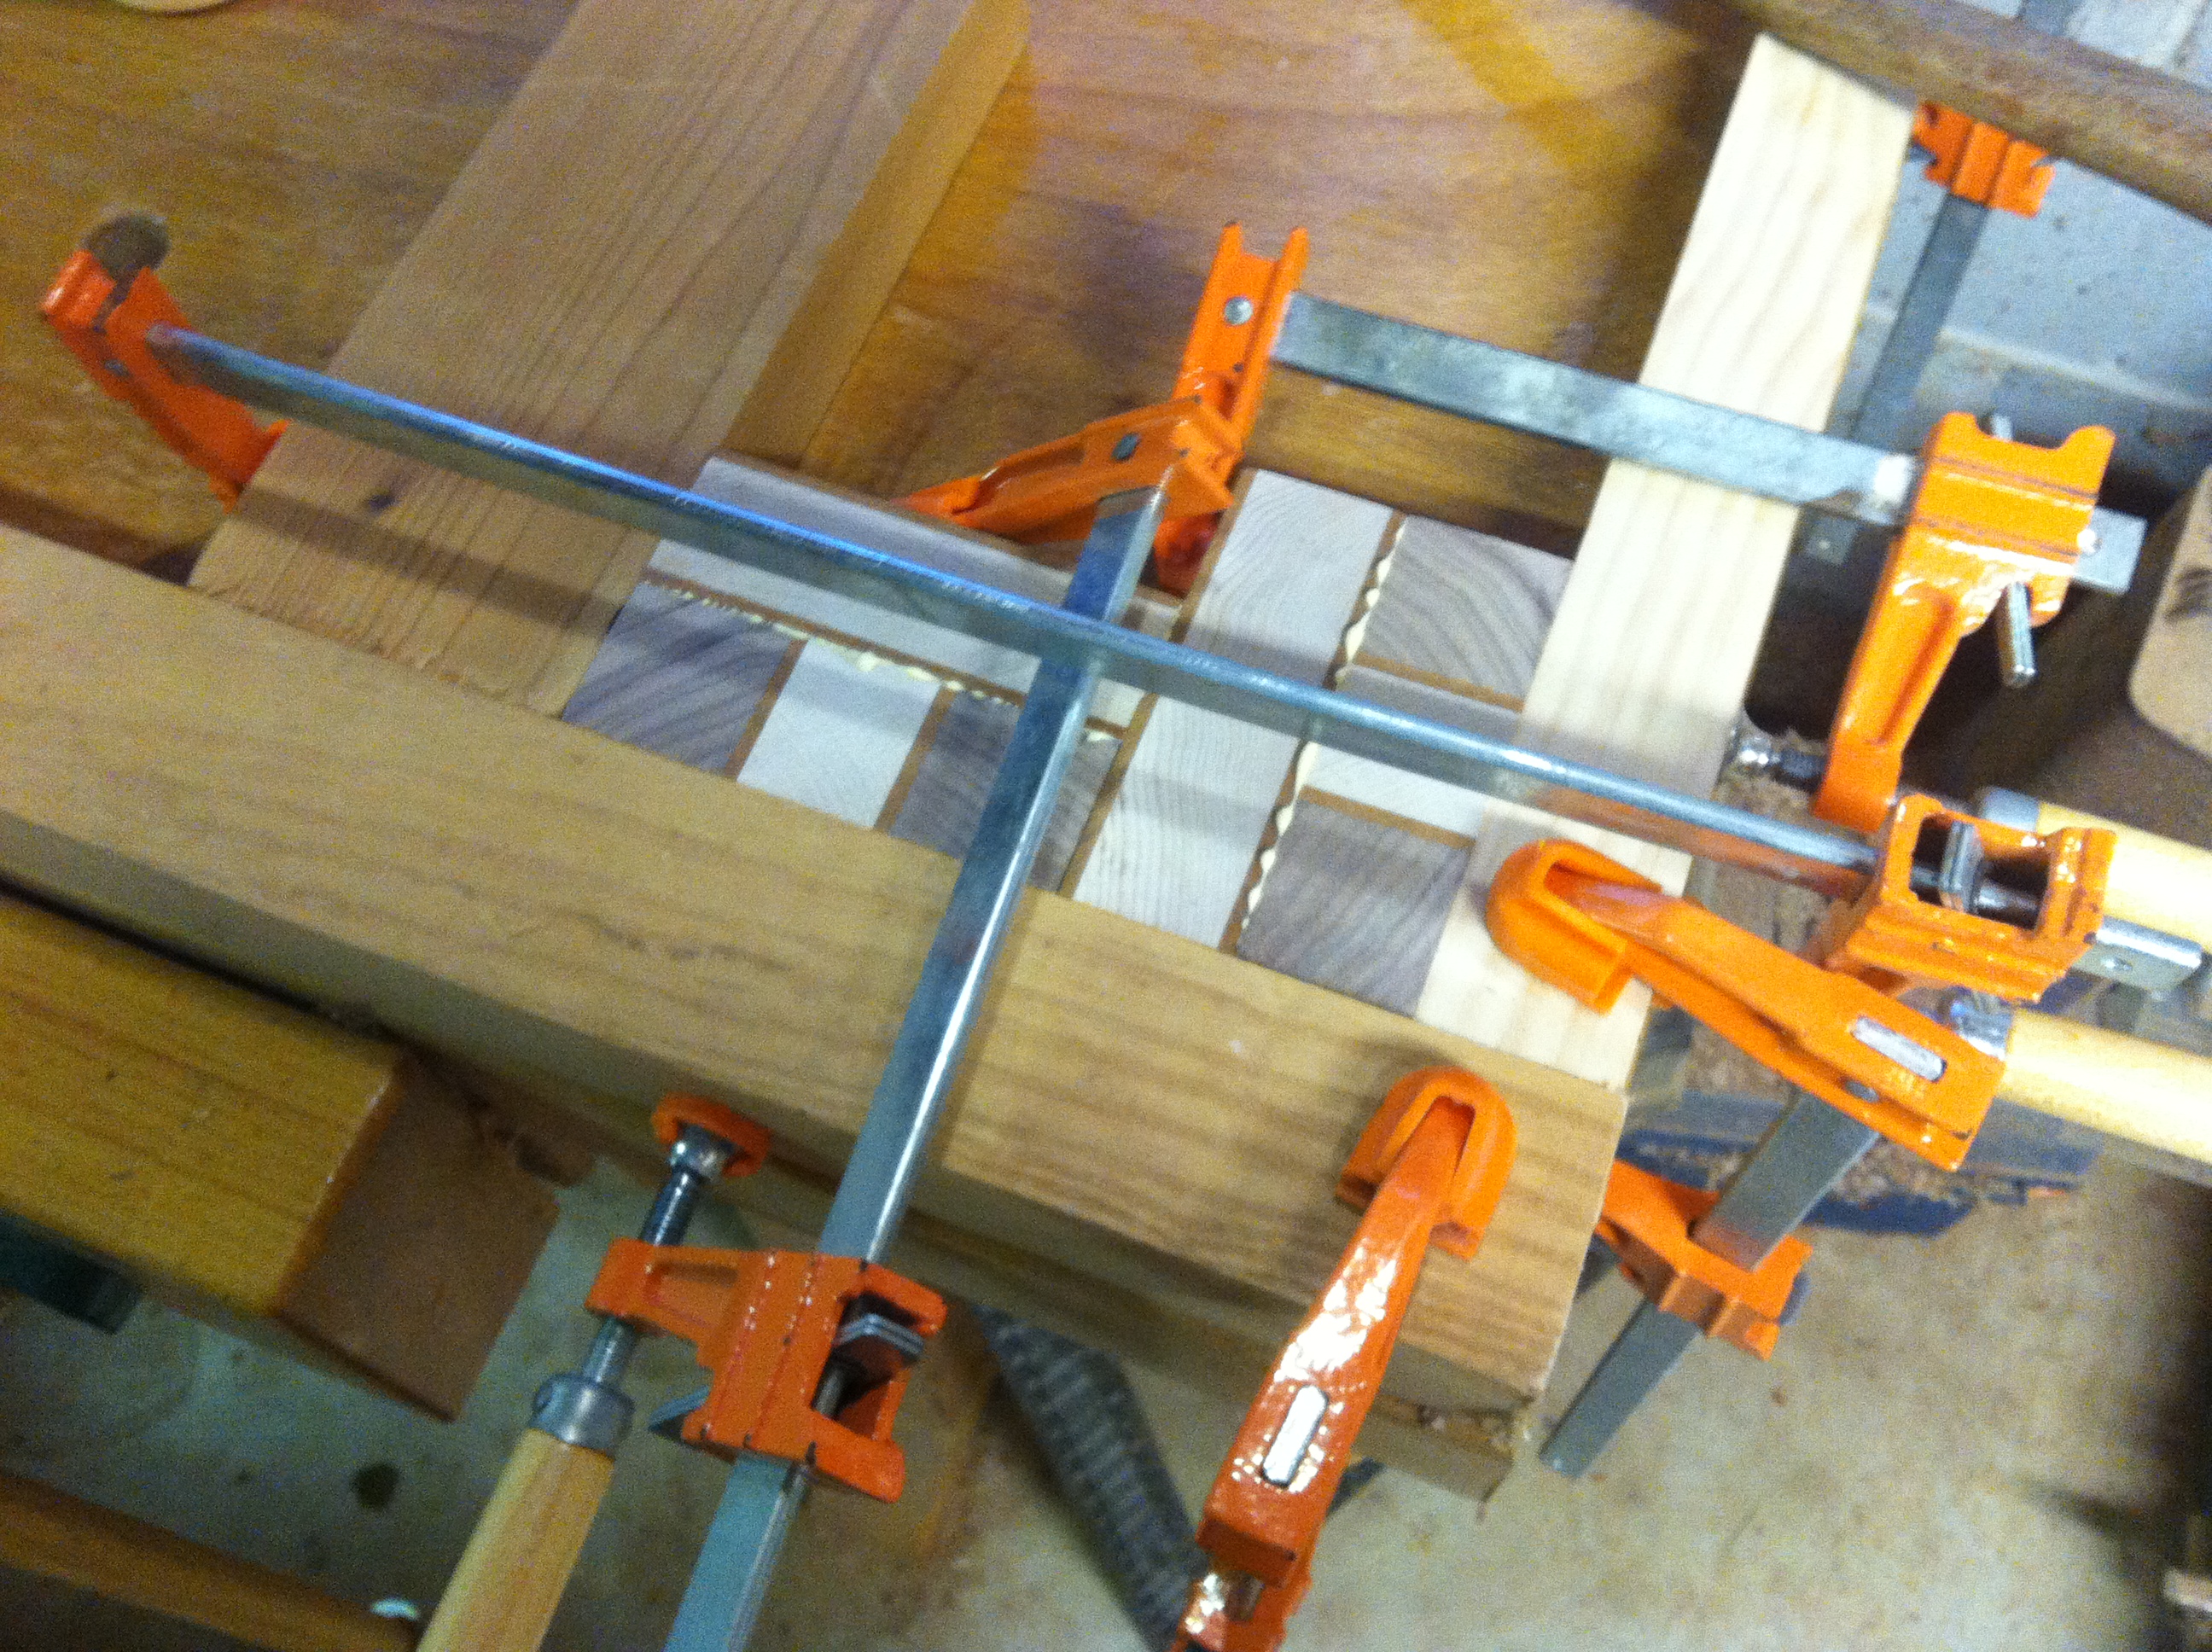
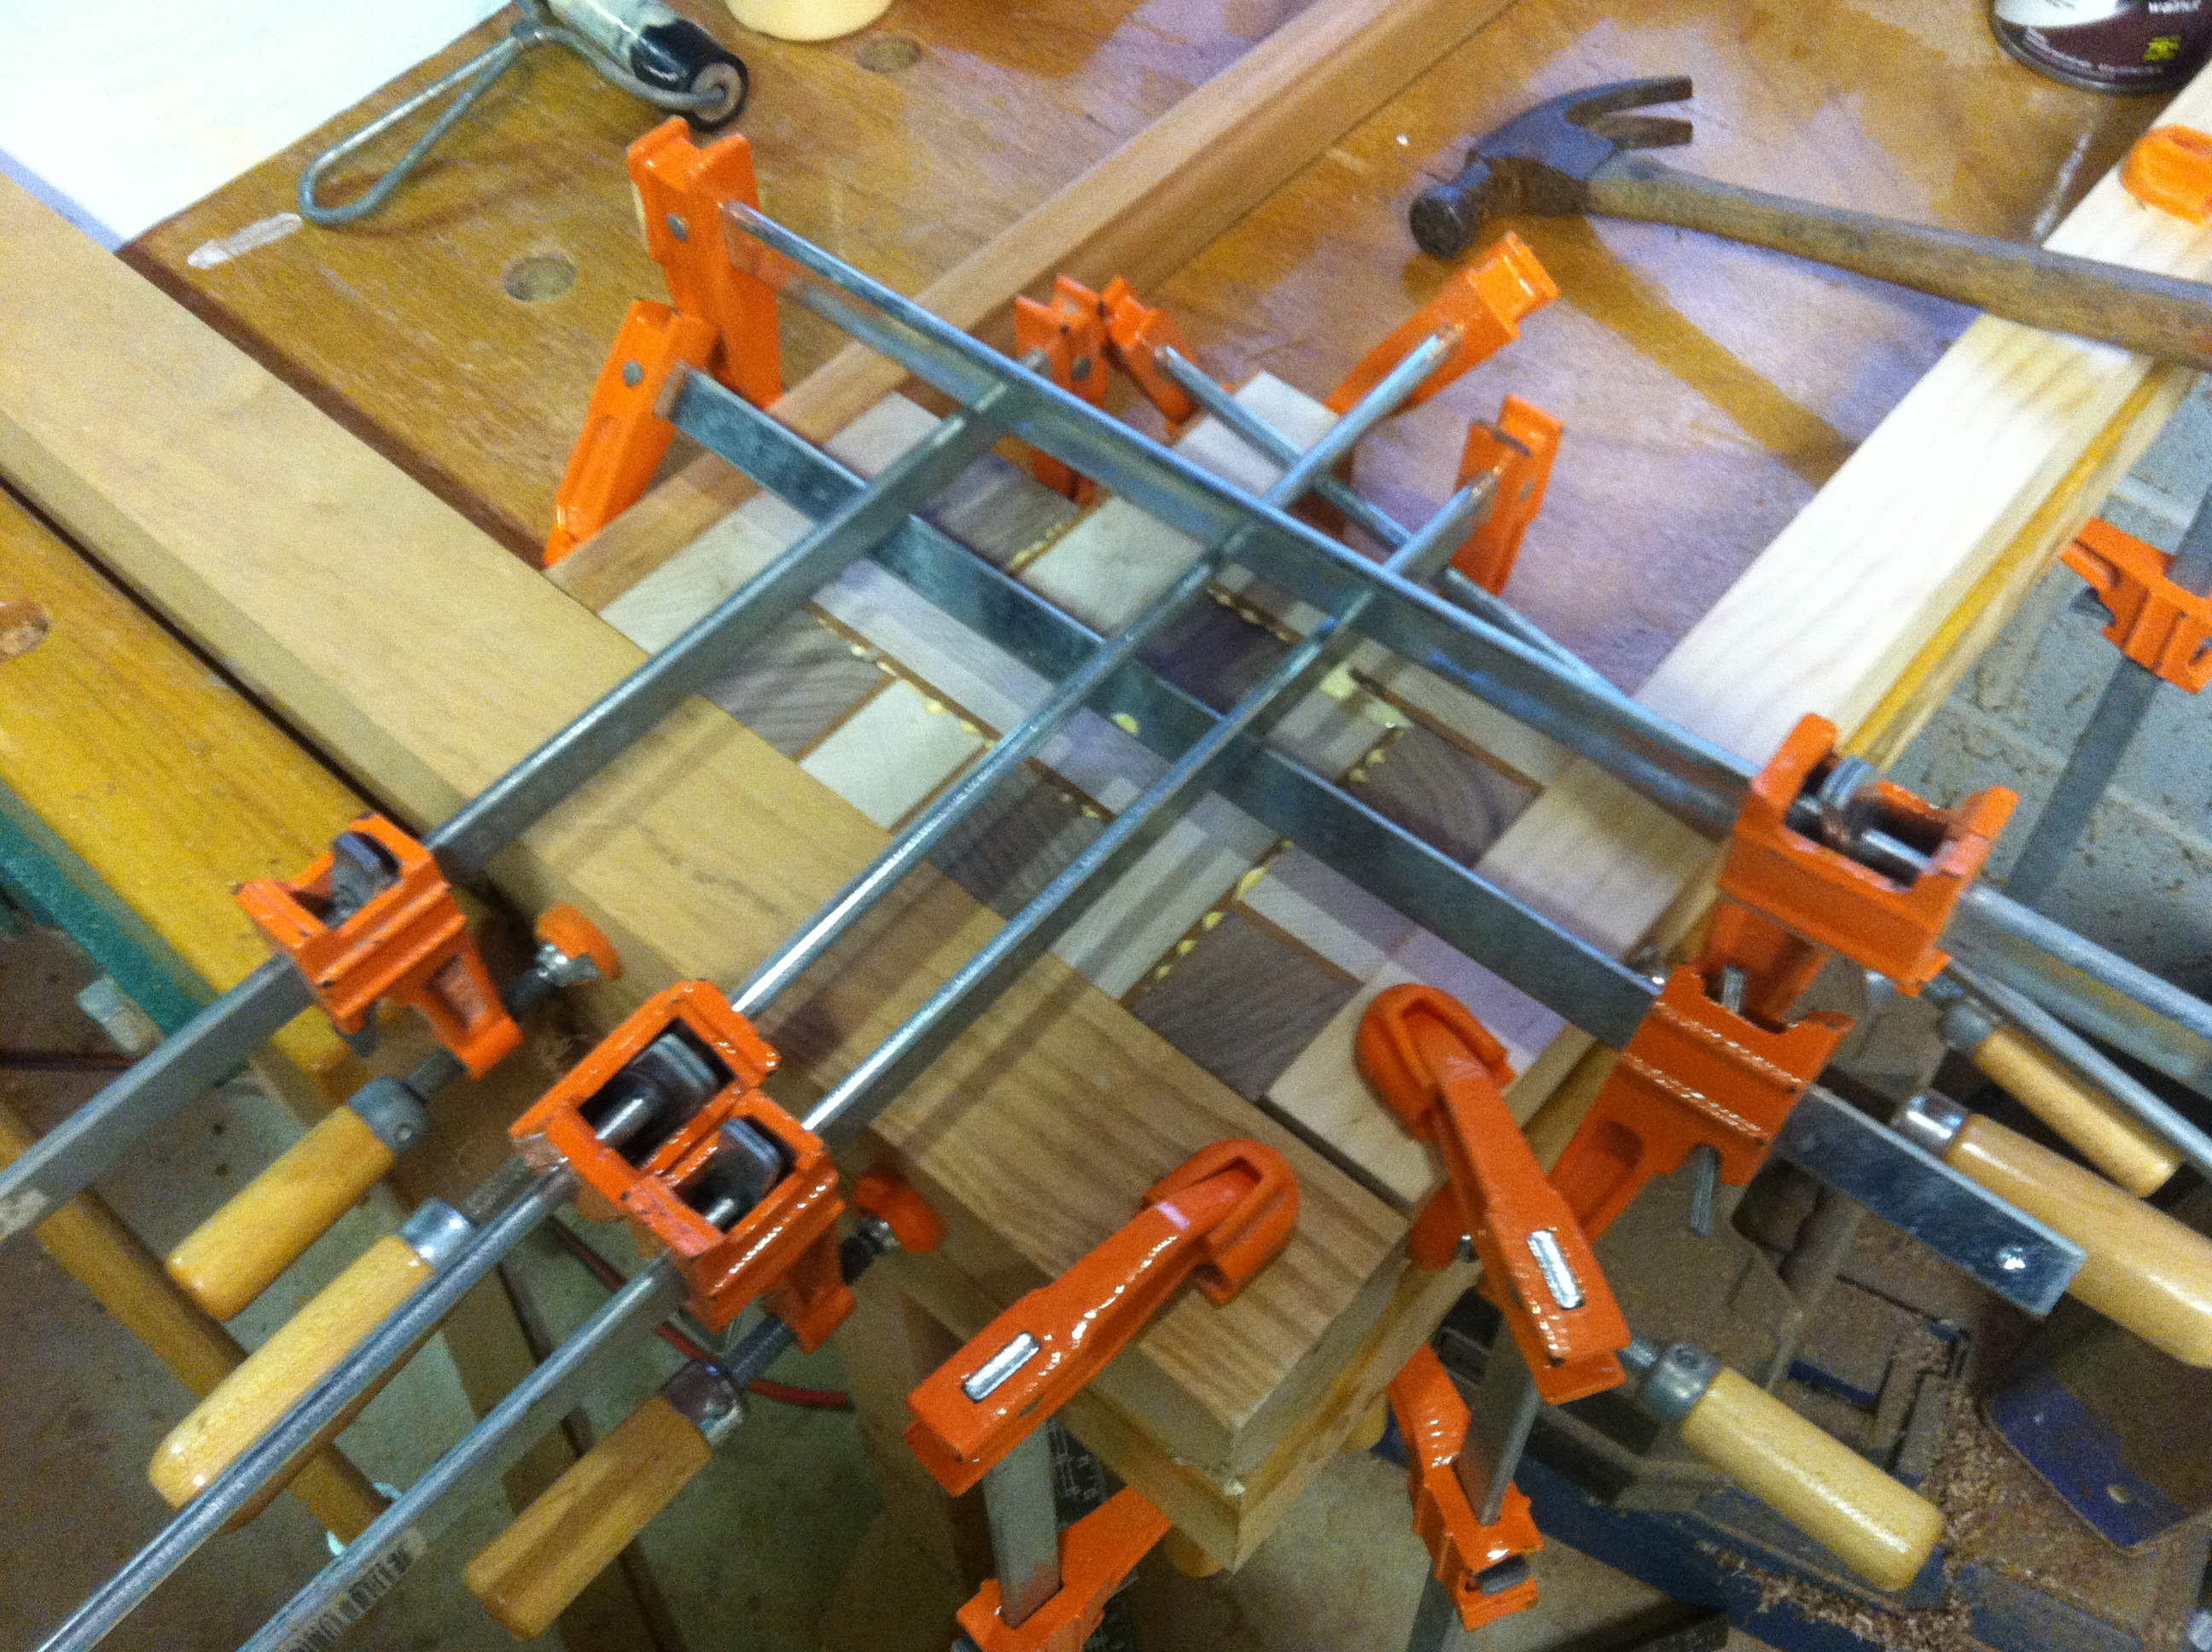
Nearing completion of the final glue up process.
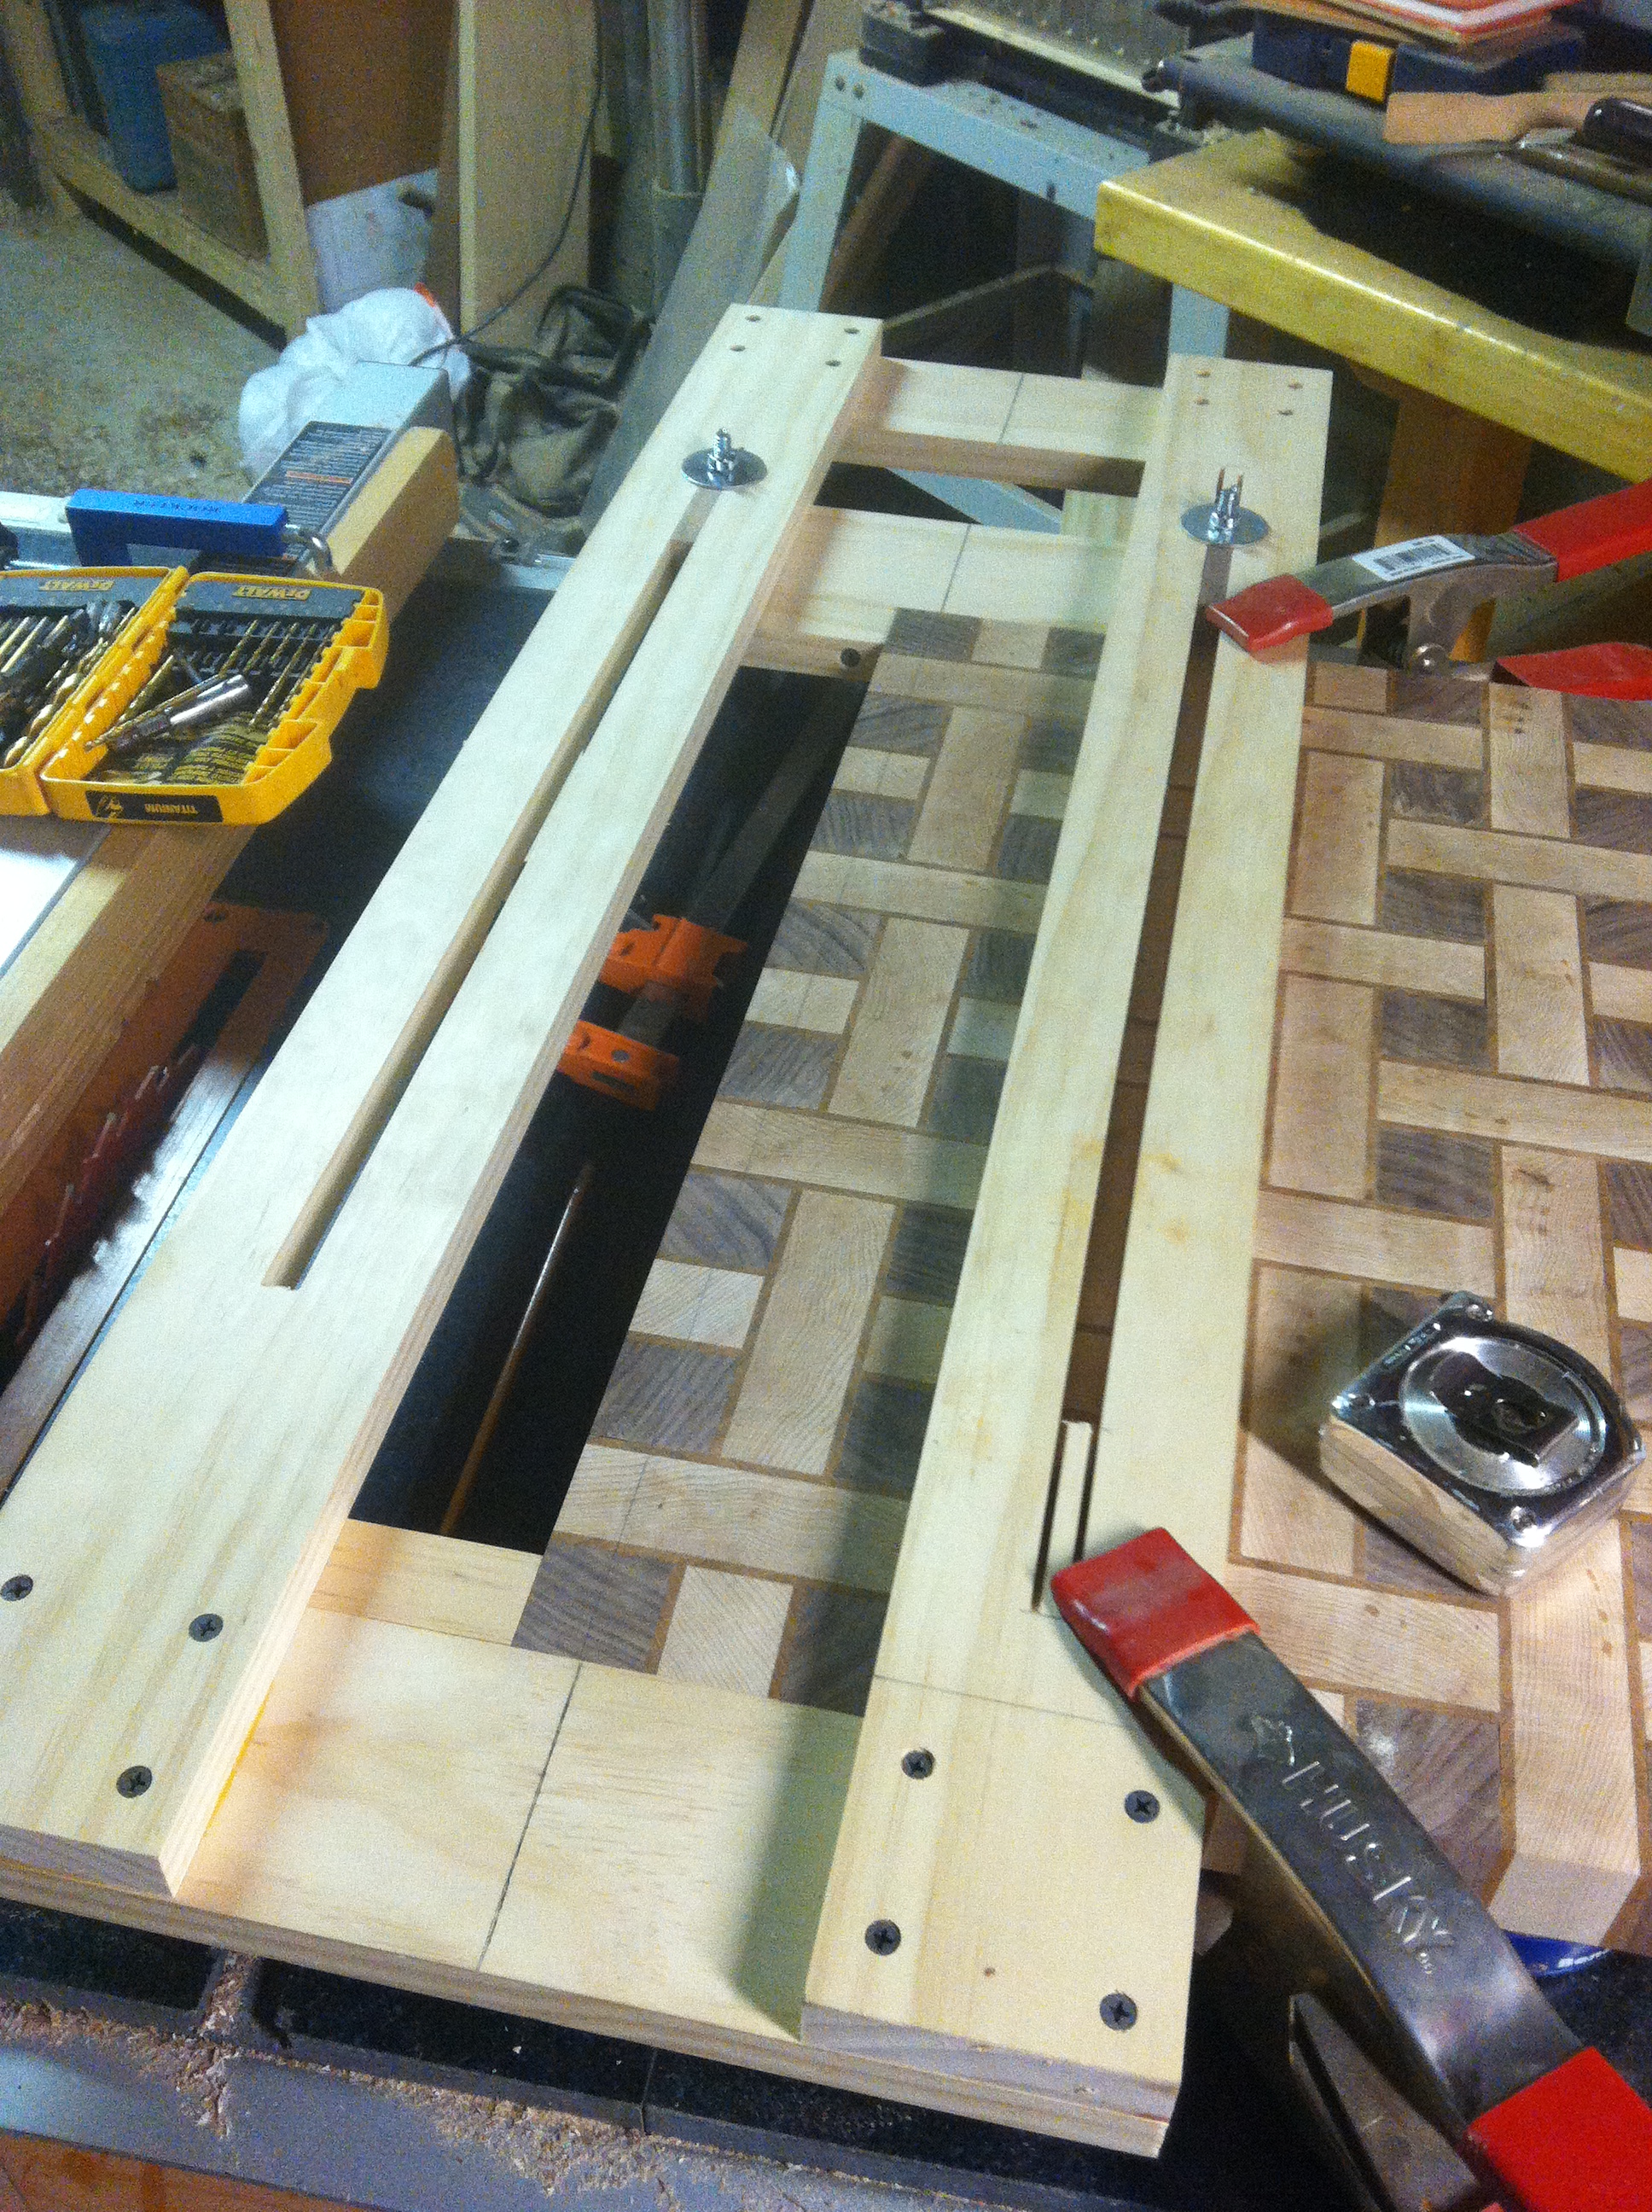
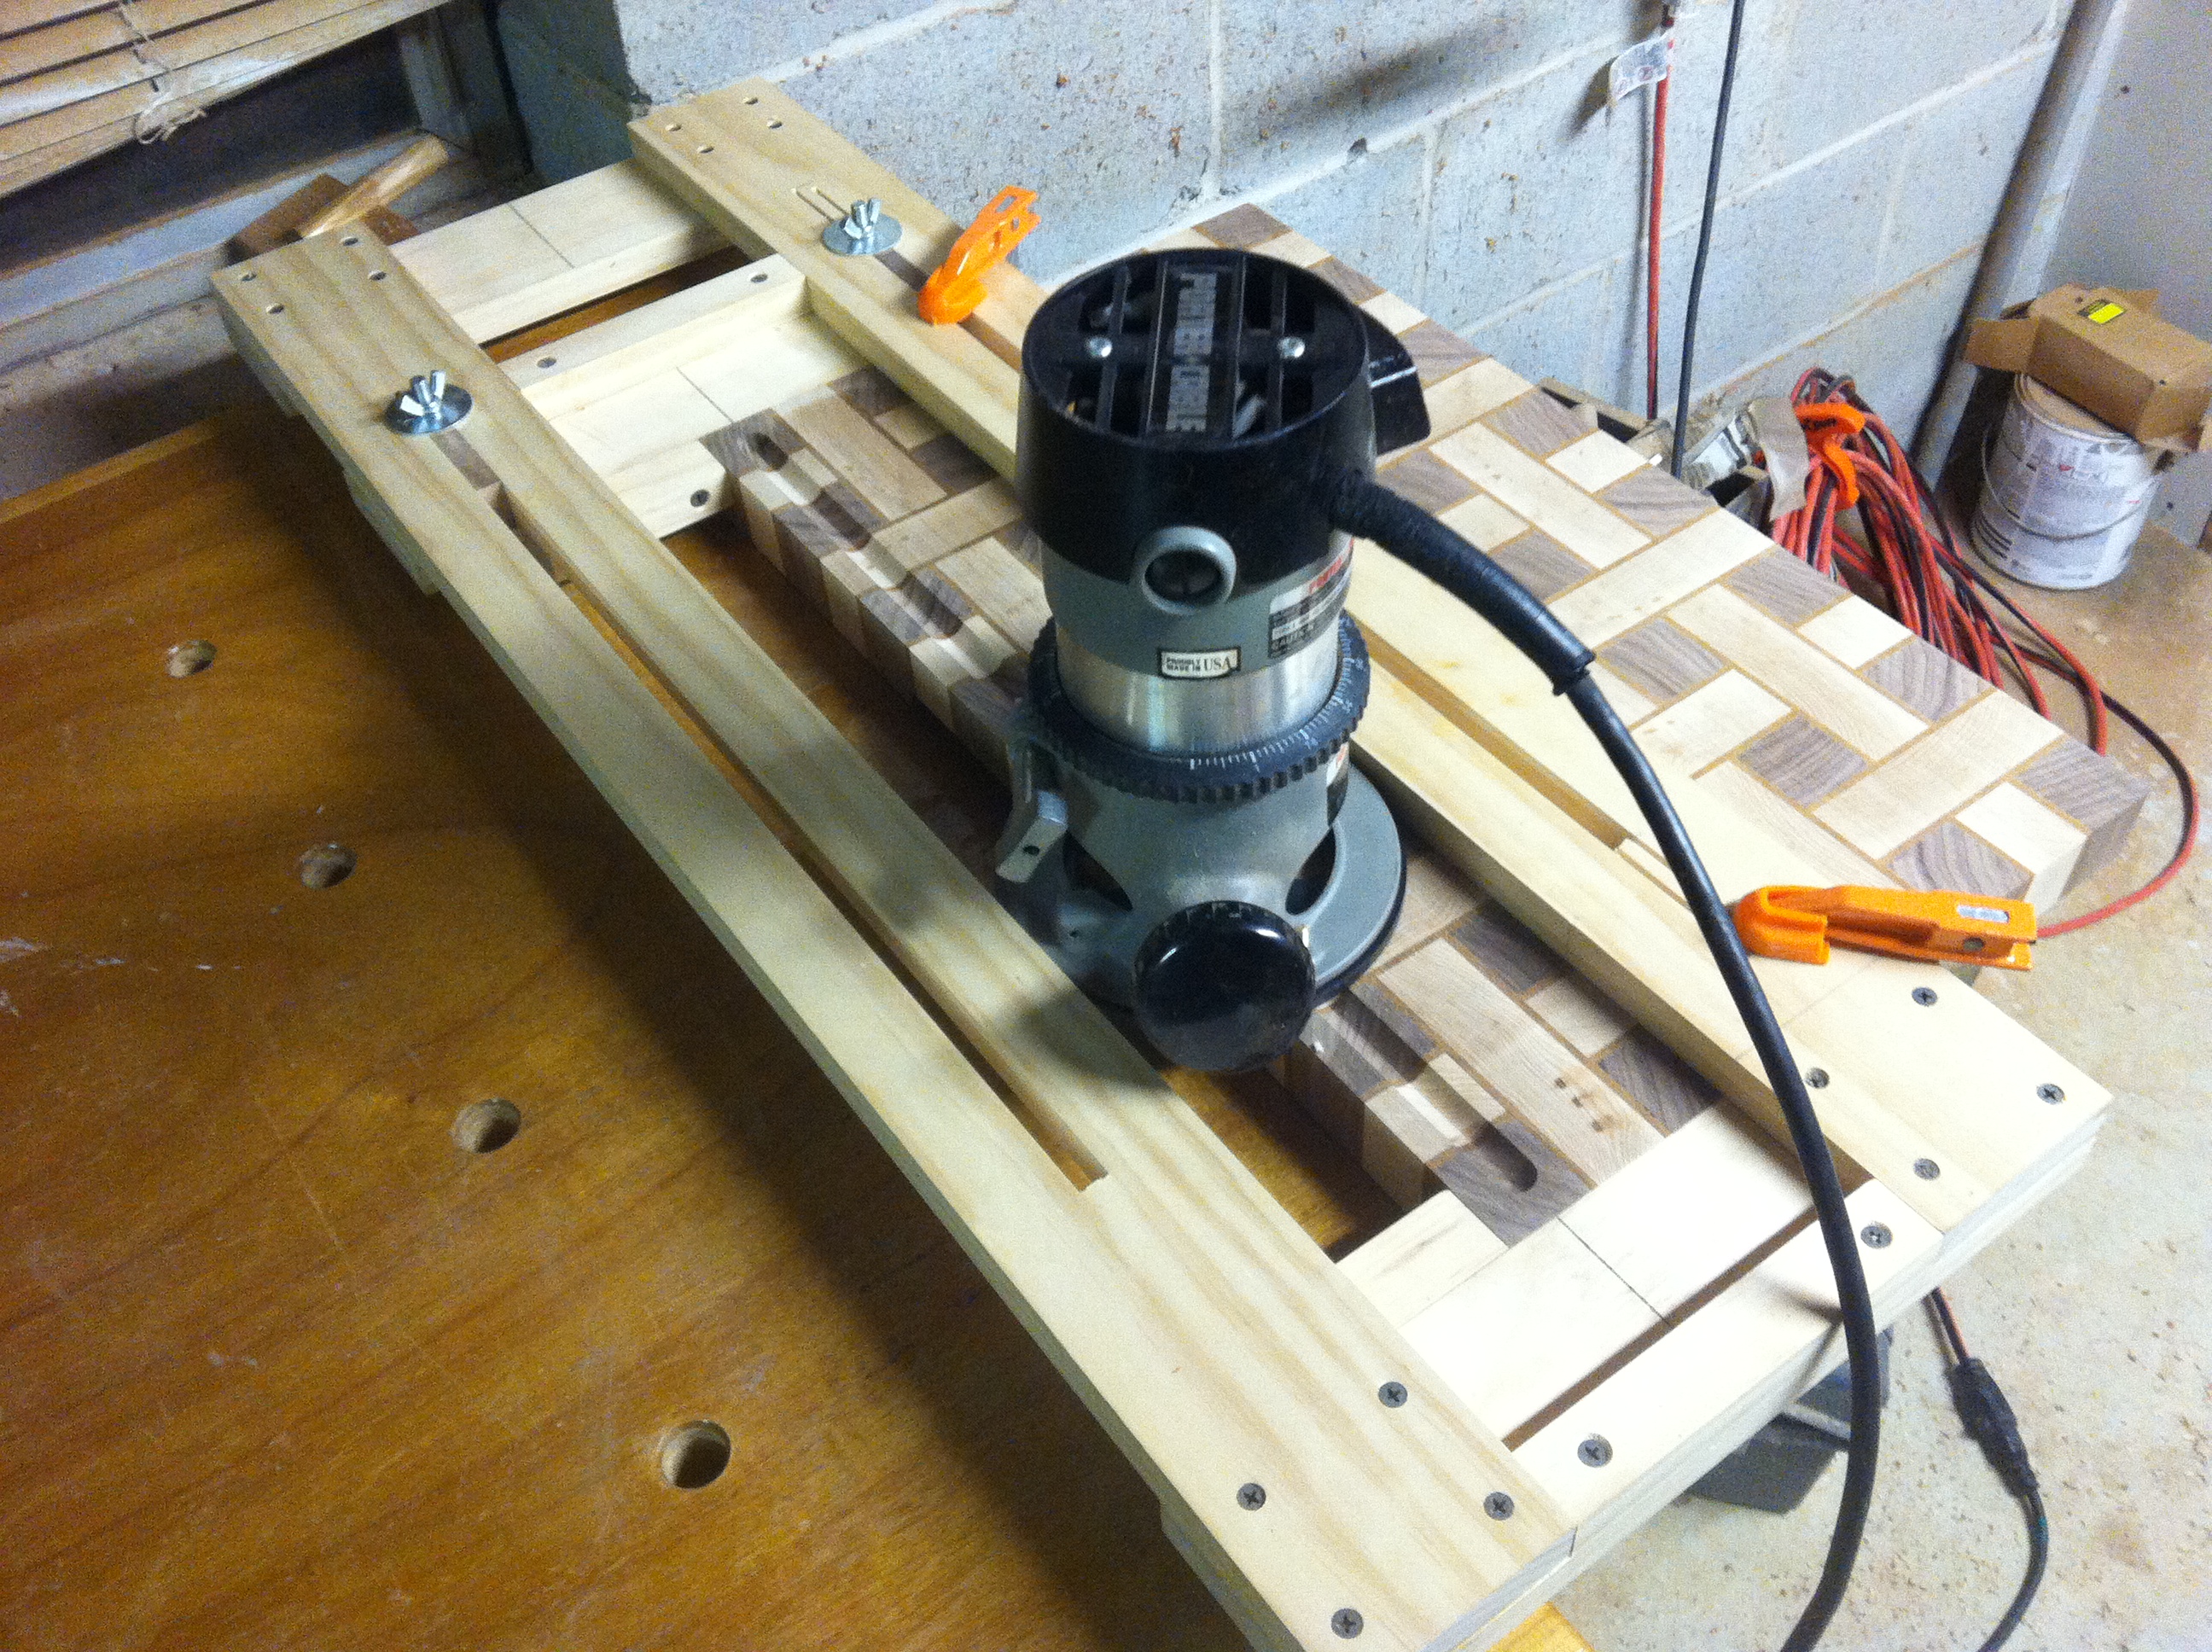
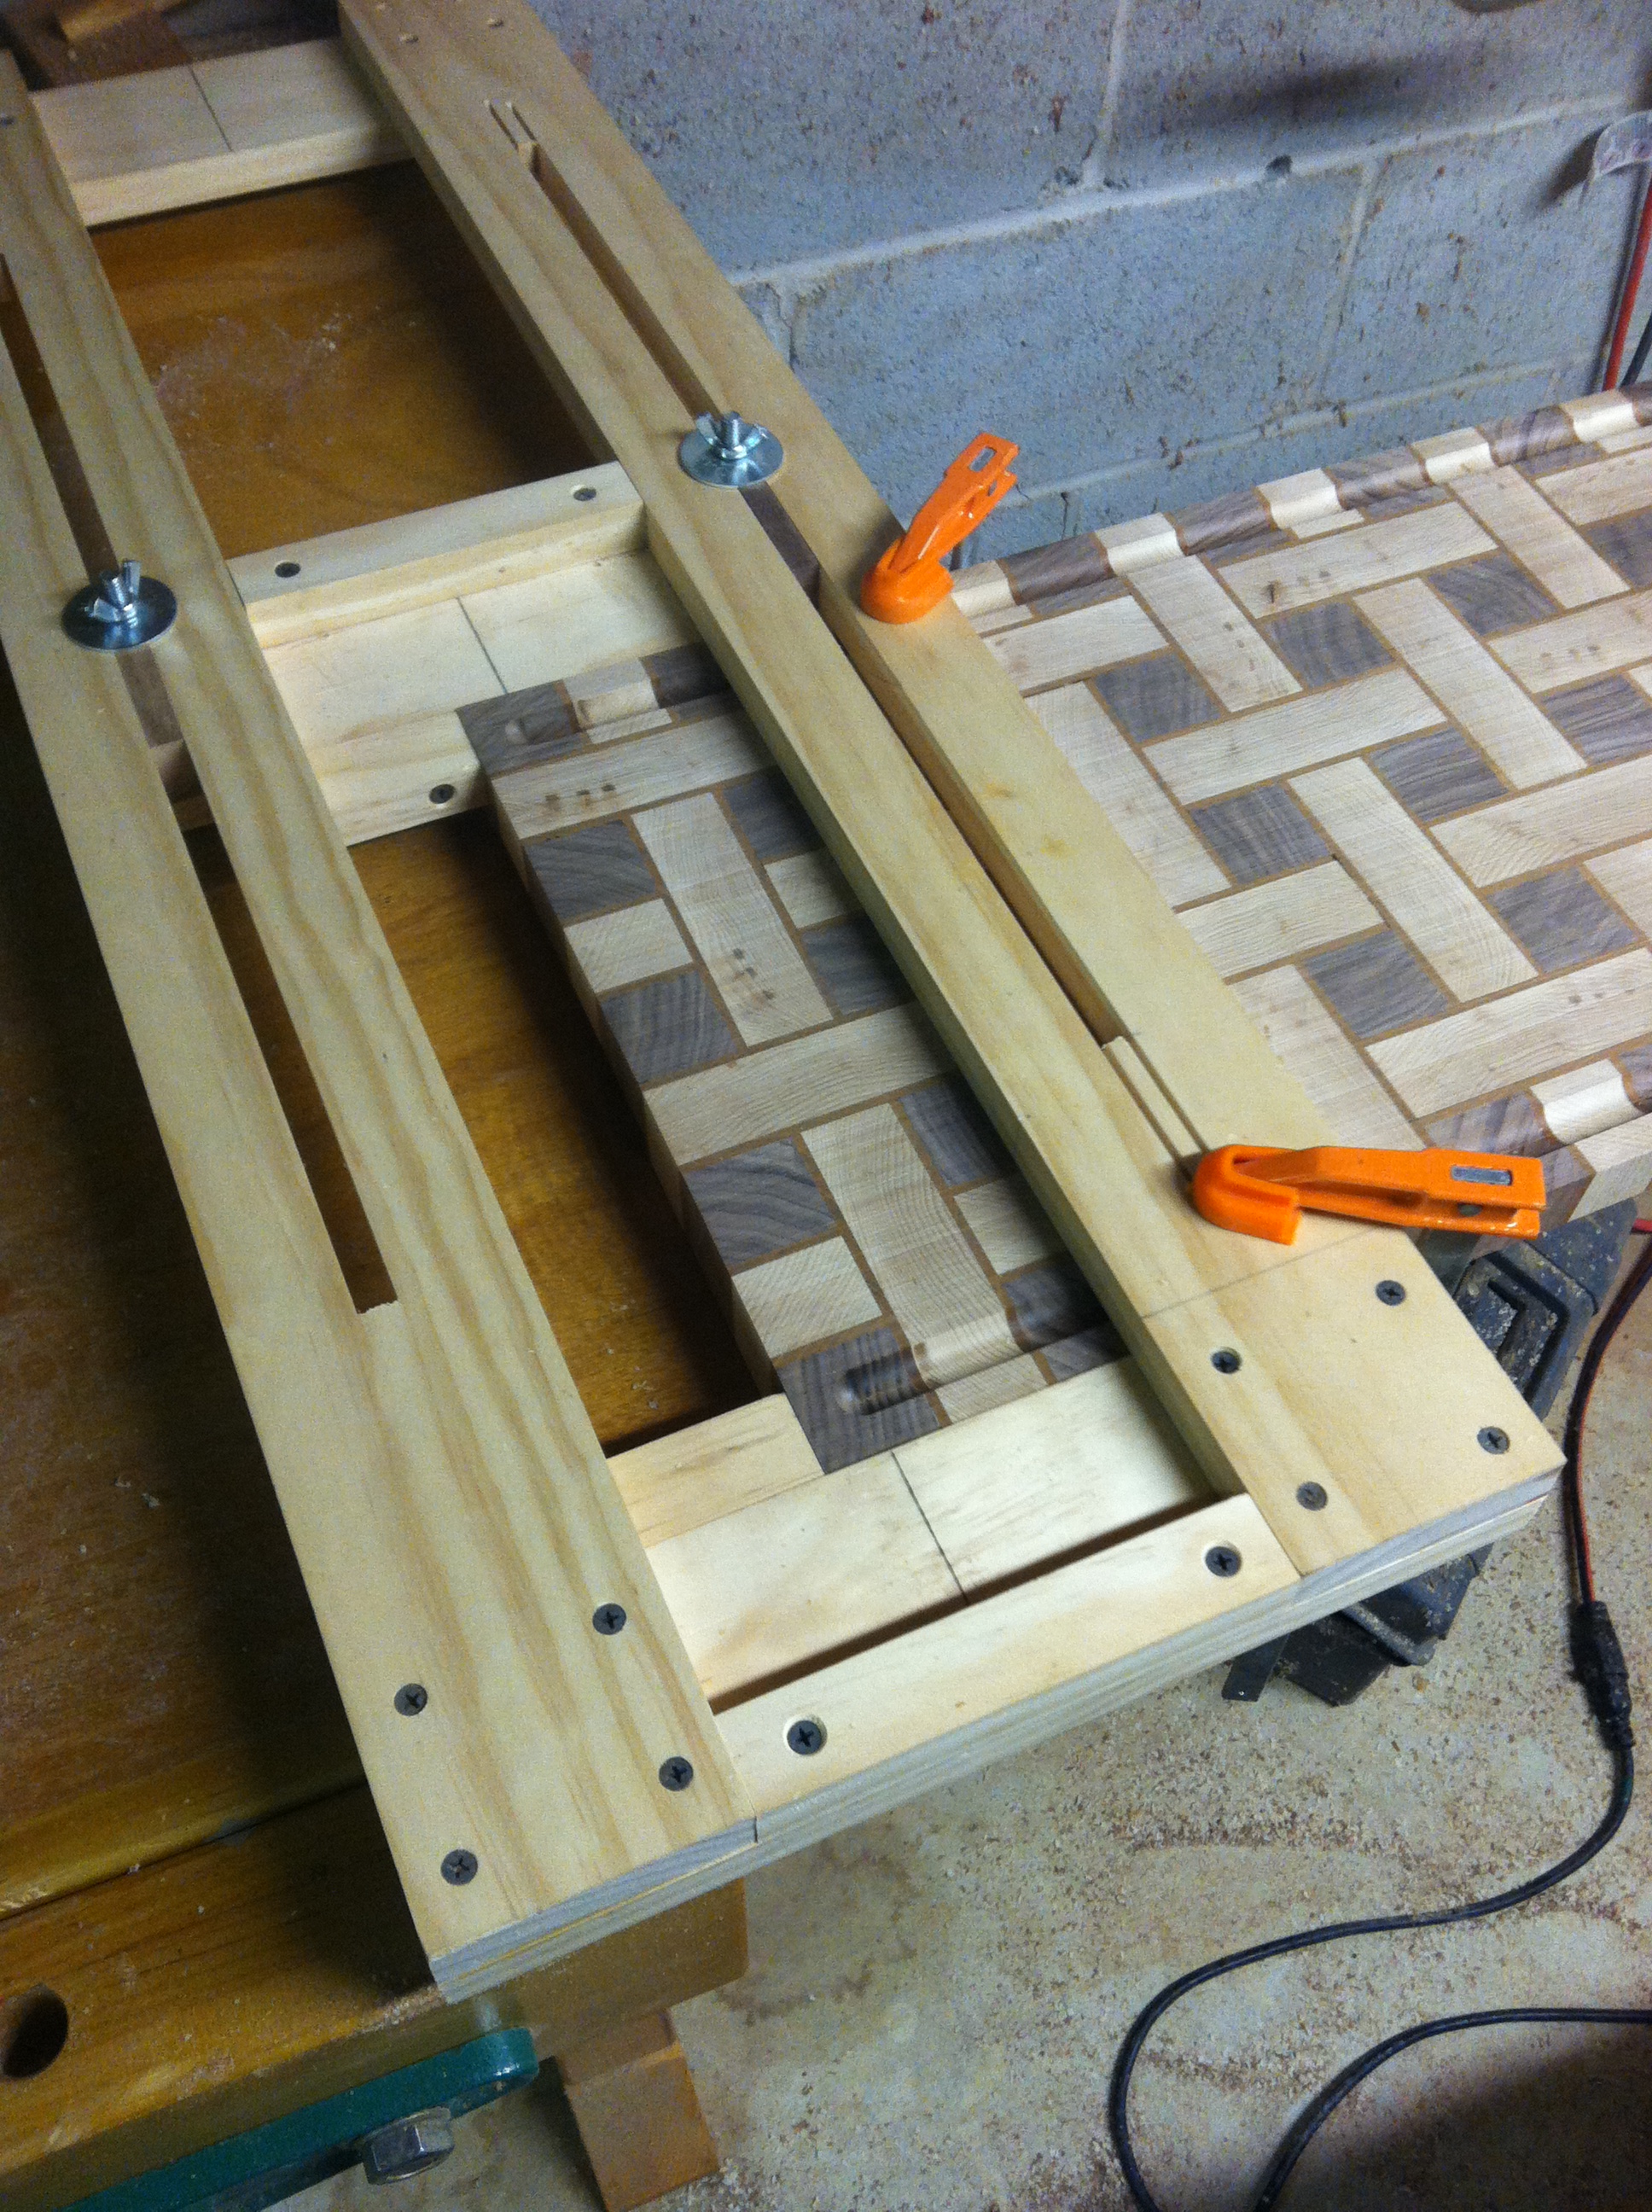
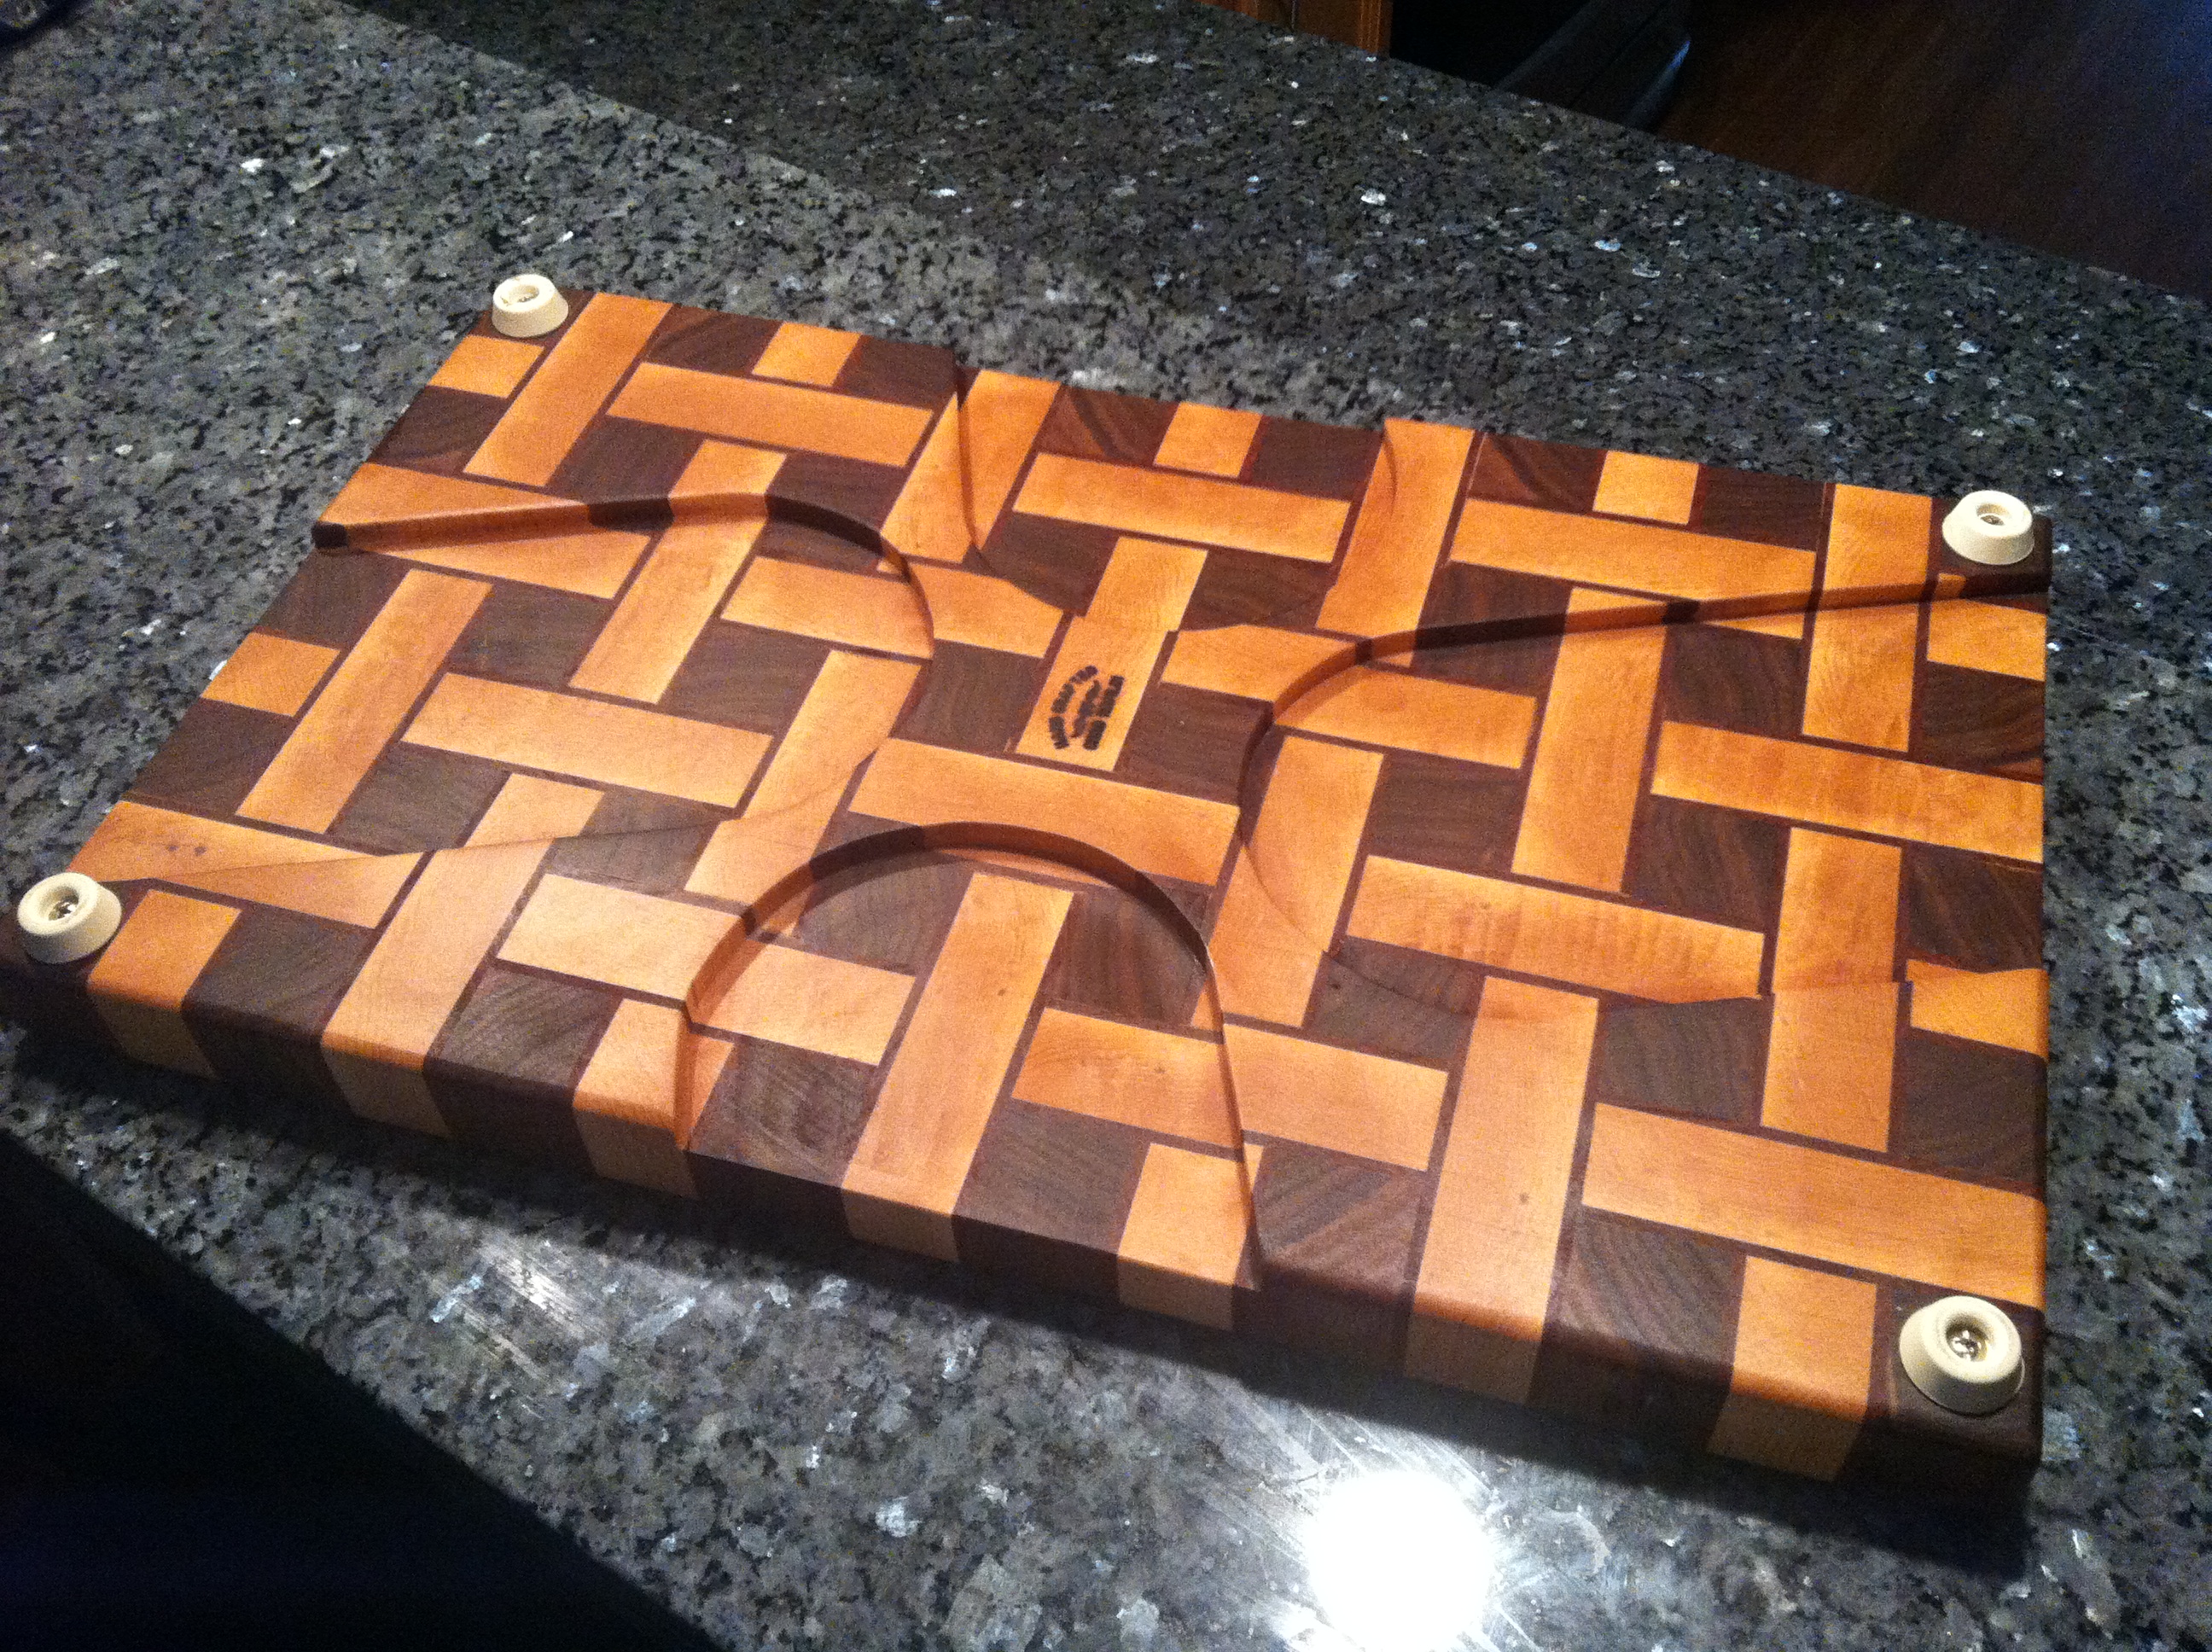
Custom made jig for my signature cutouts on the bottom. This is an added step, and a lot of work, but I feel it adds to the character of the piece.
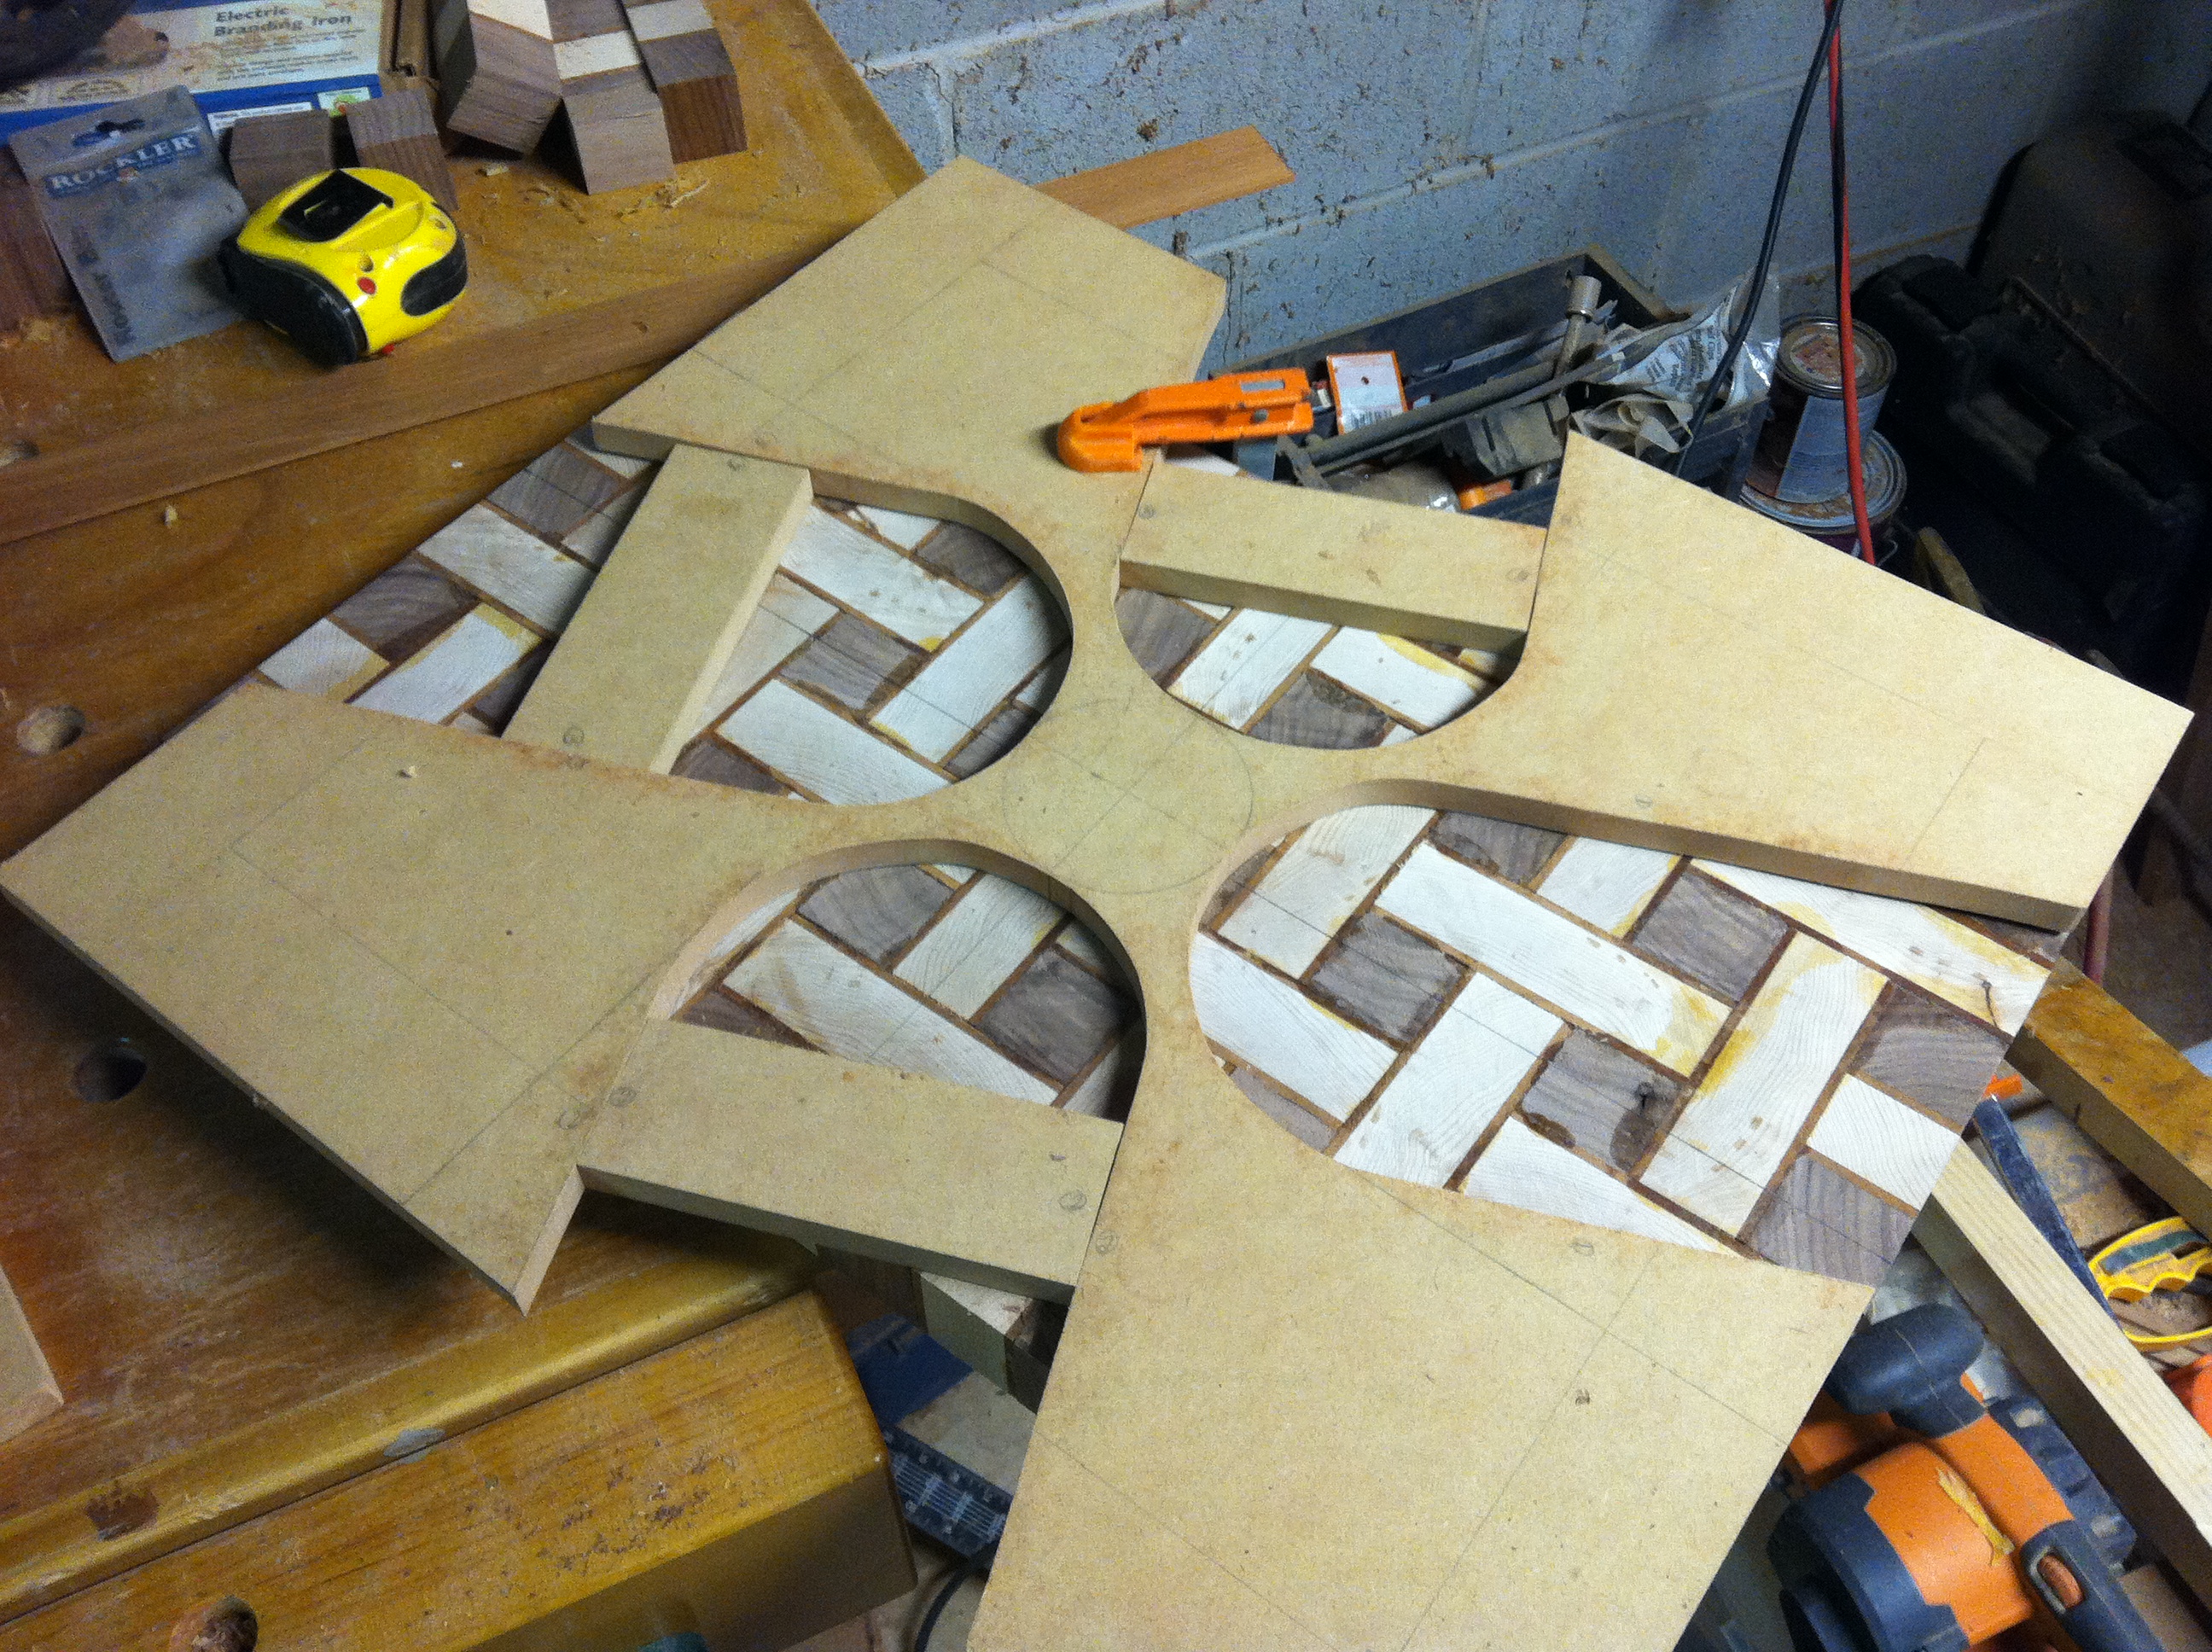
This is a custom made jig that I made to cut out the juice moat in the top. The juice moat seems to be a very simple thing to create, but it is actually quite complicated and requires some precision. This is the part of the process that makes me the most nervous. In an instant, one wrong move can ruin a piece.
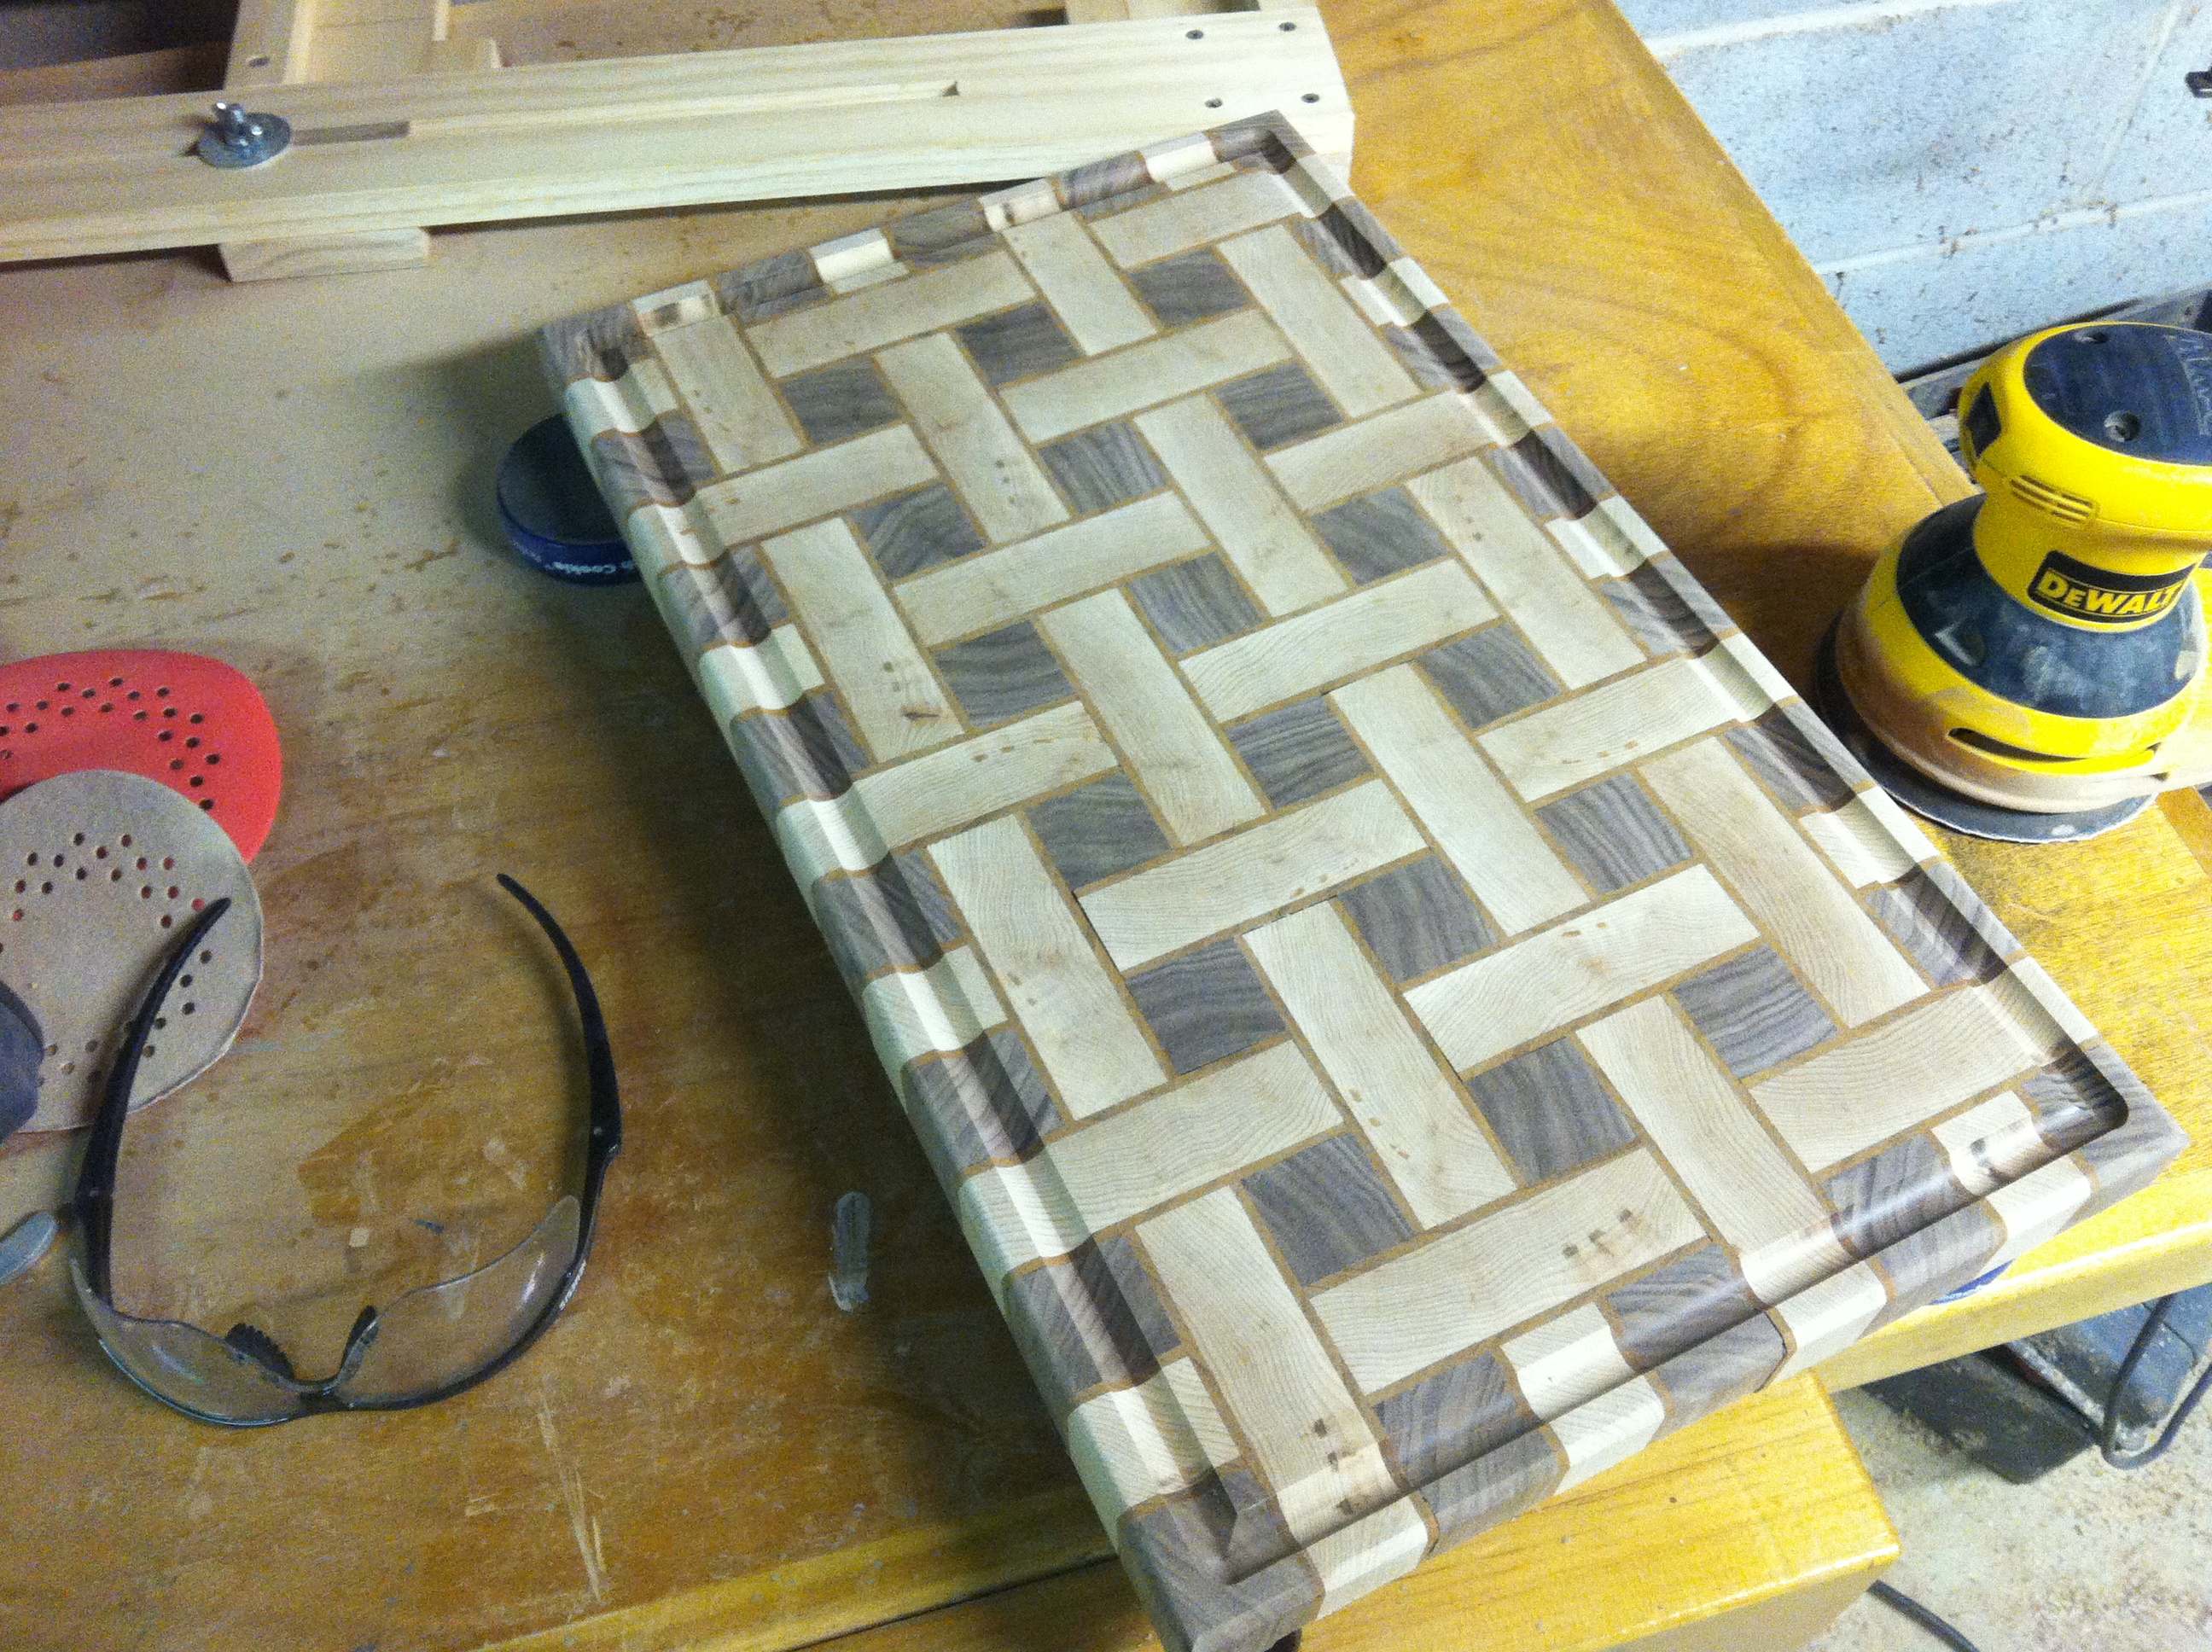
The piece, nearly finished. Rough sanded.
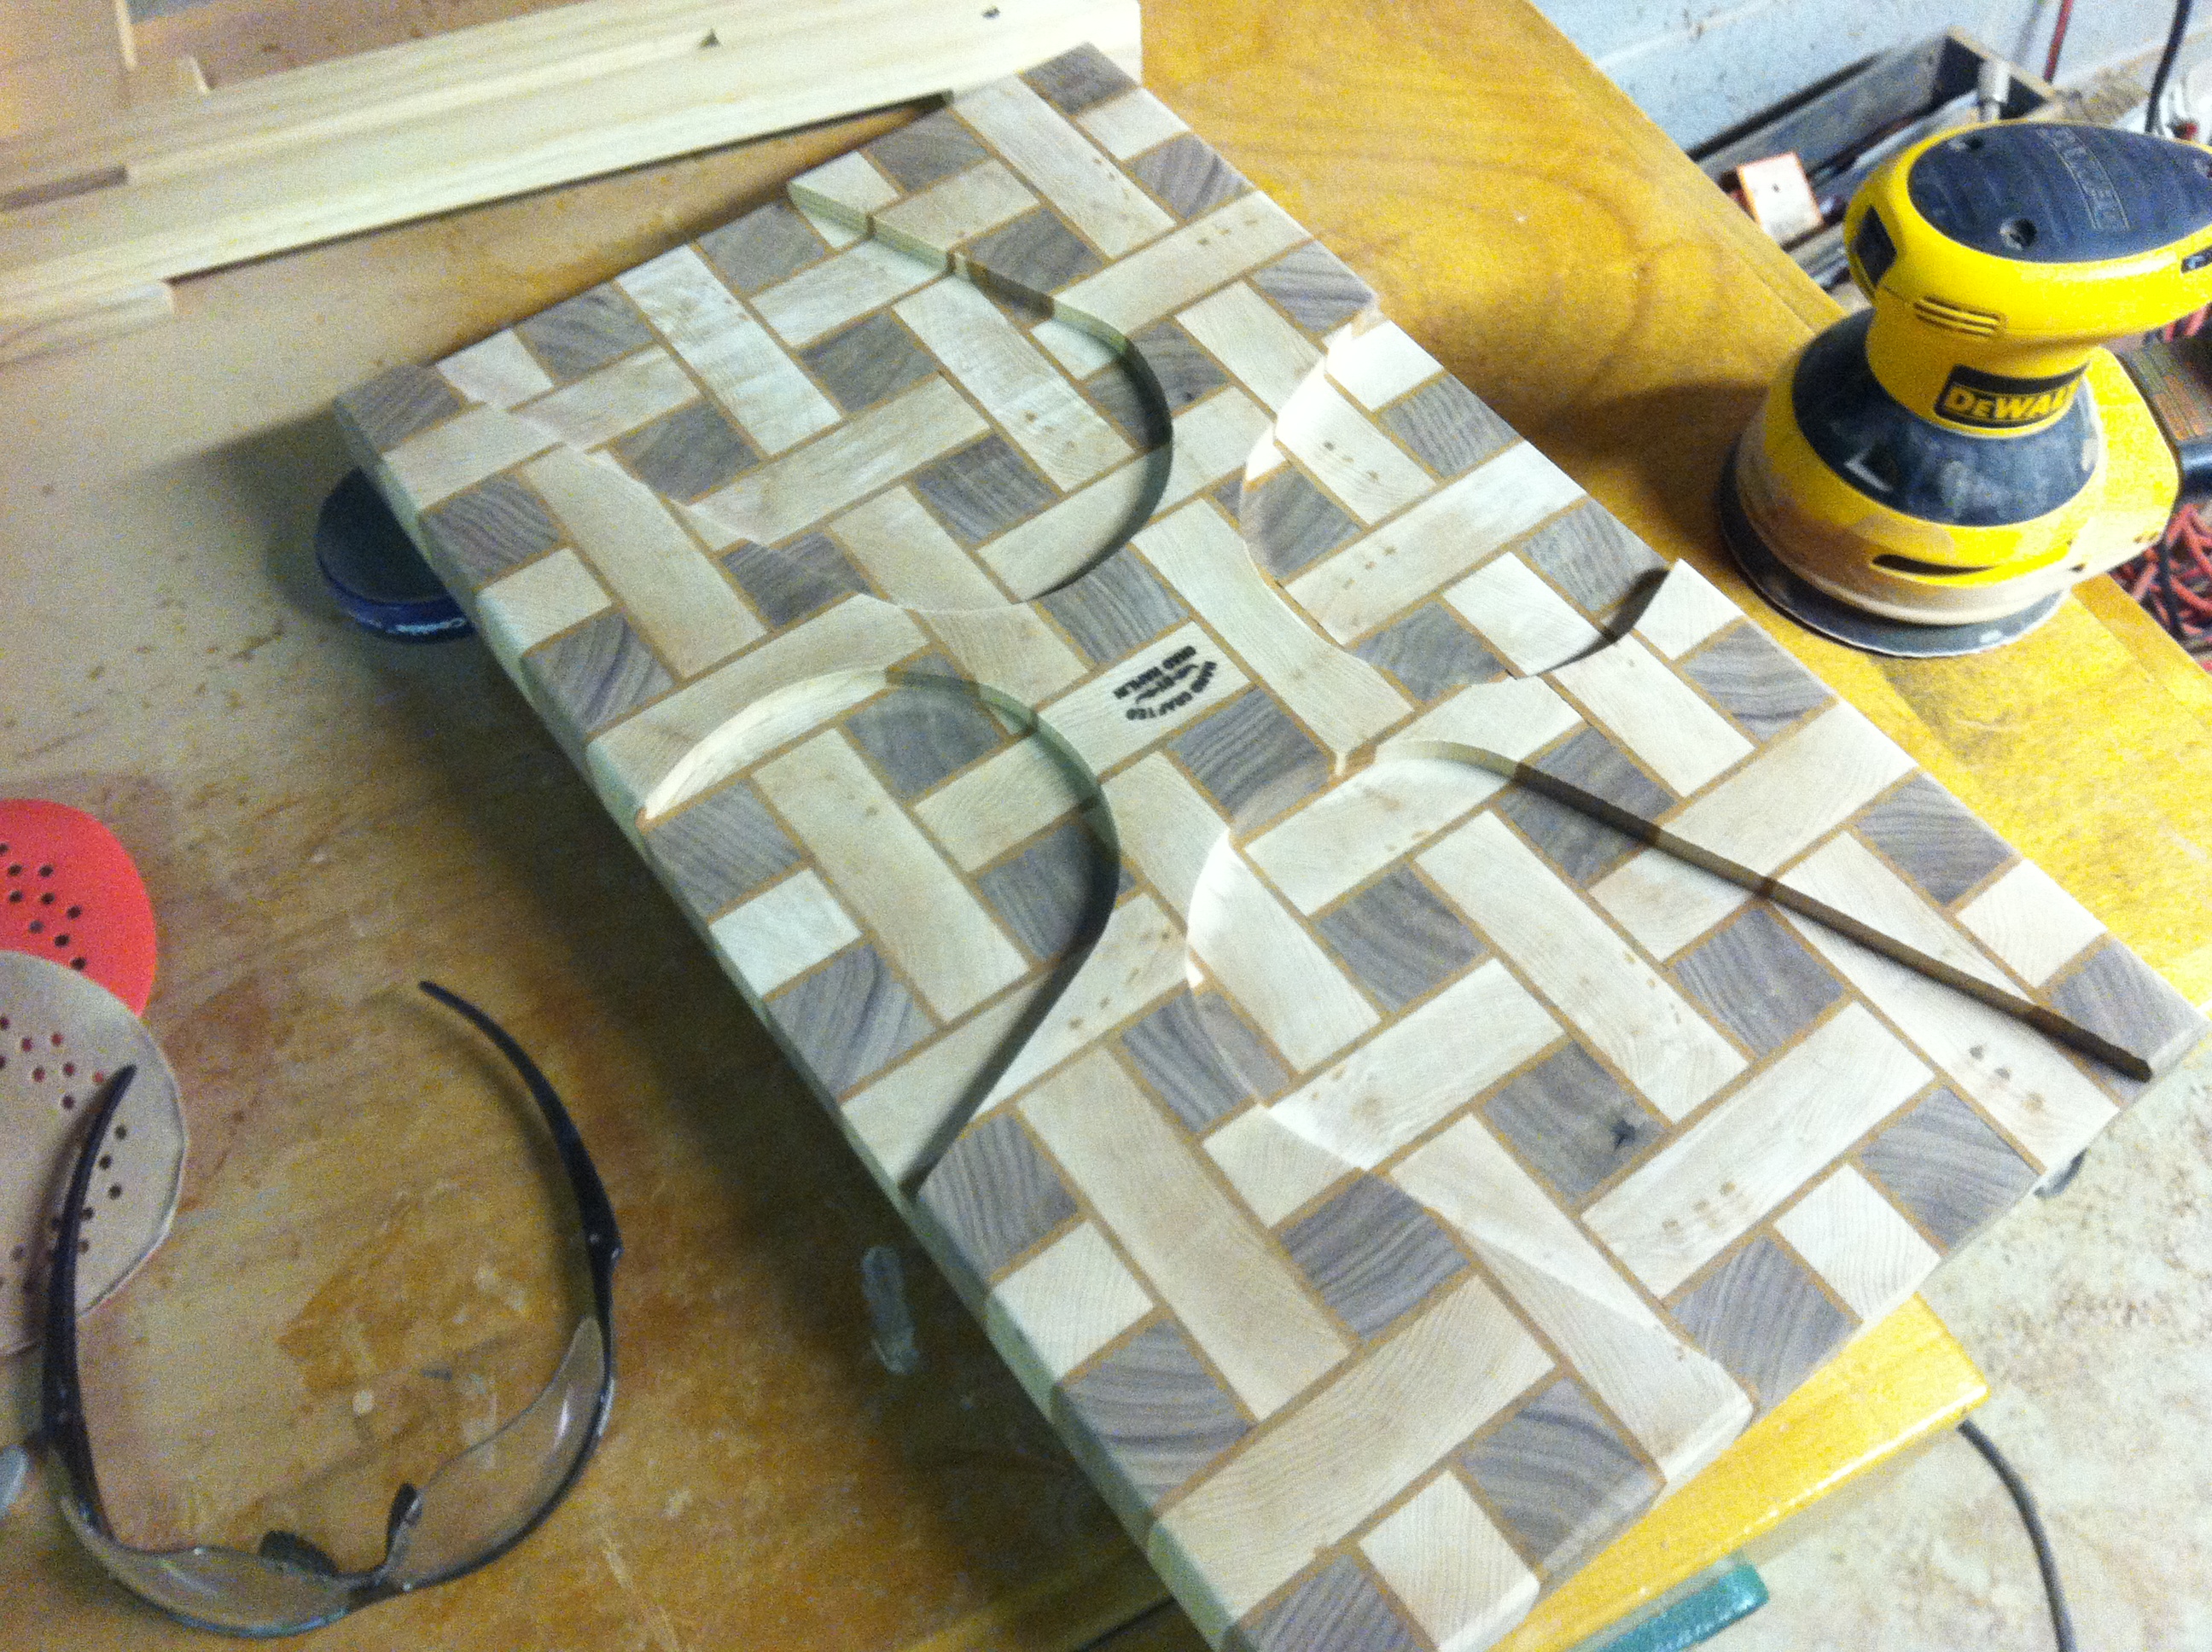
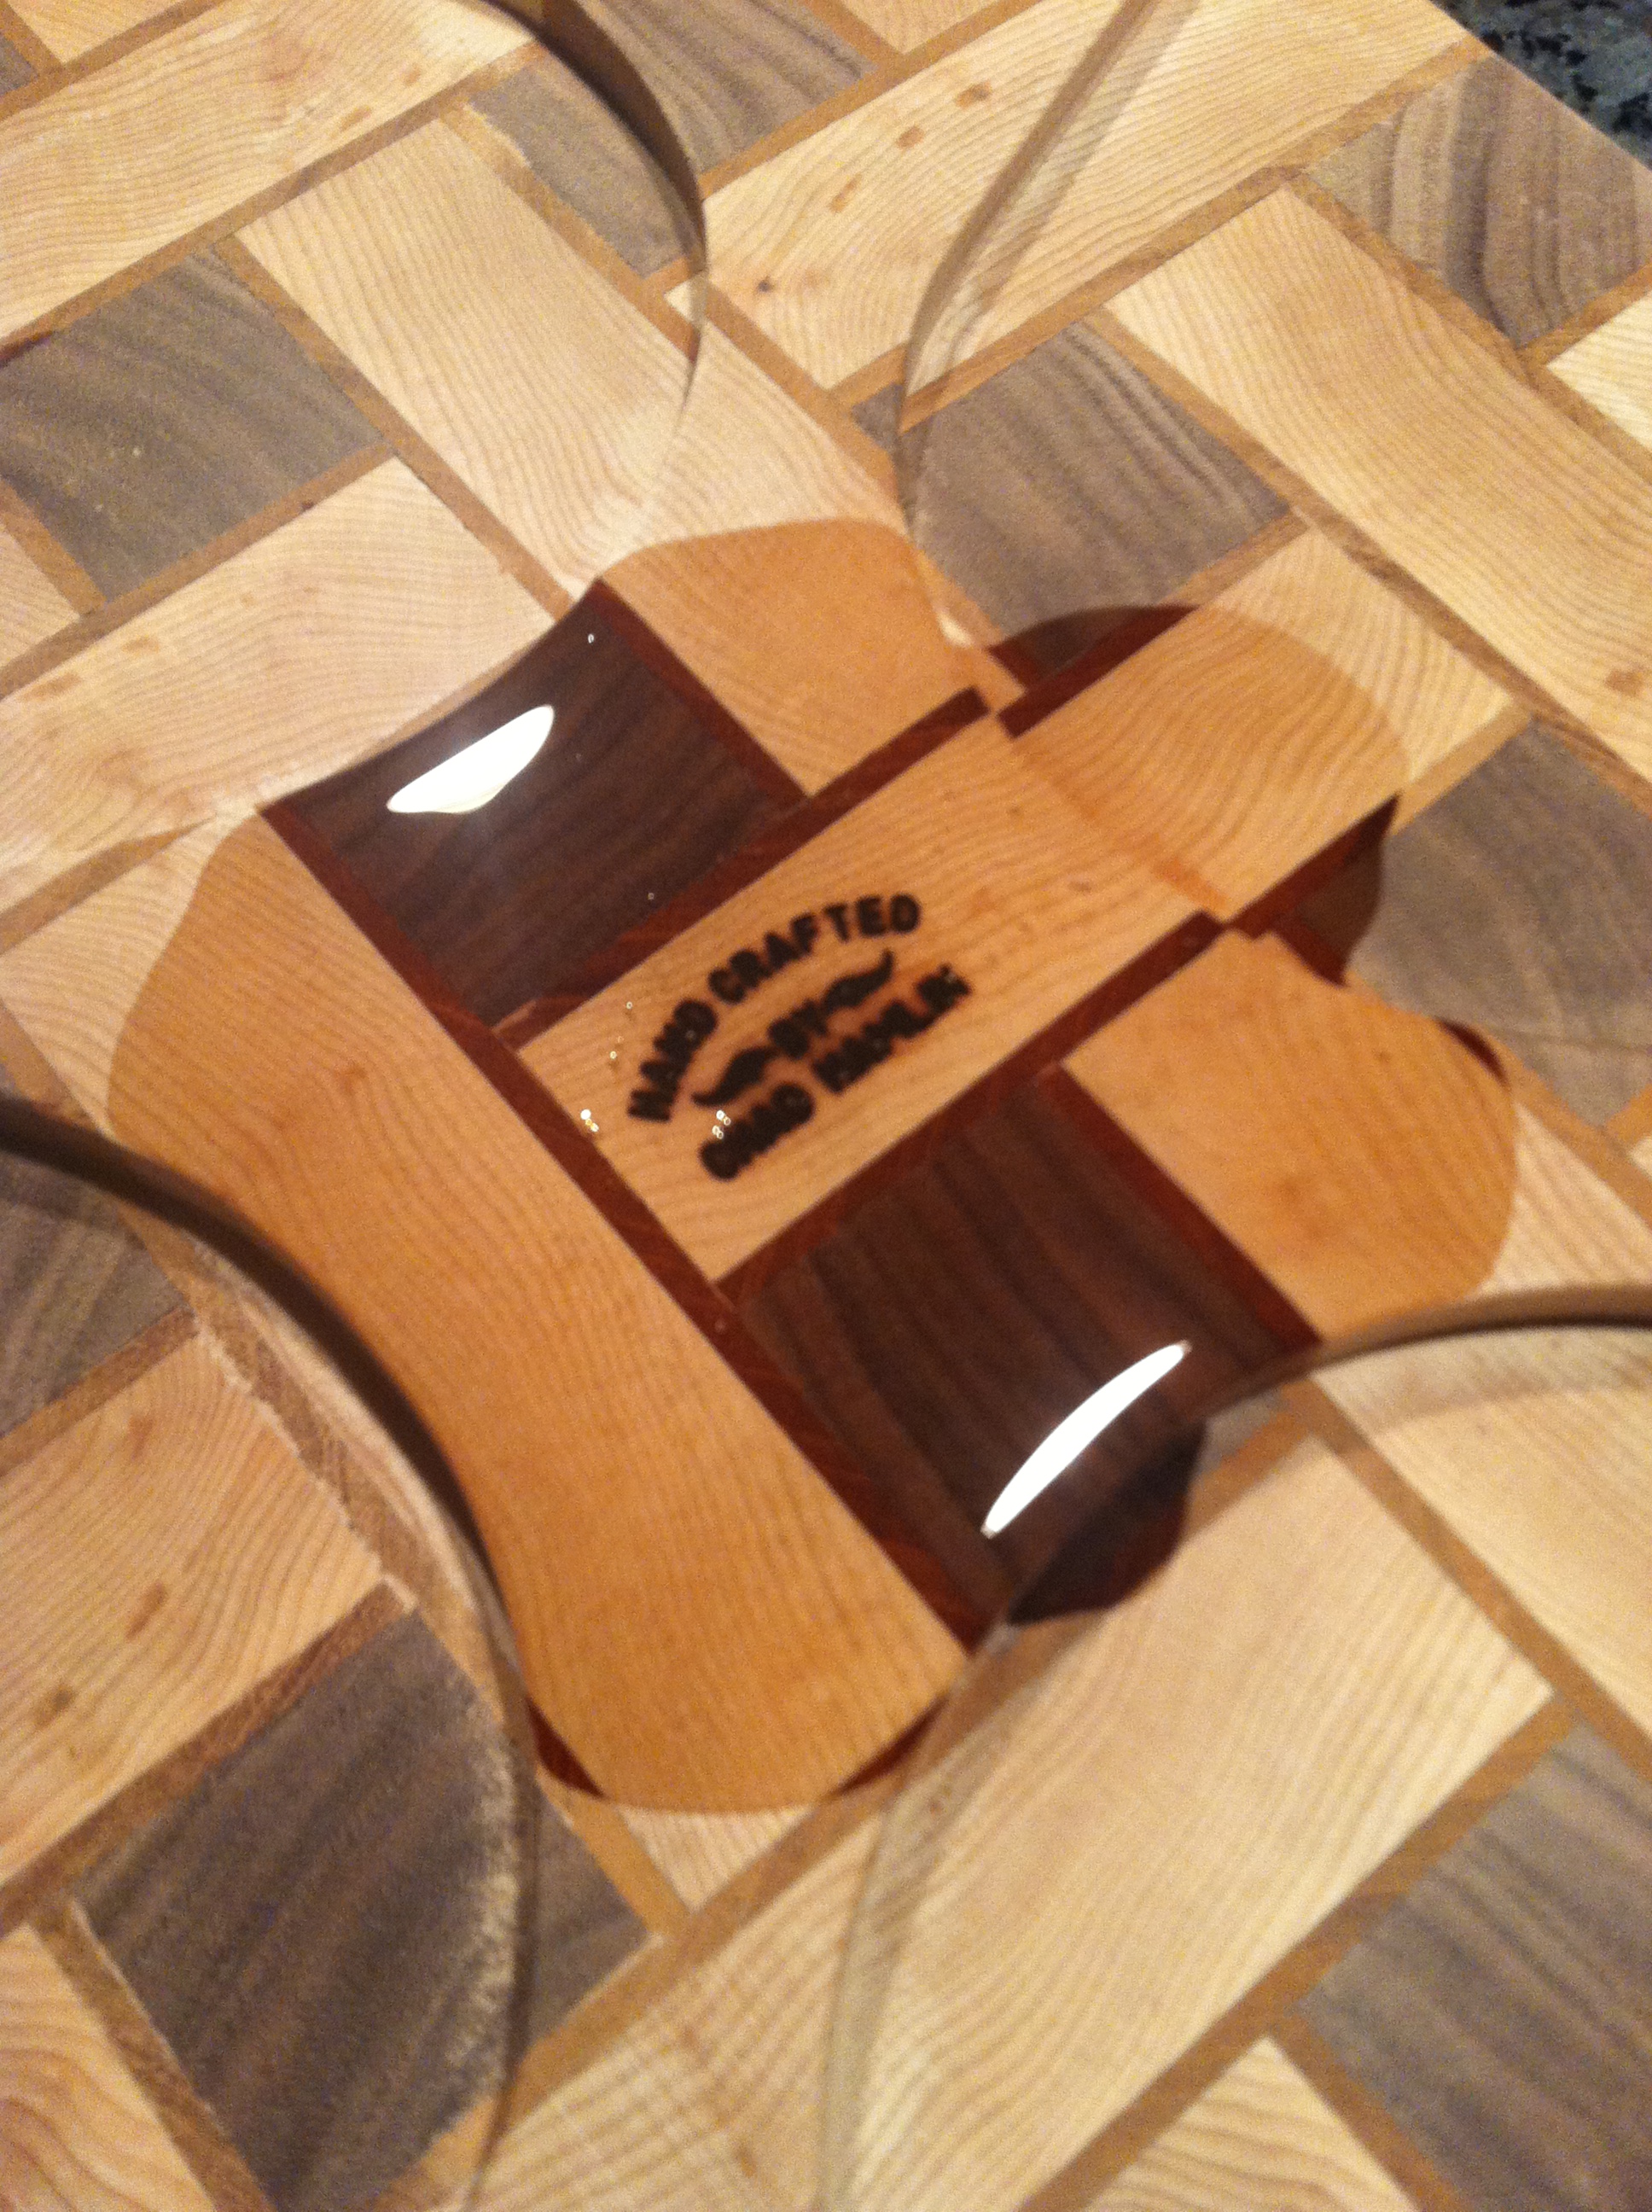
Prior to finish sanding, I burn my signature into the piece, and prepare for the final prep before sealing.
The reveal…This is my favorite part of the process. Until now, I have no idea what the piece will look like when completed. Since wood is natural, each segment of it accepts the oil in its own unique way. The first application of mineral oil onto the piece is always exciting.
Finished top…

Finished Bottom…

This is absolutely amazing! I love the basket weave pattern and the size of the board. This is definitely my favorite one so far!
Unbelievable. I can’t imagine ever taking a knife to it – i might just hang it on the wall.
Wow … the planning and skills that go into making this board are truly mind-boggling … “well done !”